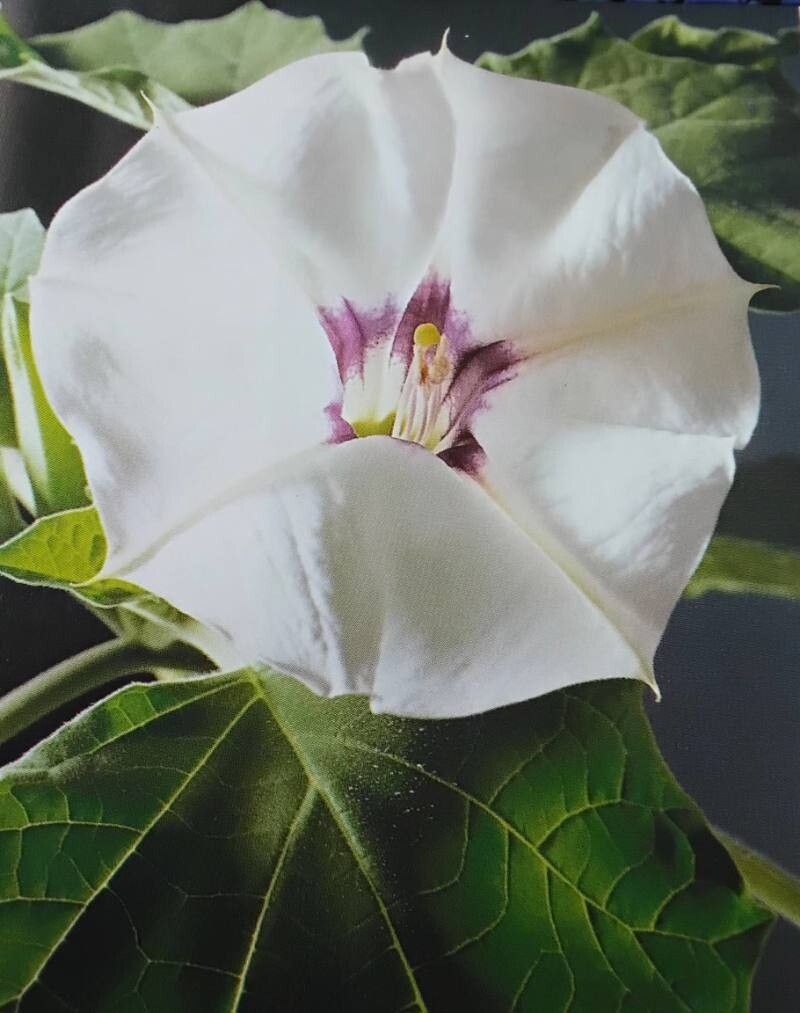
Hello, fellow plant lovers! It’s so good to share a virtual cup of coffee with you today. We’re going to dive into the wonderful world of propagating Datura discolor, often known as the Desert Thornapple. This plant is absolutely stunning with its oversized, trumpet-shaped flowers that unfurl in the evening, filling the air with a sweet, intoxicating perfume. If you’ve ever admired its exotic beauty in someone’s garden or seen a photo that took your breath away, you’re in for a treat. Propagating it yourself is incredibly satisfying and, truth be told, not as daunting as it might sound! For beginners, it’s a wonderfully rewarding project.
The Best Time to Start
Honestly, the sweet spot for propagating Datura discolor is late spring to early summer. This is when the plant is actively growing, pushing out new shoots. You’ll find it much easier to get healthy cuttings then. Waiting until your plant has had a good growth spurt after flowering is also a great idea. Think of it like getting a haircut – you want to snip off those healthy, vibrant bits, not the tired old ends.
Supplies You’ll Need
Before we get our hands dirty, let’s gather our trusted tools:
- Sharp Pruning Shears or a Clean Knife: For making clean cuts.
- Rooting Hormone: This is a game-changer! A powder or gel will do.
- Small Pots or Seedling Trays: Clean ones are key to preventing disease.
- Well-Draining Potting Mix: I like a blend of half potting soil and half perlite or coarse sand. Some people even swear by a mix of coco coir and perlite.
- Plastic Bags or Clear Domes: To create a mini-greenhouse effect.
- Watering Can with a Fine Rose Attachment: Gentle watering is crucial.
- Optional: Heated Seedling Mat: This can really speed things up.
Propagation Methods
While you can technically try other methods, stem cuttings are by far the most reliable and my go-to for Datura discolor.
- Take Your Cuttings: Look for healthy, vigorous stems that are about 4-6 inches long. You want stems that are firm but not old and woody. Make a clean cut just below a leaf node (where a leaf meets the stem). I usually try to take multiple cuttings, as not all of them will make it, and that’s perfectly normal.
- Prepare the Cuttings: Gently remove the lower leaves. You want to expose a bit of the stem at the bottom. If your cuttings are large, you might even want to snip off about half of the remaining leaves to reduce water loss.
- Apply Rooting Hormone: Dip the cut end of each stem into your rooting hormone. Swirl it around so the bottom inch or so is coated. Tap off any excess.
- Plant Your Cuttings: Fill your pots with your prepared soil mix. Make a small hole in the center with your finger or a pencil. Gently insert the coated end of your cutting into the hole. Firm the soil gently around the base of the cutting to ensure good contact.
- Create a Humid Environment: Water the soil lightly. Then, cover the pot with a clear plastic bag or place it under a clear dome. This traps humidity, which is essential for the cuttings to root. You can use stakes to keep the bag from touching the leaves.
- Provide Warmth and Light: Place your pots in a warm spot that receives bright, indirect light. Avoid direct sun, as it can scorch the tender cuttings. If you have a heated seedling mat, now’s the time to use it – place the pots on top.
The “Secret Sauce” (Pro Tips)
Here are a few things I’ve learned over the years that can really give you an edge:
- Don’t Let Leaves Touch the Water (If Water Propagating): Now, I mostly stick to soil for Datura discolor, but if you do try water propagation, make absolutely sure no leaves are submerged. They’ll rot so quickly in water, and that’s a sure way to fail.
- Bottom Heat is Your Best Friend: Seriously, if you’re not already using a heated mat for cuttings, get one! It mimics the warmth of the soil in a greenhouse and encourages root development like nothing else. You’ll see a significant difference in rooting time.
- Start with Semi-Hardwood Cuttings: This is where that “late spring to early summer” timing really shines. You’re looking for stems that have started to toughen up a bit but aren’t woody. They have the best balance of flexibility and rooting potential.
Aftercare & Troubleshooting
Once your cuttings have been planted, patience is key. Check the soil moisture every few days – it should stay consistently moist but not waterlogged. You can gently tug on a cutting after about 3-4 weeks. If you feel resistance, congratulations, you have roots!
At this point, you can gradually acclimate your new plants to normal conditions by opening the plastic bag or dome for a few hours each day over a week. Then, you can remove it entirely. Your new Datura discolor can then be potted up into slightly larger individual pots.
Now, let’s talk about what can go wrong. The most common issue is rot. This usually happens because the soil is too wet, or the humidity is too high without enough air circulation. If you see your cuttings wilting and turning black or mushy, it’s usually rot. Don’t be discouraged; just start again with fresh cuttings and ensure better airflow and less water. Yellowing leaves, on the other hand, can sometimes mean they need a bit more light, but always check the soil moisture first.
Keep Going, Gardener!
Propagating plants is a journey, and each cutting is a little experiment. Don’t get discouraged if not every single attempt is a success. The satisfaction of nurturing a new life from a simple stem is truly immense. With a little patience and these tips, you’ll soon have your own beautiful Datura discolor plants to enjoy. Happy gardening!
Resource:
https://identify.plantnet.org/k-world-flora/species/Datura%20discolor%20Bernh./data