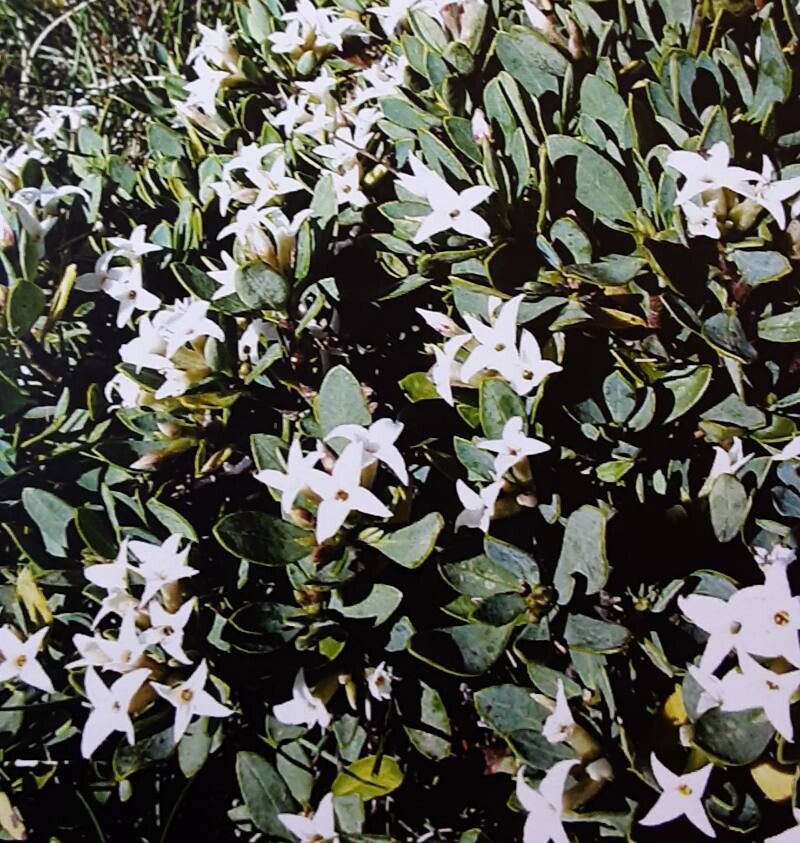
Hey there, fellow plant lovers! It’s so lovely to have you stop by. Today, we’re diving into something I find incredibly rewarding: propagating Daphne oleoides. If you’ve ever admired those delicate, often fragrant clusters of Daphne flowers, you know their magic. Bringing new life from an existing plant? That’s pure garden joy, if you ask me!
Now, about Daphne oleoides. It’s a real gem, often boasting beautiful, fragrant blooms that can signal the turning of seasons – a real delight in any garden. Propagating them yourself is a fantastic way to expand your collection or even share these beauties with friends. For beginners, I’ll be honest, Daphne can be a little bit of a diva to propagate, but don’t let that discourage you! With a bit of patience and the right approach, you absolutely can succeed.
The Best Time to Start
Timing is everything, right? For Daphne oleoides, the sweet spot for propagation is generally late spring or early summer. This is when the plant is actively growing, and you can take semi-hardwood cuttings. Think of it as gathering them when they’re full of energy and ready to make new leaves.
Supplies You’ll Need
Gathering your tools beforehand makes the whole process smoother. Here’s what I always have on hand:
- Sharp pruning shears or a clean knife: For making those critical cuts. Sterilize them with rubbing alcohol to prevent disease.
- Rooting hormone: This is a lifesaver for Daphnes, giving them a real boost to get their roots going. I prefer a powder or gel.
- Well-draining potting mix: A 50/50 blend of perlite and peat moss or coco coir works beautifully. You want something that lets water escape easily.
- Small pots or a propagation tray: Clean containers are essential here.
- Plastic bag or propagation dome: To create a humid environment.
- **Gravel
Resource:
https://identify.plantnet.org/k-world-flora/species/Daphne%20oleoides%20Schreb./data