Hello my fellow plant lovers! Today, we’re diving into the wonderful world of propagating Dalbergia saxatilis. If you’re drawn to its beautiful foliage and elegant structure, you’re in for a treat! I’ve been nurturing these beauties for years, and there’s a special kind of joy in watching a new life sprout from a humble cutting.
Why Propagate Dalbergia saxatilis?
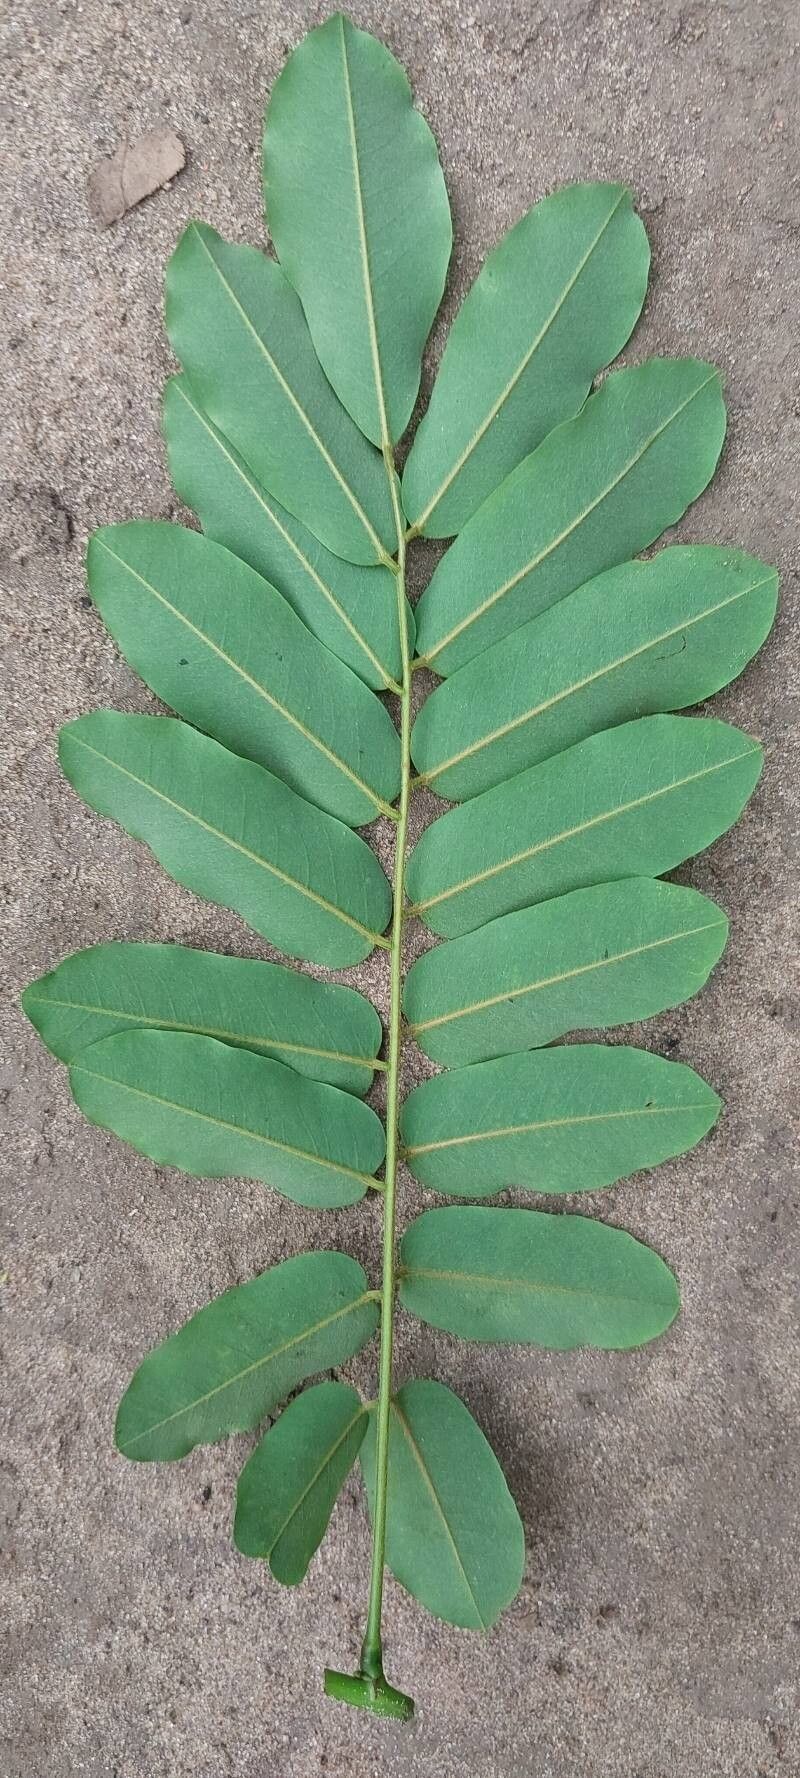
There’s something incredibly satisfying about creating more of what you love, isn’t there? Dalbergia saxatilis, with its delicate leaves and attractive form, is a plant that really rewards your efforts. It’s a fantastic way to share these plants with friends or simply to fill your own space with more greenery. Now, I’ll be honest, it’s not the absolute easiest plant for a complete beginner to propagate, but with a little care and attention, you’ll absolutely succeed. Don’t let that deter you!
The Best Time to Start
My go-to time for propagating Dalbergia saxatilis is late spring through early summer. This is when the plant is in its active growth phase, meaning it has plenty of energy to put into developing new roots. You’ll want to take cuttings from healthy, non-flowering stems that are still somewhat flexible but not too soft and floppy. Think of it as taking a piece of the plant when it’s feeling its most vibrant.
Supplies You’ll Need
Here’s a little kit to gather before you get started:
- Sharp, clean pruning shears or a sharp knife: Sanitation is key to prevent disease. Make sure they’re not rusty or dull.
- Rooting hormone powder or gel: This is a really helpful booster, especially for trickier propagations.
- A well-draining potting mix: I like a blend of peat moss, perlite, and a bit of compost. Aim for something light and airy.
- Small pots or trays: 4-inch pots are usually a good size to start. Make sure they have drainage holes!
- A plastic bag or propagation dome: This creates a humid environment, which cuttings absolutely adore.
- Water: For. . . well, watering!
Propagation Methods: Let’s Get Our Hands Dirty!
The most reliable way I’ve found to propagate Dalbergia saxatilis is through stem cuttings.
- Select your cutting: Look for a healthy stem that’s about 4-6 inches long. You want it to have at least two or three nodes (the little bumps where leaves emerge).
- Make the cut: Using your clean shears, make a clean cut just below a node. This is where the magic happens – the roots will want to emerge from here.
- Prepare the cutting: Gently remove the lower leaves from the cutting, leaving just the top two or three sets of leaves. This reduces water loss and prevents leaves from rotting in the soil.
- Apply rooting hormone: Dip the cut end of the stem into your rooting hormone powder or gel. Tap off any excess. This step really gives your cutting a head start.
- Plant your cutting: Make a small hole in your prepared potting mix with a pencil or your finger. Gently insert the base of the cutting into the hole, ensuring the nodes where you removed the leaves are below the soil line. Firm the soil gently around the stem.
- Water lightly: Give the soil a gentle watering. You want it to be moist but not soggy.
- Create humidity: Place the pot inside a clear plastic bag or cover it with a propagation dome. Make sure the leaves aren’t touching the plastic if possible. This will trap moisture and create that humid microclimate the cutting needs.
- Find a cozy spot: Place the pot in a bright location that receives indirect sunlight. Avoid direct sun, which can scorch the delicate cutting.
The “Secret Sauce”: Insider Tips
Here are a couple of things I’ve learned over the years that really make a difference:
- Bottom Heat is Your Friend: If you have a heating mat designed for seedlings, use it! Placing your pots on a gentle heat source from below can significantly speed up root formation. It mimics the warm soil temperatures they’d find naturally.
- Don’t Drench, Mist: Once your cuttings are covered, resist the urge to water them heavily. Instead, lightly mist the leaves and soil with water every few days if the soil starts to dry out. Overwatering is the quickest way to rot your cutting before it has a chance to root.
Aftercare & Troubleshooting
Once you’ve got your cuttings potted up, patience is key! You’re looking for signs of root development, which usually means you’ll see new leaf growth appearing from the top of the cutting. This can take anywhere from a few weeks to a couple of months.
If you notice your cutting looking limp and lifeless, or the stem is turning mushy and black, it’s a sign of rot. This often happens from too much moisture and poor air circulation. Sadly, once rot sets in, it’s usually too late to save the cutting. Don’t get discouraged, though! Just clean up your pot and try again.
When you see good new growth and feel a gentle tug when you lightly pull on the cutting (indicating roots have formed), it’s time to acclimate your new plant to normal conditions. Gradually open the plastic bag or dome over a few days before removing it completely. Continue to water as you would a mature plant once it’s fully acclimated.
Keep Growing!
Propagating plants is a journey of patience and observation. Each cutting is a little experiment, and success breeds confidence. Don’t be afraid to try, and enjoy the process of nurturing life. Happy gardening!
Resource:
https://identify.plantnet.org/k-world-flora/species/Dalbergia%20saxatilis%20Hook.f./data