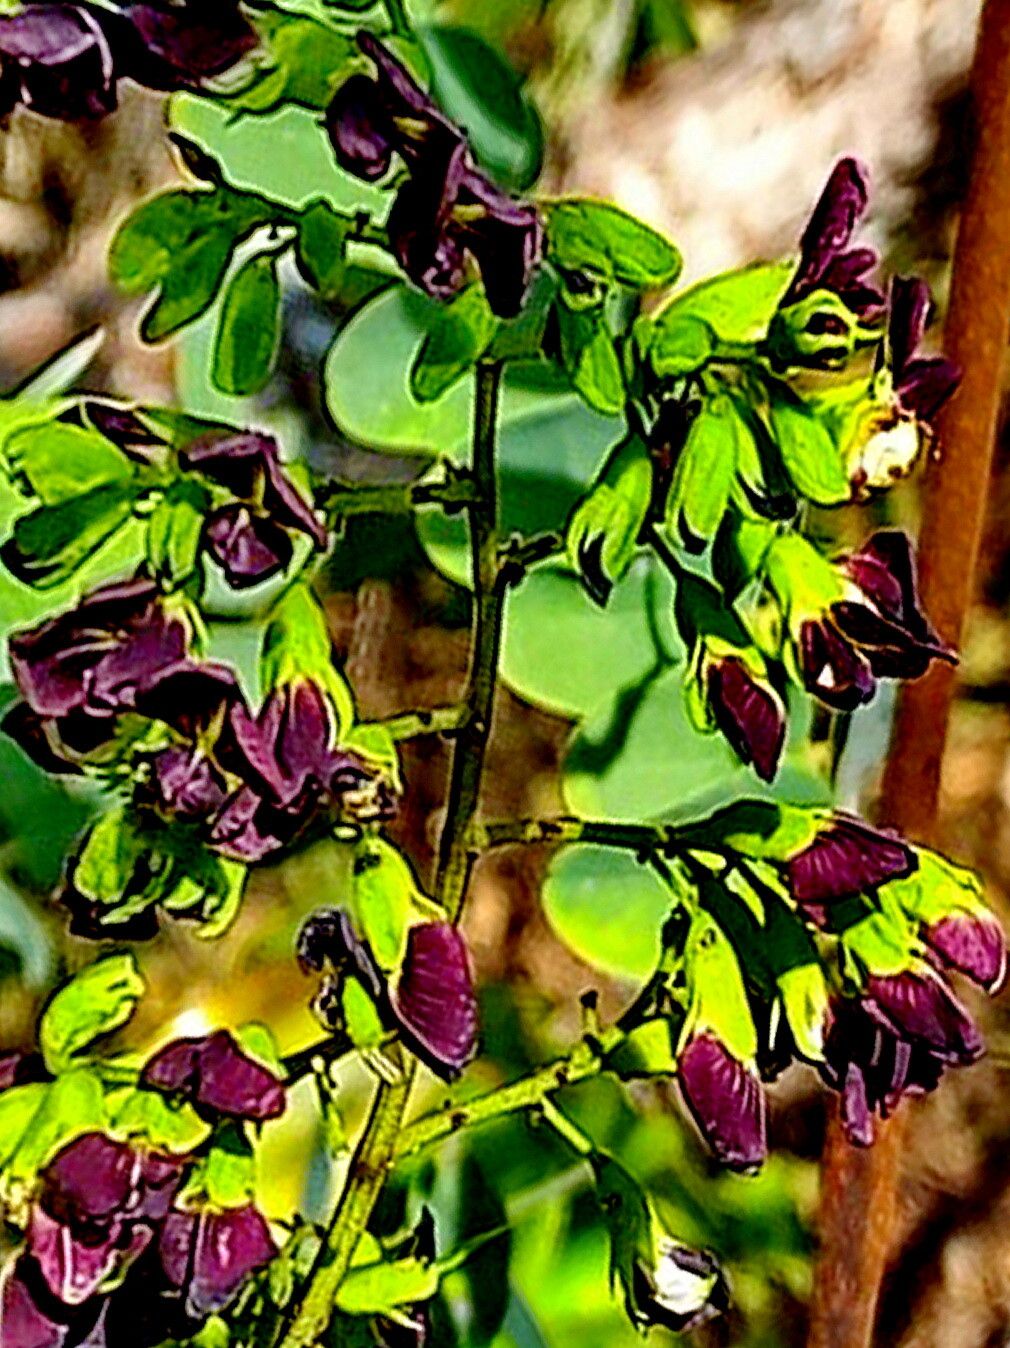
Hello fellow garden enthusiasts! Today, we’re diving into the wonderful world of propagating Dalbergia miscolobium. You know, that gorgeous tree with the exquisite rosewood timber and often fragrant blooms. Growing these beauties from scratch is an incredibly rewarding experience, a true testament to patience and the magic of nature. Now, I’ll be honest, Dalbergia miscolobium isn’t a “stick it in the ground and forget it” kind of plant. It requires a bit of care and attention, especially for beginners. But with a little know-how and a lot of heart, you can absolutely succeed!
The Best Time to Start
When it comes to getting the most bang for your propagation buck, spring is your golden ticket. This is when the plant is actively growing, pushing out new shoots and energy. You’ll want to look for semi-hardwood cuttings – that’s wood that’s started to firm up but still has a bit of flexibility. Think of it as that perfect stage between brand new, bright green growth and old, woody stems.
Supplies You’ll Need
Gathering your tools beforehand makes the whole process smoother. Here’s what I usually have on hand:
- Sharp Pruning Shears or a Knife: For clean cuts that heal quickly.
- Rooting Hormone: A powder or gel that significantly boosts your chances.
- Well-Draining Potting Mix: A mix of peat moss, perlite, and a little bit of sand works wonders. You want something that breathes!
- Small Pots or Trays: Clean containers that offer good drainage.
- Plastic Bags or a Propagator: To create a humid environment.
- Water: For moistening your soil and for potential water propagation.
- Labels: To keep track of your plants and dates – trust me, you’ll thank yourself later!
Propagation Methods
Let’s get our hands dirty! Here are a couple of methods that work well for Dalbergia miscolobium.
Stem Cuttings
This is my go-to for these lovely trees.
- Take Your Cuttings: In spring, select healthy, current-season shoots that are semi-hardwood. Make your cuts just below a leaf node, which is the little bump where a leaf attaches to the stem. Aim for cuttings that are about 4-6 inches long. Remove any lower leaves, leaving just a couple at the top to help with photosynthesis.
- Apply Rooting Hormone: Dip the cut end of the stem into your rooting hormone, tapping off any excess.
- Plant Your Cuttings: Fill your pots with the well-draining potting mix. Make a small hole in the center with a pencil or your finger and insert the cutting. Gently firm the soil around the base of the cutting.
- Create Humidity: Water the soil lightly until it’s moist but not waterlogged. Then, cover the pot with a clear plastic bag, securing it around the rim with a rubber band, or place it inside a propagator. This traps moisture, which is crucial for encouraging root development.
- Find the Right Spot: Place your pots in a warm location with bright, indirect light. Avoid direct sun, as this can scorch the tender cuttings.
Water Propagation
Sometimes, simplicity is key!
- Prepare Your Cuttings: Similar to stem cuttings, take your semi-hardwood cuttings, about 4-6 inches long, and remove the lower leaves.
- Place in Water: Find a clean jar or vase and fill it with fresh water. Crucially, make sure the leaf nodes are submerged, but the leaves themselves are not touching the water. This prevents rot.
- Change Water Regularly: Change the water every few days to keep it fresh and oxygenated.
- Patience is a Virtue: Place the jar in a bright spot, out of direct sunlight. You should start to see tiny roots emerge in a few weeks. Once the roots are about an inch long, you can carefully transplant them into your potting mix.
The “Secret Sauce” (Pro Tips)
Here are a few little tricks I’ve picked up over the years that can make a big difference:
- Bottom Heat is Your Friend: For stem cuttings, placing your pots on a heat mat (specifically designed for plant propagation) can drastically speed up root formation. It mimics the warmth of the soil in spring and encourages those roots to get going.
- Don’t Be Afraid to Sterilize: Always use clean pots and tools. This might seem obvious, but it’s the first line of defense against fungal diseases that can quickly take down your precious cuttings. Even a quick wash with hot, soapy water is better than nothing.
- Mist Gently (and Appropriately): While a humid environment is essential, over-misting can encourage fungal growth. With stem cuttings inside a plastic bag, you usually only need to mist the soil once initially. If the leaves look very wilty, a very light misting onto the leaves themselves can help, but keep it minimal.
Aftercare & Troubleshooting
Once you spot those first tiny roots pushing through the soil or emerging in the water, it’s time for a shift in strategy.
- Acclimatize Gently: Gradually introduce your rooted cuttings to the outside air. If they were in a bag, poke a few holes in it over a few days, then remove it entirely. If they were in a propagator, open the vents a little more each day. This prevents shock.
- Water Wisely: Continue to water when the top inch of soil feels dry. As the plant grows, you can slowly transition to a regular watering schedule for young trees.
- Watch for Rot: The most common sign of failure is rot. This usually manifests as mushy, blackened stems or leaves. It’s often caused by overwatering or poor air circulation. If you see signs of rot, remove the affected cutting immediately and assess your watering and humidity levels. It’s a tough lesson, but a valuable one!
Propagating Dalbergia miscolobium is a journey. There will be times when some cuttings don’t make it, and that’s perfectly normal. Celebrate the successes, learn from the setbacks, and most importantly, enjoy the process of nurturing new life. Happy gardening!
Resource:
https://identify.plantnet.org/k-world-flora/species/Dalbergia%20miscolobium%20Benth./data