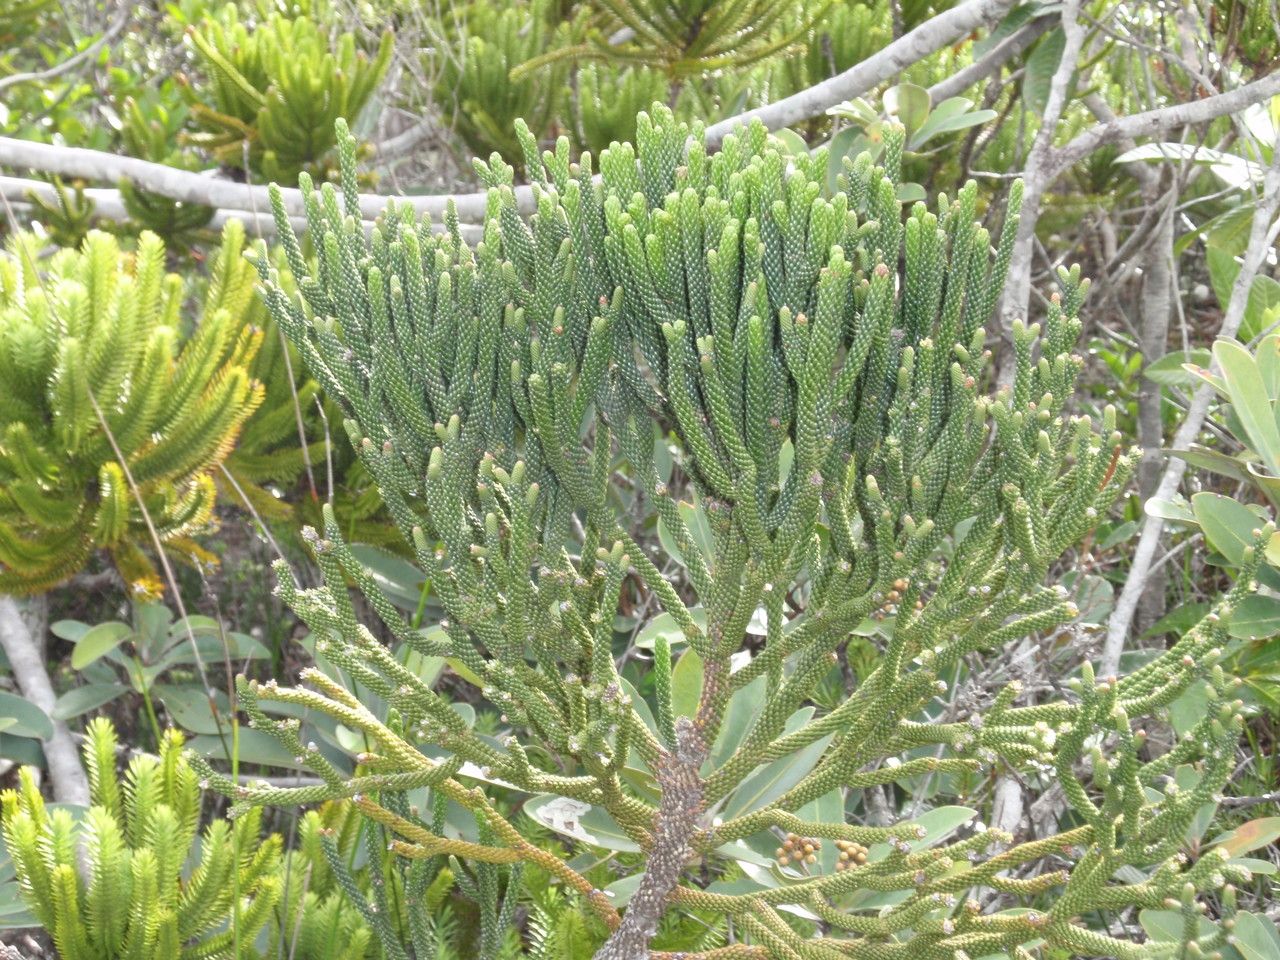
Oh, hello there! Grab your mug, will ya? Today, we’re diving into the wonderful world of propagating Dacrydium araucarioides, or as I like to affectionately call it, the “New Caledonian Huon Pine.” This stunning evergreen, with its gracefully weeping branches and needle-like foliage, is a real showstopper in any garden. Bringing a new one to life from an existing plant feels like a little bit of magic, and I promise, it’s a journey worth taking. Now, I’ll be honest with you, Dacrydium araucarioides isn’t always the easiest plant to propagate for absolute beginners. It requires a touch of patience and a keen eye, but with a few tried-and-true methods, you’ll be well on your way to success.
The Best Time to Start
For the highest chance of success, spring is your golden ticket. This is when the plant is actively growing and has plenty of energy to put into developing roots. You’re looking for new, supple growth – what we call semi-hardwood cuttings. Avoid taking cuttings from old, woody stems or from the very soft, new shoots that are still floppy. Think of it like picking a perfectly ripe apple – not too green, not too mushy.
Supplies You’ll Need
Here’s what you’ll want to have on hand before we get started:
- Sharp, sterile pruning shears or a clean, sharp knife: For making clean cuts.
- Rooting hormone (powder or gel): This is a real game-changer, especially for trickier-to-root plants.
- A well-draining potting mix: I love a blend of equal parts perlite, peat moss, and coarse sand. You can also find specialized succulent or cactus mixes that work nicely.
- Small pots or seed trays with drainage holes: About 3-4 inches is a good size.
- Clear plastic bags or a propagator: To create a humid environment.
- A watering can with a fine rose or a spray bottle: For gentle watering.
- Labels and a marker: To keep track of your efforts!
Propagation Methods: Stem Cuttings
This is hands-down the most effective way to go with Dacrydium araucarioides. Here’s how I do it:
- Take Your Cuttings: In spring, identify a healthy stem with that perfect semi-hardwood growth. Make a clean cut just below a leaf node (where a leaf joins the stem). You’re looking for cuttings that are about 4-6 inches long. Remove any lower leaves, leaving just a few at the top. This prevents them from rotting in the soil.
- Prepare the Cutting: Dip the cut end into your rooting hormone, ensuring it’s evenly coated. Gently tap off any excess.
- Potting Up: Fill your small pots with your prepared potting mix. Make a pilot hole in the center of the soil with a pencil or your finger. This prevents you from rubbing off the rooting hormone when you insert the cutting.
- Plant Your Cutting: Carefully insert the prepared end of the cutting into the pilot hole. Gently firm the soil around it to ensure good contact.
- Water Gently: Water the soil thoroughly but gently. You want the soil to be moist, not waterlogged.
- Create Humidity: Place a clear plastic bag over the pot, securing it around the rim with a rubber band or tape. If you have a propagator, even better! Poke a few small holes in the bag for a little air circulation.
The “Secret Sauce” – Pro Tips
Now, for a few things I’ve learned over the years that can really boost your success rate:
- Bottom Heat is Your Friend: If you have a heating mat designed for propagation, place your pots on it. This gentle warmth from below encourages root development much faster than ambient room temperature alone. It’s like giving your cuttings a warm little spa day!
- Observe, Don’t Disturb: Resist the urge to constantly pull up your cuttings to check for roots. This can damage those delicate new formations. Instead, watch for new growth at the top of the cutting. That’s usually a sure sign roots are forming below.
- Keep It Clean, Always: This can’t be stressed enough. Sterilize your tools after every few cuts to prevent the spread of diseases. A simple wipedown with rubbing alcohol does the trick.
Aftercare & Troubleshooting
Once you start seeing new growth (usually after several weeks, but be patient!), it’s time to gradually introduce your new Dacrydium babies to the outside world.
- Harden Off: Slowly start taking the plastic bag off for longer periods each day. This allows the plant to adjust to drier air.
- Watering: Continue to keep the soil consistently moist but not soggy. Feel the surface of the soil; if it’s dry to the touch, it’s time to water.
- Light: Place them in a bright spot with indirect light. Avoid direct sunlight, which can scorch those tender new leaves.
The most common issue you might encounter is rot. If the cutting looks mushy, darkened, or smells off, it’s likely rotted. This is usually due to too much moisture or a lack of air circulation. Don’t get discouraged if one or two don’t make it. It’s all part of the learning process!
And there you have it! Propagating your own Dacrydium araucarioides is a deeply satisfying endeavor. Remember to be patient with yourself and your little green charges. Enjoy the process of nurturing something new, and soon you’ll have a whole new generation of these magnificent plants to admire. Happy gardening!
Resource: