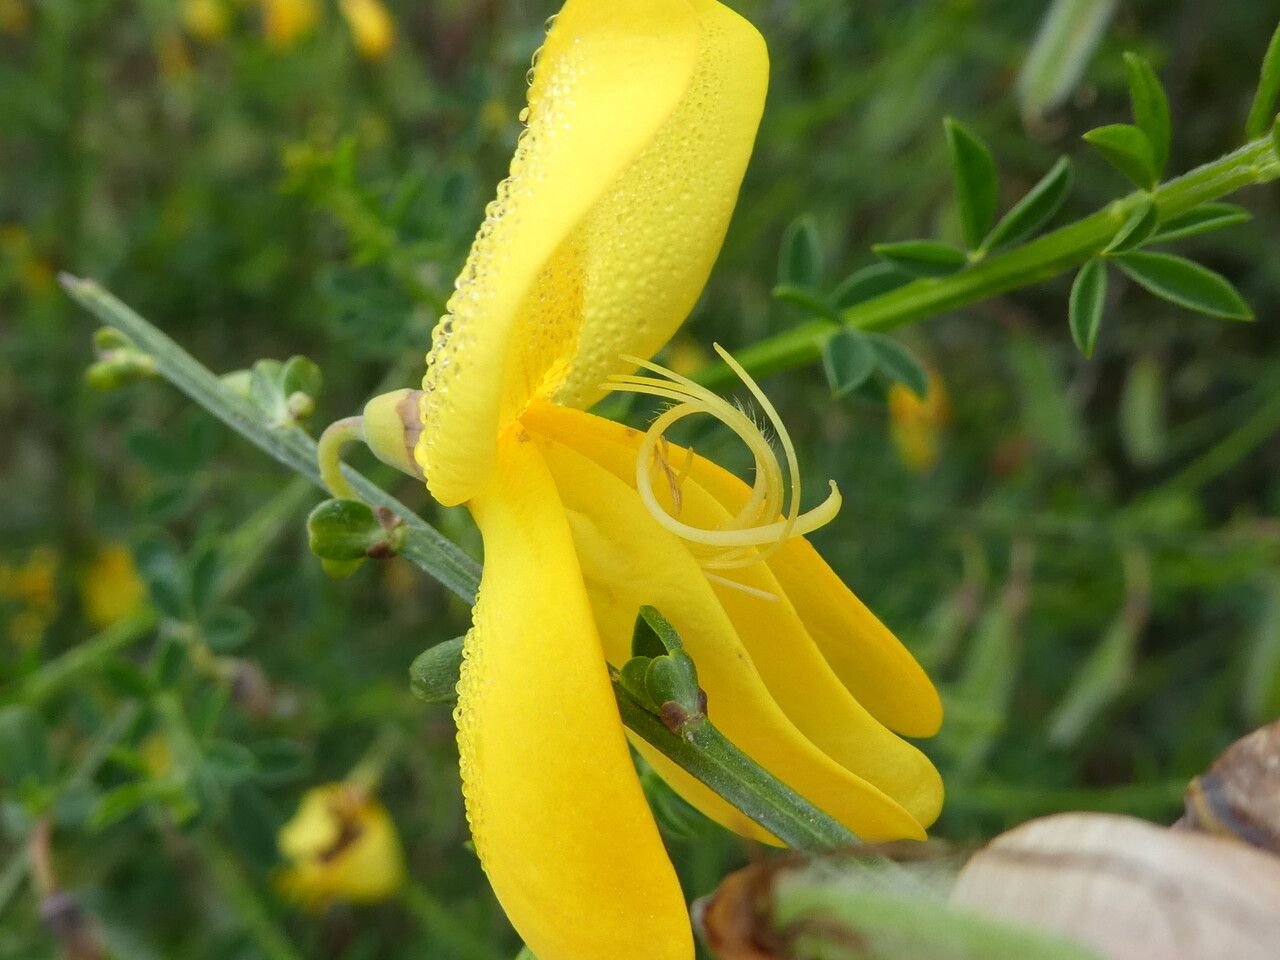
Oh, Broom! What a beauty. Cytisus scoparius, or Scotch broom as many of us call it, is just sunshine in plant form. Its vibrant yellow blooms, often appearing in late spring and early summer, are a cheerful sight that always brightens my garden. And the scent! It’s subtly sweet and adds another layer of joy.
Many gardeners ask me if broom is easy to propagate. Honestly, I’d say it falls into the moderately easy category. With a little patience and some careful attention, you’ll be rewarded with new plants to share or to fill in those sunny spots with cascades of gold. It’s incredibly satisfying to nurture a tiny cutting into a thriving shrub.
The Best Time to Start
For the most success with Scotch broom, I always aim for late spring or early summer. This is when the plant is actively growing, and the new stems are semi-hardwood. You want cuttings that snap cleanly but aren’t too soft and green. Starting too late in the season means the cuttings won’t have enough time to establish before cooler weather arrives.
Supplies You’ll Need
Gathering your supplies beforehand makes the whole process smoother. Here’s what I usually have on hand:
- Sharp Pruning Shears or a Craft Knife: Clean cuts are crucial.
- Rooting Hormone Powder: This is a true game-changer for encouraging root development.
- Small Pots or Seed Trays: Ensure they have drainage holes.
- Well-Draining Potting Mix: A 50/50 blend of perlite and peat moss or coco coir works wonderfully. You can also buy specialized seed-starting mixes.
- Small Plastic Bags or a Propagator Lid: This helps maintain humidity.
- Watering Can with a Fine Rose: Gentle watering is key.
Propagation Methods
The most reliable way I’ve found to propagate Scotch broom is through stem cuttings. It’s straightforward and yields excellent results.
-
Taking Cuttings: On a bright, dry morning, select healthy, non-flowering stems from your mature plant. Look for stems that are about pencil-thick and have some flexibility. Cut pieces about 4-6 inches long, making your cut just below a leaf node (where a leaf attaches to the stem).
-
Preparing the Cuttings: Gently remove the leaves from the bottom half of each cutting. This prevents them from rotting in the soil. If the remaining leaves are very large, you can even cut them in half to reduce water loss.
-
Applying Rooting Hormone: Dip the cut end of each prepared cutting into your rooting hormone powder. Tap off any excess.
-
Planting the Cuttings: Fill your pots or trays with your prepared potting mix and water it thoroughly. Make a small hole in the center of the soil with a pencil or your finger. Insert the cut end of the cutting into the hole, about an inch deep, and gently firm the soil around it.
-
Creating a Humid Environment: Water the soil again gently. To keep humidity high, cover the pots with a plastic bag, securing it with a rubber band, or place a propagator lid over them. Make sure the plastic doesn’t touch the leaves. Place the pots in a bright spot, but avoid direct, intense sunlight.
The “Secret Sauce” (Pro Tips)
Here are a couple of little tricks that have helped me over the years:
- Wedge Your Cuttings: When you insert the cuttings into the soil, gently twist them slightly as you push them in. This helps ensure the rooting hormone stays on the cut surface and that the cells are in good contact with the soil for root initiation.
- Bottom Heat is Your Friend: If you have a heat mat, placing your pots on it can significantly speed up root development. Most softwood and semi-hardwood cuttings love a bit of warmth from below. Your cuttings don’t need blazing heat, just a gentle, consistent warmth.
Aftercare & Troubleshooting
Once your cuttings are planted, the waiting game begins. Keep the soil consistently moist but not soggy. The plastic bag or propagator lid should help you with this, as it reduces evaporation. Check them regularly for signs of new growth.
You’ll know your cuttings have rooted when you see new leaf growth or feel a gentle resistance when you lightly tug on the stem. This usually takes anywhere from 4 to 8 weeks, sometimes longer.
Now, for the not-so-fun part – troubleshooting. The most common issue is rot. If you see your cuttings going black and mushy, it’s usually a sign of too much moisture and not enough air circulation. Ditch the rotten ones, and ensure the remaining cuttings have good drainage and aren’t sitting in water. Yellowing leaves without new growth can sometimes indicate they haven’t rooted yet and are just struggling for resources, or that they’re getting too much direct sun.
A Encouraging Closing
Propagating Scotch broom is a wonderfully rewarding process. It takes a bit of patience, a gentle touch, and a willingness to learn. Don’t be discouraged if you have a few failures along the way – it happens to all of us! Celebrate your successes, learn from any setbacks, and enjoy the quiet joy of watching tiny cuttings transform into beautiful new plants. Happy gardening!
Resource:
https://identify.plantnet.org/k-world-flora/species/Cytisus%20scoparius%20(L.)%20Link/data