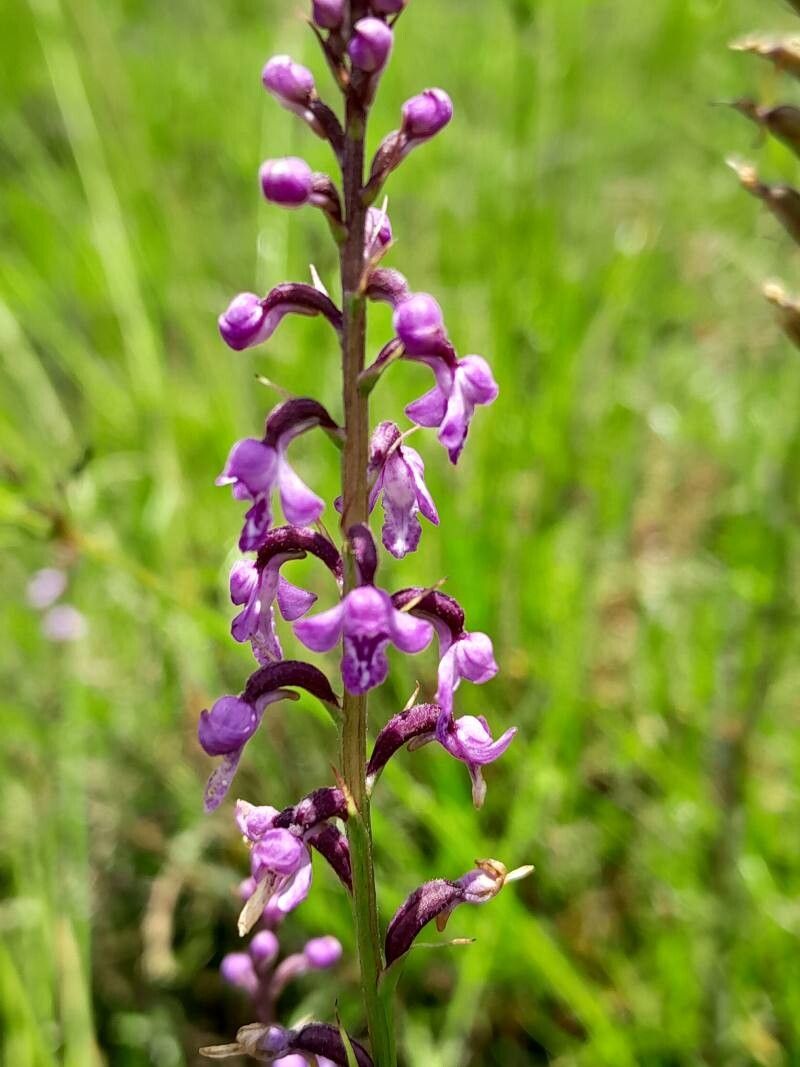
Oh, Cynorkis graminea! If you haven’t met this little gem, get ready to be charmed. It’s the kind of plant that brings a touch of delicate elegance to any space. I’ve been growing it for years, and honestly, sharing its beauty by propagating it has become one of my favorite gardening joys. It’s not the absolute easiest plant for a complete beginner, but with a little attention and these tips, you’ll be well on your way to success.
The Best Time to Start
For Cynorkis graminea, the sweet spot for propagation is really late spring or early summer. This is when the plant is actively growing, full of vigor, and more receptive to making new roots. I usually wait until I see a flush of new growth appearing after its resting period. That’s when the magic happens!
Supplies You’ll Need
Here’s what I always have on hand when I’m getting ready to propagate:
- Sharp, clean pruning shears or a sharp knife: For making clean cuts to avoid damaging the parent plant.
- Well-draining potting mix: I use a blend of peat moss, perlite, and a bit of orchid bark specifically formulated for delicate plants or orchids.
- Small pots or propagation trays: Clean, with good drainage holes, of course!
- Rooting hormone (optional but recommended for cuttings): A powder or gel form works wonders.
- Watering can with a fine rose: Gentle watering is key!
- A clear plastic bag or propagator: To create a humid environment for cuttings.
- Labels and a marker: Always important for keeping track of what you’ve planted where!
Propagation Methods
There are a couple of ways to grow more Cynorkis graminea, but I find taking stem cuttings to be the most reliable for me.
- Select Your Cuttings: Look for healthy, non-flowering stems. You want to see at least two or three leaf nodes on each cutting. These are the little bumps on the stem where leaves emerge – that’s where the roots will want to form.
- Make the Cut: Using your clean shears or knife, take a cutting just below a leaf node. A length of about 3-4 inches is usually perfect.
- Prepare the Cutting: Gently remove the lower leaves, leaving just the top one or two. If the remaining leaves are quite large, I sometimes cut them in half horizontally to reduce water loss through transpiration.
- Apply Rooting Hormone (Optional): If you’re using rooting hormone, dip the cut end of the stem into the powder or gel. Tap off any excess.
- Plant Your Cuttings: Fill your small pots or trays with your well-draining mix. Make a small hole in the soil with your finger or a pencil and gently insert the cut end of the stem. Firm the soil gently around it.
- Water Gently: Water thoroughly but sparingly. You want the soil to be moist, not waterlogged.
- Create Humidity: Cover the pot or tray with a clear plastic bag or place it in a propagator. This is crucial to keep the humidity high while the cutting tries to establish roots. Poke a few small holes in the bag if you’re worried about airflow.
The “Secret Sauce” (Pro Tips)
Here are a few tricks I’ve learned over the years that really make a difference:
- Don’t let the leaves touch the water directly if you’re doing water propagation. While some plants love a fully submerged cutting, Cynorkis graminea can be more prone to rot if its leaves are constantly sitting in water. If you are propagating in water, make sure the cut stem is submerged, but the leaves are well above the water line.
- Bottom heat is your friend! I’ve found that placing my propagation tray on a seedling heat mat makes a huge difference. It encourages root development from the bottom up, giving those little root tips a warm place to start exploring.
- Patience is truly a virtue. This plant can be a bit of a slow poke when it comes to rooting. Don’t pull up your cuttings too soon to check for roots! Give them at least 4-6 weeks, sometimes longer, before you start gently tugging to see if they’ve taken.
Aftercare & Troubleshooting
Once you start to see new growth on your cuttings, that’s a good sign! It means roots are forming. I let the cuttings stay in their humid environment for a bit longer to develop a good root system.
When you gently tug and feel some resistance, it’s time to start acclimating them to drier air. Gradually lift the plastic bag for longer periods over a week or two. Once they are strong enough, you can transplant them into their own small pots. Continue to provide them with bright, indirect light and keep the soil consistently moist but never soggy.
What about problems? The biggest one I see is rot. If your cuttings look limp, mushy, or turn black, it’s usually a sign of too much moisture and not enough airflow. If this happens, you’ll need to start over, ensuring your potting mix is free-draining and you’re not overwatering. Sometimes, a cutting just doesn’t take, and that’s okay too. Don’t be discouraged!
A Encouraging Closing
Remember, gardening is a journey, and propagating plants is one of the most rewarding parts of it. Be patient with your Cynorkis graminea, give it a good environment, and celebrate every little bit of progress. You’ve got this, and soon you’ll have even more of these beautiful plants to enjoy and share! Happy propagating!
Resource:
https://identify.plantnet.org/k-world-flora/species/Cynorkis%20graminea%20(Thouars)%20Schltr./data