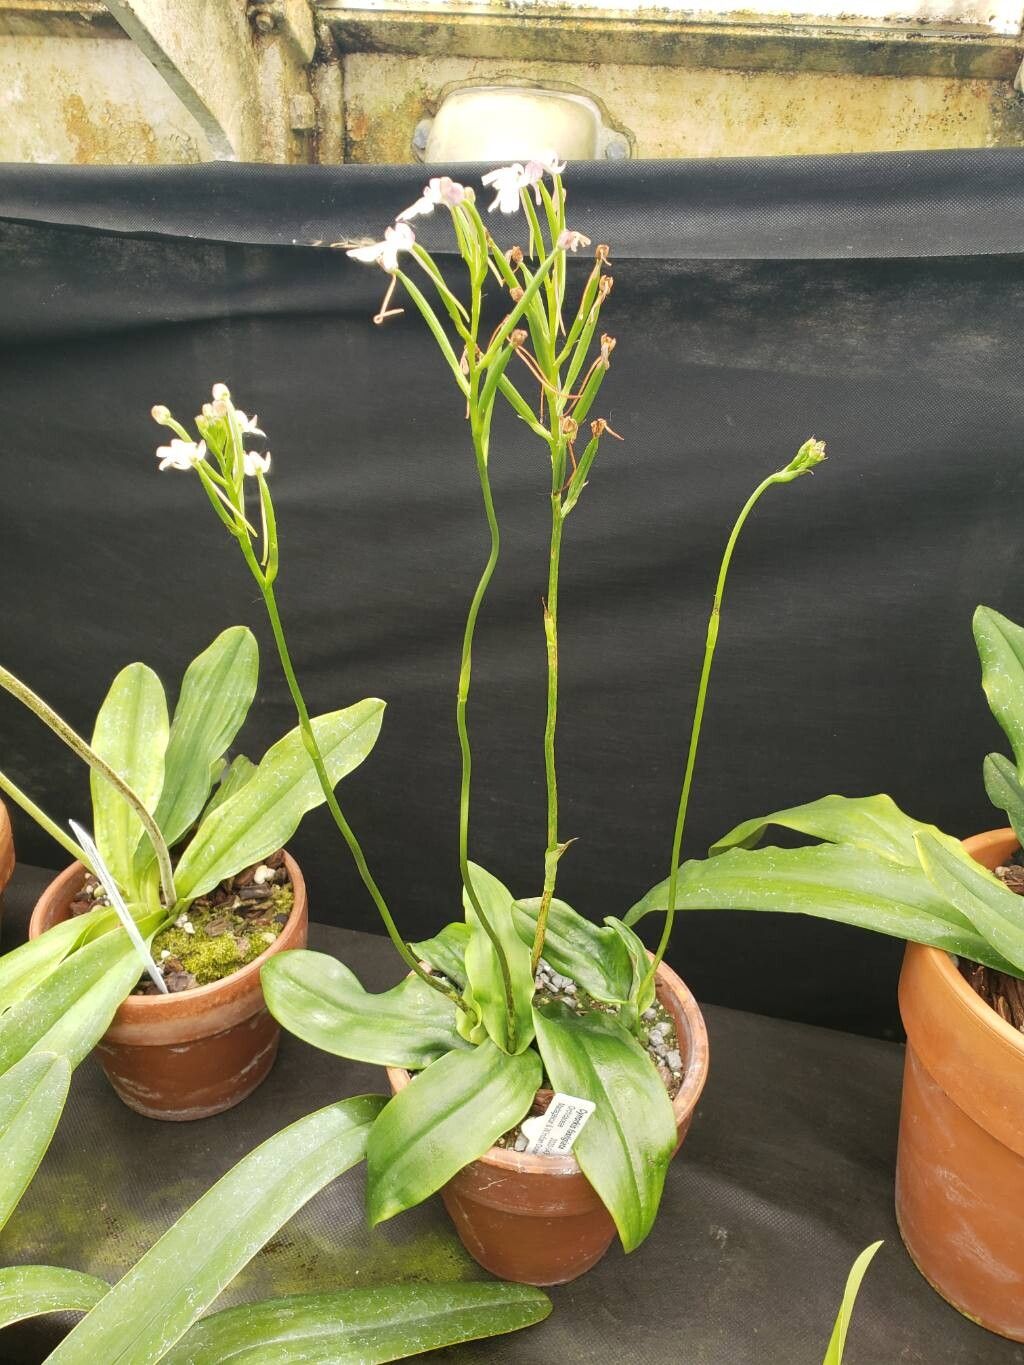
Hey there, fellow plant lovers! I’m so excited to chat with you today about a truly special orchid: Cynorkis fastigiata. If you’re looking for a splash of vibrant color and a little bit of orchid magic in your life, this is the one. It’s known for its beautiful, often intensely colored flowers and a lovely upright growth habit. Propagating these beauties is incredibly rewarding, and honestly, while orchids can sometimes feel intimidating, Cynorkis fastigiata is surprisingly forgiving. It’s a fantastic one to try if you’re dipping your toes into the world of orchid propagation.
The Best Time to Start
For the highest success rates, I always recommend starting your Cynorkis propagation efforts when the plant is actively growing. Think late spring or early summer. This is when they’re energized from good light and warmth, and they have the vigor to put out new roots. You can sometimes get away with it in early fall, but the growth will be slower, and there’s a higher chance of issues. Wait until you see new shoots emerging from the base or the plant starting to put on fresh leaf growth.
Supplies You’ll Need
To get your little Cynorkis babies going, you’ll want to gather a few things:
- Well-draining potting mix: A mix specifically formulated for orchids is ideal. You can also create your own with bark, perlite, and a little bit of sphagnum moss.
- Sterile pruning shears or a sharp knife: Cleanliness is key to prevent disease.
- Small pots or trays: Think 2-4 inch pots for divisions, or shallow trays for cuttings.
- Optional: Rooting hormone powder or gel: This can give your cuttings an extra boost.
- Optional: Clear plastic bags or a humidity dome: To create a humid environment for cuttings.
- Watering can with a fine rose: For gentle watering.
Propagation Methods
Cynorkis fastigiata is usually propagated through division. It’s the most straightforward and successful method for this particular orchid.
Division
This is how you’ll break down a mature, healthy plant into smaller, manageable pieces.
- Gently remove the plant from its pot. If it’s stuck, you might need to gently squeeze the pot or run a thin knife around the edge.
- Inspect the root system. You’re looking for the natural growing points or “eyes” on the tubers. These are usually small bumps on the tuber or at the base of new growths.
- Carefully tease apart the tubers and new growths. You can use your fingers for this, or if they’re really connected, a clean, sharp knife or your sterile pruning shears. Each new division should have at least one healthy tuber and a couple of leaves. If a division only has a tiny piece of tuber, it might struggle to establish, so try to get a decent chunk.
- Remove any dead or rotted material. Trim away any mushy or black parts of the tubers or roots.
- Repot your divisions. Place each division into its own small pot, using your well-draining orchid mix. The top of the tuber should be just slightly below the surface of the mix. Don’t bury it too deep!
- Water sparingly at first. You want the soil to be lightly moist, not soggy. Overwatering at this stage is the quickest way to rot.
The “Secret Sauce” (Pro Tips)
Here are a couple of things I’ve learned over the years that really make a difference:
- Don’t be afraid of a little bit of rot removal. If you find a firm tuber with just a small black spot, carefully scrape away the black part with a sterile tool. Often, the rest is perfectly healthy and will recover. It’s the soft, mushy rot that’s the real problem.
- Bottom heat is a game-changer. If you can, place your newly potted divisions on a seedling heat mat set to a low temperature (around 70-75°F or 21-24°C). This gentle warmth encourages root development from below, giving your Cynorkis a fantastic head start.
Aftercare & Troubleshooting
Once your divisions are potted, give them a few days before watering. Then, water them only when the potting mix is nearly dry. Place them in a spot with bright, indirect light. Avoid direct sun, as it can scorch the new leaves.
You’ll know your new Cynorkis is happy when you see new root growth emerging from the base or the start of new leaf development.
The most common problem you’ll encounter is rot. If you see a tuber turning black, soft, and mushy, it’s likely rotted. This is usually due to too much moisture or poor air circulation. If you catch it early, you might be able to cut away the bad parts, but often, it’s beyond saving. Another sign of trouble is wilting or yellowing leaves on a plant that should be actively growing – this can also signal root rot or that the plant isn’t getting enough energy from its tuber.
A Little Patience Goes a Long Way
Propagating plants is a journey, and Cynorkis fastigiata is a lovely one to take. Don’t get discouraged if every single division doesn’t make it. Observe, learn, and adjust your approach. The satisfaction of watching a new plant grow from a division of your favorite orchid is truly special. Happy propagating, and enjoy the beauty these little wonders bring!
Resource:
https://identify.plantnet.org/k-world-flora/species/Cynorkis%20fastigiata%20Thouars/data