Ah, Cylicodiscus gabunensis! You’ve spotted a beauty. I remember the first time I saw one of these in full bloom – it felt like a secret whispered from a forgotten jungle. That glorious, almost otherworldly bloom, the striking foliage… it’s no wonder you’re thinking about bringing more of them into your garden. Propagating them is a fantastic way to share that magic, or just to have a little bit more of that joy for yourself.
Now, is it a walk in the park for a brand-new gardener? Honestly, I’d say it leans towards the more rewarding challenges. It might take a little patience and attention, but the thrill when you see that first tiny root appear is absolutely worth it.
The Best Time to Start
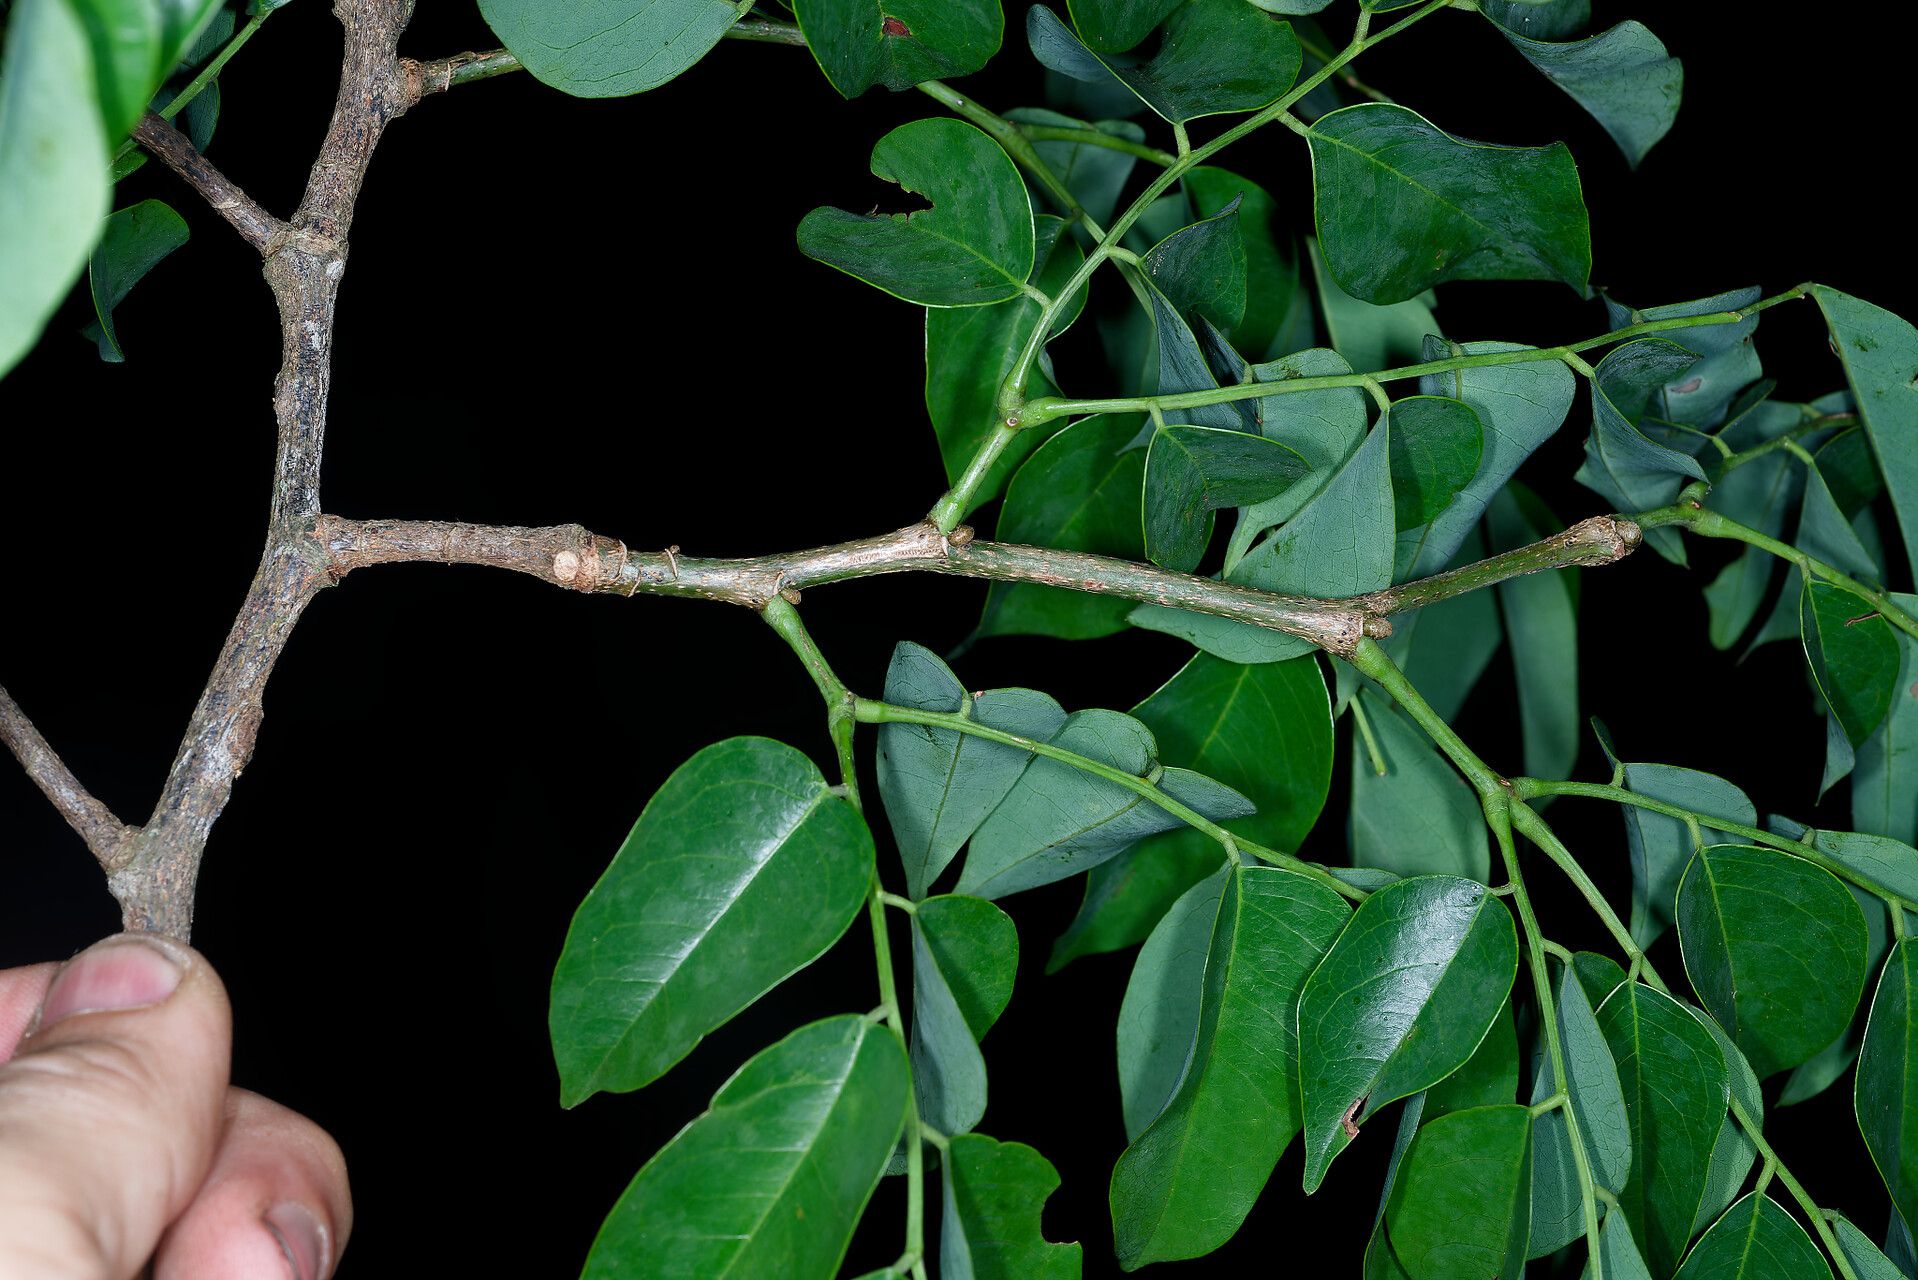
For Cylicodiscus gabunensis, I find the sweet spot is usually in late spring or early summer. This is when the plant is really hitting its stride, actively growing and full of vigor. You’re looking for healthy, new growth – not woody, old stems, but something that bends a bit without snapping too easily.
Supplies You’ll Need
Before we get our hands dirty, let’s gather our essentials:
- Sharp Pruning Shears or a Craft Knife: Cleanliness is key! We want to make clean cuts.
- Rooting Hormone: A good quality rooting powder or gel will give your cuttings a significant boost.
- A Well-Draining Potting Mix: I like a blend of equal parts peat moss, perlite, and a bit of coco coir. This keeps things airy and prevents waterlogging. You can also buy a commercial seed-starting mix.
- Small Pots or Trays: Clean ones are a must. About 4-inch pots are perfect for cuttings.
- Plastic Bags or a Propagation Dome: To create that humid microclimate.
- Water: For misting and if you choose water propagation.
- Labels and a Permanent Marker: To keep track of what you’ve planted!
Propagation Methods
Let’s get down to the nitty-gritty. I find stem cuttings are the most reliable way to go with Cylicodiscus.
Stem Cuttings:
- Take Your Cuttings: With your clean shears, select a healthy, non-flowering shoot that’s about 4-6 inches long. Make your cut just below a leaf node (where a leaf meets the stem). This is where the magic of root development often happens.
- Prepare the Cuttings: Gently remove the lower leaves from the cutting, leaving just two or three at the top. This reduces water loss.
- Apply Rooting Hormone: Dip the cut end of the stem into your rooting hormone, ensuring it’s well-coated. Tap off any excess.
- Pot Them Up: Make a small hole in your prepared potting mix with a pencil or your finger. Gently insert the cut end of the cutting into the hole and firm the soil around it. Make sure the leaves at the top aren’t buried.
- Create Humidity: Water the soil lightly. Then, cover the pot with a clear plastic bag or place it inside a propagation dome. Poke a few small holes in the bag for a bit of air circulation.
The “Secret Sauce” (Pro Tips)
Here are a few things I’ve learned over the years that can really make a difference:
- Bottom Heat is Your Friend: If you have one, placing your pots on a gentle heating mat really speeds up root development. It mimics the warmth of the soil that a mother plant enjoys. You’re looking for around 70-75°F.
- Water Wisely, Not Wastefully: If you’re misting your cuttings, do it in the morning. We want those leaves to dry off during the day to prevent fungal issues. Overwatering is the fastest way to lose a cutting.
- Don’t Be Afraid to Experiment (Slightly): While I focus on stem cuttings, some gardeners have success with semi-hardwood cuttings taken slightly later in the season. But for beginners, stick with the softer, new growth first.
Aftercare & Troubleshooting
Once your cuttings are potted, place them in a bright location, but out of direct sunlight. Direct sun can scorch those tender leaves. Keep the soil consistently moist, but not soggy. Check your humidity dome or plastic bag daily; if you see a lot of condensation, open it up for a few hours to air it out.
You’ll know your cuttings are developing roots when you see new leaf growth or gentle resistance when you tug lightly on the stem. This can take anywhere from 4 to 8 weeks, sometimes longer.
The most common enemy here is rot. If you see the stem turning black or mushy, or the leaves wilting and turning yellow before they fall off, it’s usually a sign of too much moisture and not enough air circulation. Unfortunately, once rot sets in, it’s very hard to save the cutting.
A Encouraging Closing
Propagating Cylicodiscus gabunensis is a journey. There will be times you feel you’ve got it all figured out, and times when you wonder if you’ll ever see a root. That’s all part of the learning process, my friend. Be patient, observe your plants closely, and celebrate every little success. Enjoy the magic of creating new life from something beautiful. Happy gardening!
Resource:
https://identify.plantnet.org/k-world-flora/species/Cylicodiscus%20gabunensis%20Harms/data