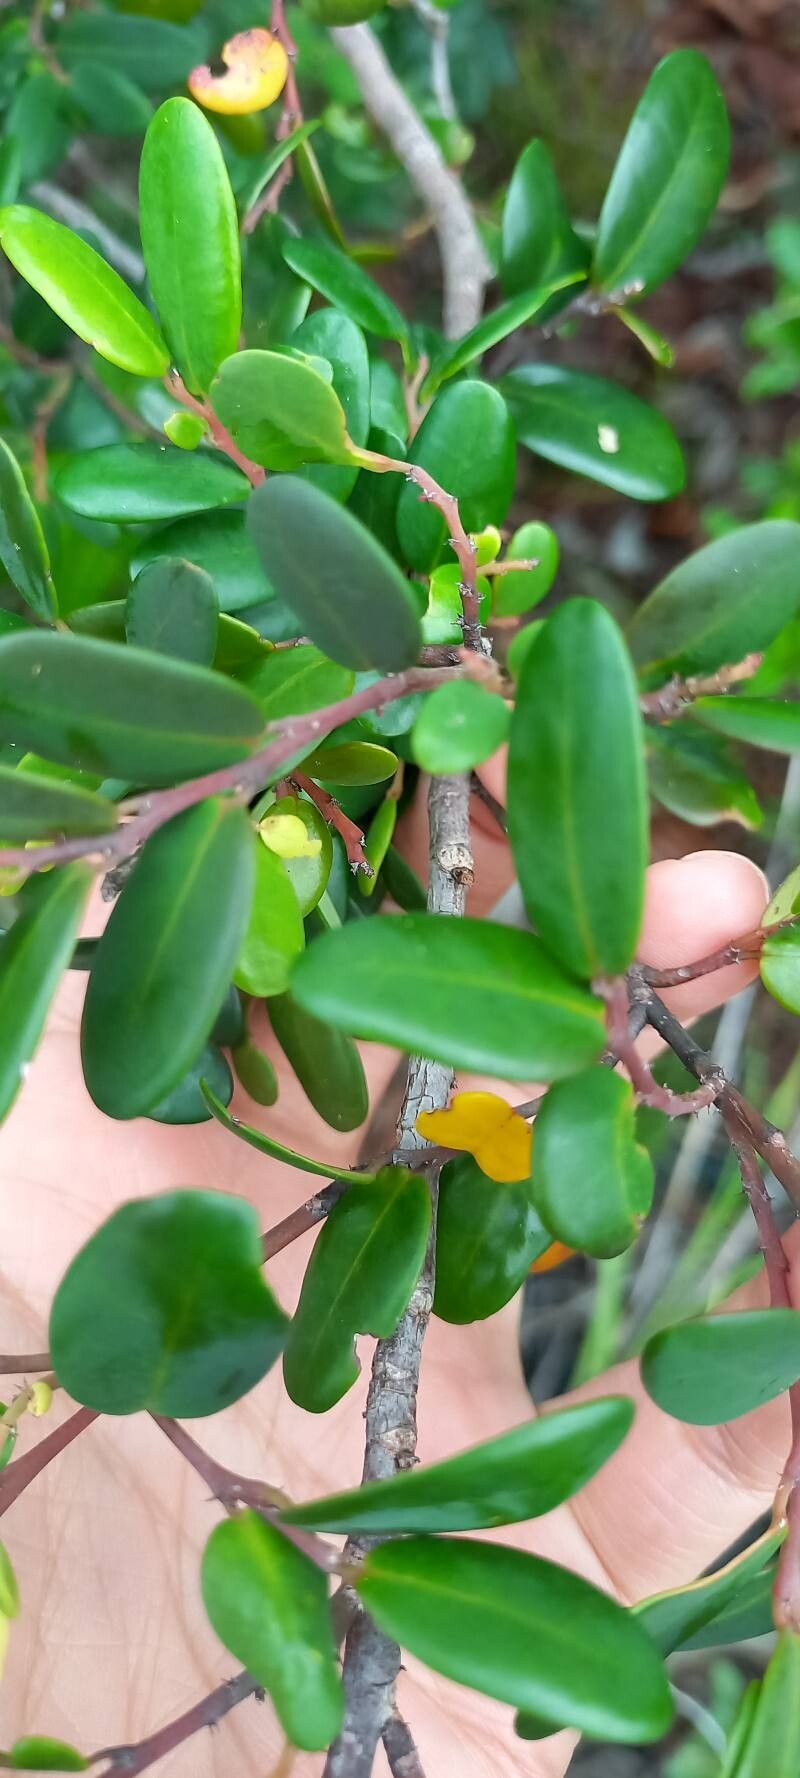
Oh, hello there! Grab your favorite mug, will you? Today, we’re diving into the wonderful world of Cyclophyllum tenuipes. If you’ve ever admired those lovely, glossy leaves and the delicate, almost ethereal blooms of this beauty, you’re not alone. I’ve been growing and coaxing new life from plants for a good two decades now, and the satisfaction of seeing a new little Cyclophyllum sprout and thrive is just immense.
Why Propagate Cyclophyllum tenuipes?
It’s a truly rewarding experience. For starters, you get more of what you love! Imagine having a whole collection of these elegant plants without needing to buy every single one. Plus, it’s a fantastic way to share the joy of gardening with friends and family. Now, for the big question: is it easy? Honestly, Cyclophyllum tenuipes can be a little particular, so it might be a great challenge for enthusiastic beginners, but perhaps not the absolute first plant I’d recommend for someone just dipping their toes in. But don’t let that deter you; with a bit of care, you’ll do wonderfully.
The Best Time to Start
Timing is everything in propagation, isn’t it? For Cyclophyllum tenuipes, the absolute sweet spot is late spring through early summer. This is when the plant is actively growing, happily soaking up all that lovely energy from the sun. You’ll want to take cuttings from stems that are firm but not yet woody. Think of them as mature, but not old and tired.
Supplies You’ll Need
Gathering your tools before you begin makes the whole process so much smoother. Here’s what I always have on hand:
- Sharp, clean pruners or a sharp knife: Hygiene is key to preventing disease.
- Rooting hormone (optional but recommended): This little helper can significantly boost your success rate, especially for trickier plants. I prefer a powder form.
- Well-draining potting mix: A blend of perlite, peat moss, and a bit of standard potting soil works beautifully. You want it airy!
- Small pots or propagation trays: Clean ones are a must!
- Plastic bags or a clear plastic dome: To create a humid environment for your cuttings.
- Watering can or spray bottle: For gentle watering.
- Labels and a marker: You’ll thank me later when you have multiple cuttings!
Propagation Methods: Stem Cuttings
This is my go-to for Cyclophyllum tenuipes. It’s reliable and generally gives great results.
- Take your cuttings: Using your clean pruners, select a healthy stem and make a cut just below a leaf node (where a leaf attaches to the stem). Aim for cuttings that are 4-6 inches long. Remove the lower leaves, leaving about two to three leaves at the top.
- Apply rooting hormone (if using): Dip the cut end of the stem into the rooting hormone powder. Tap off any excess.
- Plant the cuttings: Make a small hole in your prepared potting mix with a pencil or your finger. Gently insert the cut end of the stem into the hole, ensuring at least one leaf node is below the soil surface. Firm the soil gently around the stem.
- Water gently: Water the potting mix thoroughly but avoid waterlogging. You want it evenly moist, not soggy.
- Create humidity: Cover the pot or tray with a plastic bag or a clear dome. Ensure the plastic doesn’t touch the leaves too much. You can prop it up with skewers if needed.
- Place and wait: Find a bright spot with indirect light. Avoid direct sun, which can scorch the delicate cuttings. Now, patience is your best friend! Keep the soil consistently moist and the humidity high.
The “Secret Sauce” (Pro Tips)
Over the years, I’ve learned a few little tricks that really make a difference.
- Bottom heat is your friend: If you have a seedling mat, place your pots on it. This gentle warmth from below encourages root development. It’s like giving your cuttings a warm hug!
- Mist, don’t soak: When misting the leaves of your cuttings (especially if they are touching the plastic), use a very fine mist. You’re aiming to keep the leaves turgid, not to drench them, which can lead to fungal issues.
- Don’t be tempted too soon: Resist the urge to tug on your cuttings to check for roots. Wait until you see new leaf growth, which is a sure sign that you’ve got a happy, developing root system.
Aftercare & Troubleshooting
Once you see those little roots peeking out, or new growth appears, it’s time to transition your new plant!
- Acclimatize: Gradually remove the plastic cover over a week or so. This helps the plant adjust to normal indoor humidity.
- Watering: Continue to keep the soil evenly moist but not wet. As the plant grows, you can water a bit more thoroughly, allowing the top inch of soil to dry out between waterings.
- Light: Continue to provide bright, indirect light.
- Watch for rot: The most common sign of trouble is limp, yellowing leaves or a mushy stem at the soil line. This is usually a sign of overwatering or poor drainage. If you see this, remove the affected cutting immediately, check your watering habits, and ensure your soil drains well.
Keep Growing!
Propagation is a journey, and sometimes it has its bumps. Don’t be discouraged if a cutting doesn’t make it. Every gardener has lost a cutting or two – it’s part of the learning process! The most important thing is to enjoy the journey and celebrate the successes. Happy propagating, and I can’t wait to hear about your thriving Cyclophyllum tenuipes babies!
Resource:
https://identify.plantnet.org/k-world-flora/species/Cyclophyllum%20tenuipes%20Guillaumin/data