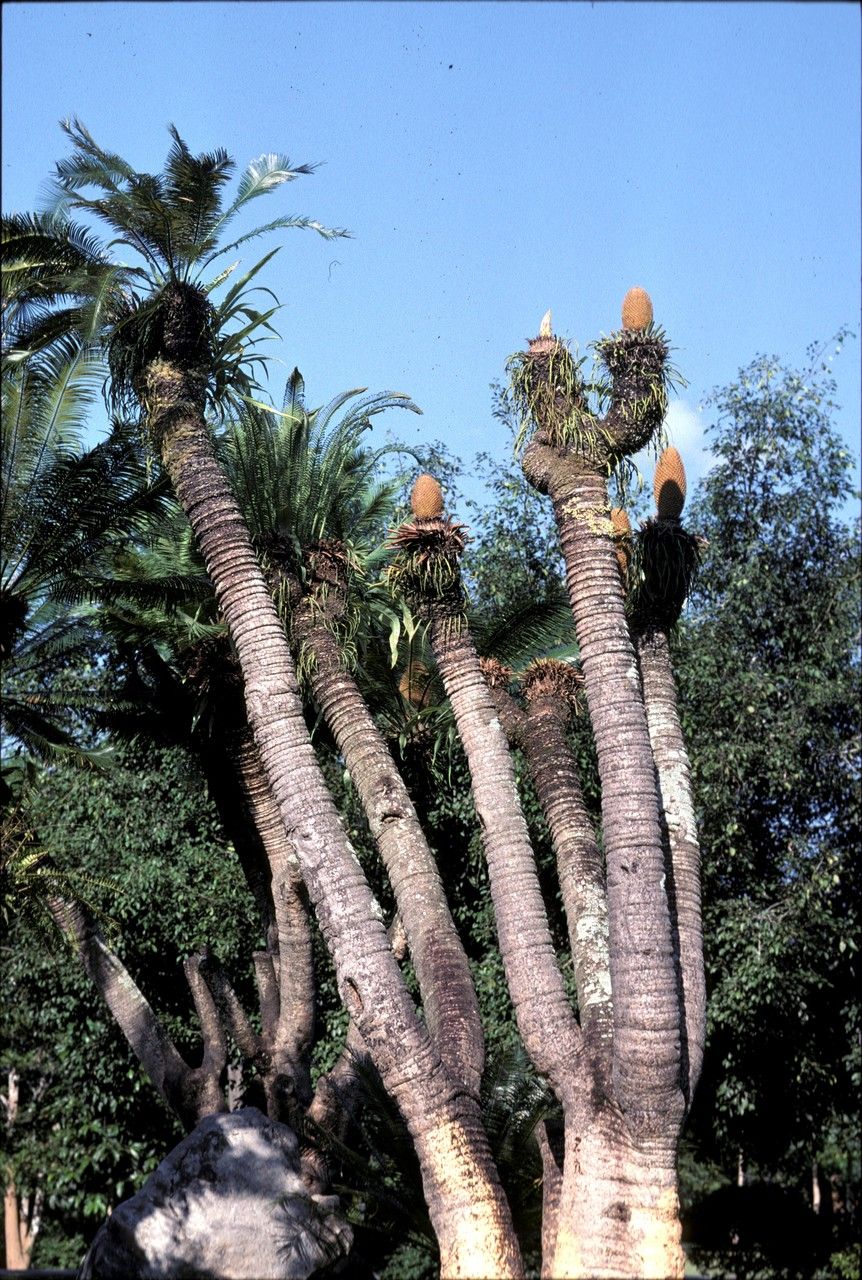
Oh, Cycas pectinata! If you’re looking for a touch of prehistoric elegance in your garden, this is your plant. I’ve been growing and fussing over these beauties for years, and there’s something incredibly satisfying about coaxing a new life from an existing one. Watching that first tiny frond unfurl from a propagated pup feels like a little miracle every single time.
Now, are cycads easy for beginners? Honestly, compared to some of the more forgiving houseplants, cycads can be a touch more demanding. But that doesn’t mean you can’t do it! It just means we need to be a little more thoughtful and patient. And that’s exactly what we’re going to do together.
The Best Time to Start
For Cycas pectinata, the absolute sweet spot for propagation is during its active growing season. This typically falls in the late spring or early summer. You’ll know it’s the right time because your mature plant will likely be producing new growth, often called “pups” or offsets, at its base. These are the little guys we’re after! Trying to propagate when the plant is dormant will likely result in disappointment.
Supplies You’ll Need
Gathering your tools before you begin makes the whole process smoother. Here’s what I keep handy:
- Sharp, sterilized pruning shears or a clean knife: For making precise cuts.
- Rooting hormone powder (optional, but recommended): This really gives those new roots a boost! Look for one formulated for woody plants.
- Well-draining potting mix: A gritty mix is crucial. I often use a blend of cactus/succulent mix with added perlite or coarse sand.
- Small pots or containers with drainage holes: Terracotta pots are my preference as they breathe well.
- Gloves: Cycads have sticky sap, and it’s good to protect your hands.
- Newspaper or a clean surface: For dusting off roots and working cleanly.
- Watering can with a fine rose or a spray bottle: For gentle watering.
Propagation Methods: Offsets are Your Friends!
Cycas pectinata primarily propagates through offsets, which are smaller plants that grow from the base of the mother plant. This is by far the most reliable and straightforward method for this species.
- Examine Your Mother Plant: Gently clear away any debris or soil around the base of your established Cycas pectinata. Look for those small, bulbous growths emerging from or near the main trunk. These are your pups! They should ideally be a good size, at least a few inches across, and ideally have a few tiny leaves on them.
- Carefully Detach the Offset: Using your sterilized pruning shears or knife, make a clean cut as close to the main trunk as possible, ensuring you get as much of the offset’s base as you can. Try not to damage the mother plant or the offset.
- Allow to Callus: This is a crucial step! Place the detached offset in a dry, shaded location for several days to a week. You want the cut surface to dry out and form a callus. This prevents rot when you plant it. Don’t rush this!
- Prepare Your Potting Mix: Fill your small pot with your well-draining potting mix. Moisten it slightly – it should be damp, not soggy.
- Apply Rooting Hormone (Optional): If you’re using rooting hormone, gently dip the callused end of the offset into the powder, tapping off any excess.
- Plant the Offset: Make a small hole in the center of your potting mix. Place the callused end of the offset into the hole, ensuring it’s firm enough to stand upright. You don’t need to bury it too deeply; the base should be securely in the soil.
- Initial Watering: Water very sparingly after planting. Just enough to settle the soil around the base. Overwatering at this stage is the quickest way to invite rot.
The “Secret Sauce” (Pro Tips)
Here are a couple of tricks I’ve picked up over the years that can really help:
- Patience is Paramount (and Bottom Heat!): Cycads are naturally slow growers. Don’t expect to see new growth overnight. It can take several months, even up to a year, for a propagated offset to fully establish and show new leaves. If you have a seedling heat mat, placing the potted offset on it can provide gentle, consistent warmth that encourages root development. Avoid placing it directly on a hot mat without a buffer.
- Don’t Over-Pot: Resist the urge to put a tiny offset in a huge pot. A smaller pot helps the soil dry out more appropriately, again, warding off that dreaded rot. You can always pot it up later once it’s well-established.
Aftercare & Troubleshooting
Once your offset is planted, treat it gently.
- Light: Place it in a bright location, but out of direct, harsh sunlight for the first few months. Dappled shade is ideal. As it grows, you can gradually introduce it to more light.
- Watering: This is where most people stumble. Allow the soil to dry out significantly between waterings. Stick your finger into the soil; if it feels damp, wait. When you do water, water thoroughly until it drains from the bottom, then let it dry out again. Overwatering is the enemy!
- Signs of Trouble: The biggest sign of a problem is rot. If the base of your offset starts to look mushy, discolored, or smells foul, it’s likely rotting. Unfortunately, at that point, it’s often too late. Prevention through proper callusing and careful watering is key. If you see tiny white (or sometimes reddish) mites, that’s something to address by gently washing the plant and possibly using an organic pest spray.
A Gentle Encouragement
I know it can feel a little nerve-wracking when you’re trying something new, especially with an elegant plant like Cycas pectinata. But trust your instincts, take your time, and remember that nature has a way of working its magic. Don’t be discouraged if your first attempt isn’t a roaring success. Every gardener has their learning curve! Enjoy the quiet satisfaction of nurturing new life. Happy propagating!
Resource:
https://identify.plantnet.org/k-world-flora/species/Cycas%20pectinata%20Buch.-Ham./data