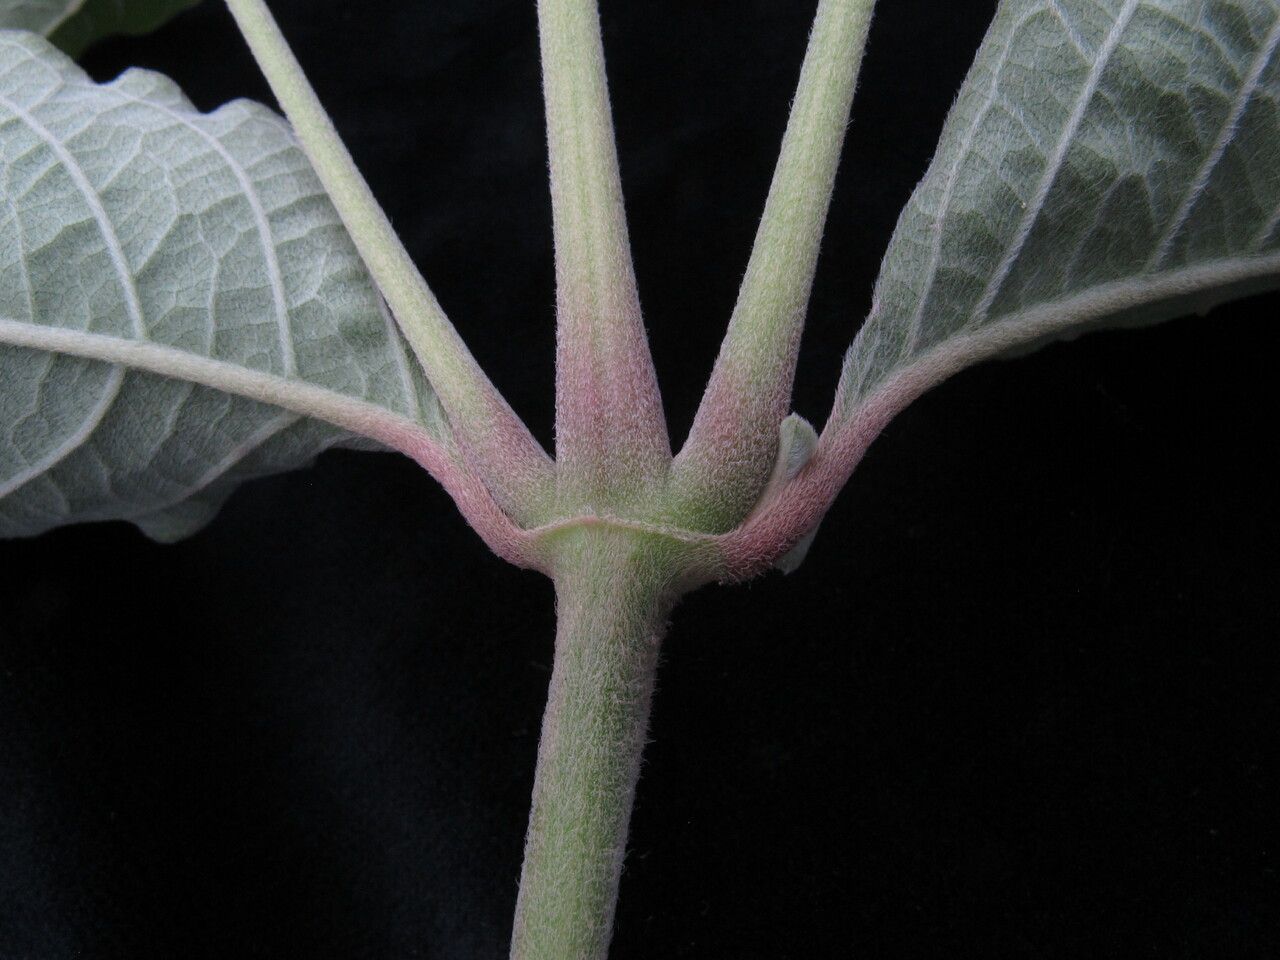
Hello fellow garden enthusiasts! Today, we’re diving into the delightful world of Cyathula tomentosa, also known as Velvet Wonder. This isn’t a plant you see everywhere, which makes it all the more special. Its soft, fuzzy leaves and delicate, often vibrant, flowers are a real treat in any garden or indoor collection. Propagating it is a fantastic way to share its beauty or simply expand your own green haven without breaking the bank. For those of you just starting out, I’d say Cyathula tomentosa is moderately easy to propagate, with a bit of patience and the right approach. You’ve got this!
The Best Time to Start
When it comes to getting the most bang for your propagating buck, spring and early summer are your golden windows. This is when the plant is actively growing and has the most energy to put into new roots. Look for healthy, vigorous stems that aren’t flowering or just finished doing so. These are the powerhouses of growth.
Supplies You’ll Need
To give yourself the best chance of success, gather these items before you begin:
- Sterile pruning shears or a sharp knife: Clean tools prevent disease transmission.
- Well-draining potting mix: A good blend to start with is equal parts peat moss and perlite, or a dedicated seed-starting mix.
- Rooting hormone (optional but recommended): This can give your cuttings a significant boost. Look for one with IBA.
- Small pots or seed trays: Clean and with drainage holes, of course.
- Plastic bags or a propagation dome: To create a humid microclimate.
- Spray bottle: For misting.
- Clean water: For propagation if you’re going that route.
- Labeling stakes and a pen: To keep track of what you’ve potted.
Propagation Methods
Let’s get our hands dirty! For Cyathula tomentosa, I find stem cuttings to be the most reliable method.
Stem Cuttings
- Select your mother plant: Choose a healthy, mature Cyathula tomentosa.
- Take your cuttings: Using your sterilized pruning shears or knife, take cuttings that are 4-6 inches long. Make the cut just below a leaf node (where a leaf attaches to the stem). This is where new roots are most likely to form.
- Prepare the cuttings: Gently remove the lower leaves from the cutting, leaving just a couple of leaves at the very top. This prevents them from rotting in the soil.
- Apply rooting hormone (if using): Dip the cut end of the stem into the rooting hormone powder, tapping off any excess.
- Plant your cuttings: Fill your small pots with your well-draining mix. Make a small hole in the center of the soil with your finger or a pencil. Insert the prepared cutting into the hole, ensuring the leaf nodes are below the soil surface. Gently firm the soil around the stem.
- Create humidity: Water the soil lightly. Then, you can either place a plastic bag loosely over the pot (supported by stakes so it doesn’t touch the leaves) or put your potted cuttings under a propagation dome.
- Find a bright spot: Place your pots in a location that receives bright, indirect light. Avoid direct sun, which can scorch the delicate cuttings.
The “Secret Sauce” (Pro Tips)
After years of tinkering, I’ve learned a few tricks that make a difference.
- Don’t rush the watering: When you first pot your cuttings, water them thoroughly but allow the soil to drain well. Then, only water again when the top inch of soil feels dry to the touch. Overwatering is a sure way to invite rot.
- Bottom heat is your friend: If you can, place your pots on a gentle heat mat designed for plants. This promotes root growth from below, which is incredibly beneficial for cuttings. Just make sure the heat isn’t too intense!
Aftercare & Troubleshooting
Once your cuttings are established and you start to see signs of new growth (tiny leaves emerging or resistance when you gently tug on the stem), it’s time to gradually acclimate them.
- Remove the humidity tent: Over a week or two, gradually increase ventilation by opening the plastic bag or propagation dome for longer periods. This toughens up your new plants.
- Watering: Continue to water when the top inch of soil is dry. As they grow, you can start feeding them with a diluted liquid fertilizer every 4-6 weeks during the growing season.
- Common Pitfalls: The most common issue you’ll face is stem rot. If you see your cutting turning mushy and black, it’s likely due to overwatering or lack of air circulation. Unfortunately, a rotted cutting usually can’t be saved, so it’s best to discard it and try again. Wilting without rot can sometimes be a sign that the cutting is dry, so check your watering.
A Little Patience Goes a Long Way
Propagating plants is a journey, and each cutting is a tiny experiment. Don’t get discouraged if your first few attempts aren’t perfect. The satisfaction of nurturing a new life from a simple stem is truly immense. Keep observing, keep learning, and most importantly, enjoy the process of growing your own Cyathula tomentosa! Happy gardening!
Resource:
https://identify.plantnet.org/k-world-flora/species/Cyathula%20tomentosa%20(Schult.)%20Moq./data