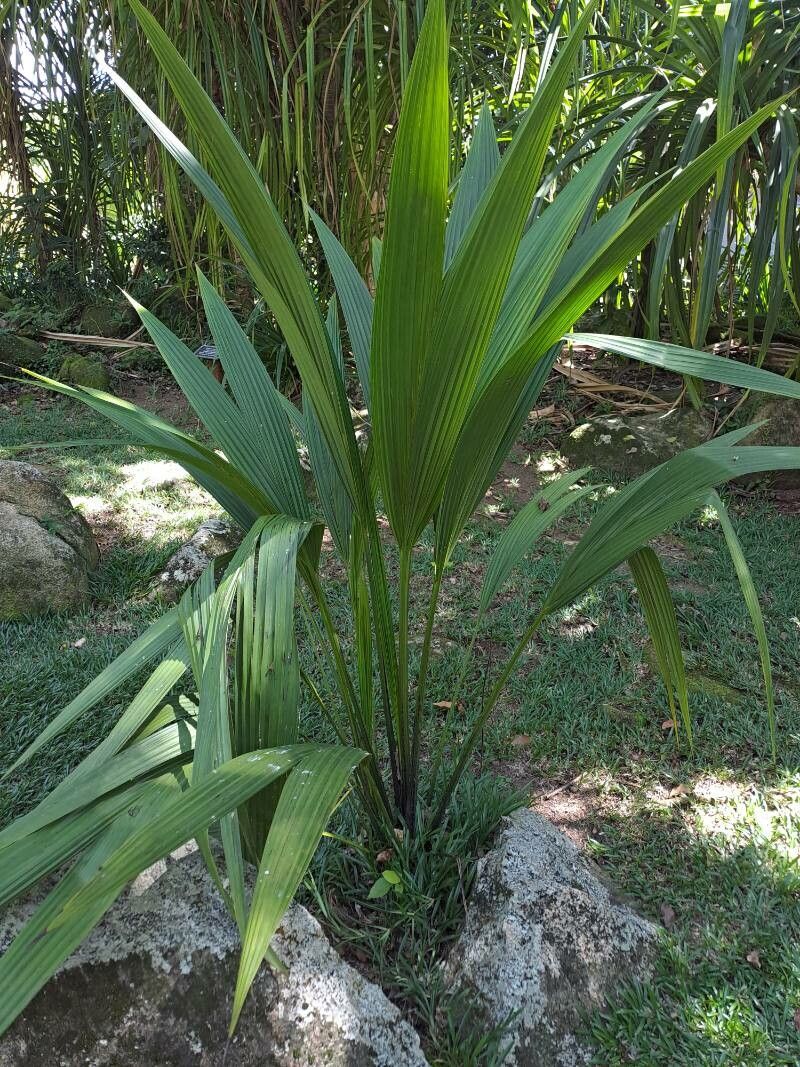
Hello, fellow plant lovers! Today, we’re diving into the wonderful world of Curculigo seychellensis. If you’re looking for a tropical beauty with star-shaped, elegantly arching leaves and a certain subtle charm, you’ve found it. These plants bring a touch of exotic grace to any garden or indoor space. Propagating them is not only a fantastic way to expand your collection but also deeply satisfying. For beginners, I’d say it’s moderately easy – a little patience and attention go a long way!
The Best Time to Start
The warmer months are definitely your best bet for propagating Curculigo. Think late spring through early summer. This is when the plant is in its most vigorous growth phase, and the cuttings or divisions have the best chance of developing strong roots quickly. You’ll see new shoots emerging, which are perfect candidates for taking.
Supplies You’ll Need
Here’s what I like to have on hand:
- Sharp pruning shears or a clean knife: For making neat cuts.
- Well-draining potting mix: A good blend of peat moss, perlite, and coarse sand works wonders. You can even buy specialized mixes for tropical plants.
- Small pots or trays: Clean ones are crucial to prevent disease.
- Rooting hormone (optional but helpful): A powder or gel can give your cuttings a little boost.
- Clear plastic bags or a humidity dome: To keep humidity levels high.
- Labels: So you don’t forget what you’ve planted!
- Spray bottle: For misting.
Propagation Methods
Curculigo seychellensis is most commonly propagated by division. It’s a straightforward process once you get the hang of it.
- Gently remove the plant from its pot. If it’s root-bound, you might need to give the pot a good squeeze or run a knife around the edge.
- Inspect the root ball. You’ll likely see clumps forming at the base of the plant, where new shoots are emerging from the parent rhizome.
- Carefully tease apart the divisions. You want to ensure each division has some roots and at least one healthy shoot or bud. Sometimes, you can simply pull them apart with your hands. If they’re stubborn, use your clean knife or shears to make a clean cut through the rhizome.
- Pot up your new divisions. Use your well-draining potting mix. Plant each division so the top of the rhizome is just at soil level.
- Water gently. Don’t drench them, just moisten the soil thoroughly.
While division is the primary method, you can also try taking stem cuttings, although it’s less common and can be trickier for this specific plant.
- Select a healthy stem. Look for new growth that’s firm but not woody.
- Make a clean cut just below a leaf node.
- Remove the lower leaves and any flower buds.
- Dip the cut end in rooting hormone, if using.
- Pot the cutting in your moist, well-draining mix.
- Cover with a plastic bag or humidity dome and place in bright, indirect light.
The “Secret Sauce” (Pro Tips)
Here are a couple of things I’ve learned over the years that really seem to make a difference:
- Don’t overwater after division. This is probably the most crucial part. The divisions need to stay consistently moist but never soggy. Soggy conditions are a recipe for rot, and that’s the quickest way to lose a new plant. Think “damp towel,” not “swimming pool.”
- Consider bottom heat for cuttings. If you’re trying stem cuttings (or even divisions if you’re in a cooler climate), placing the pots on a heat mat can significantly speed up root development. It mimics the warmth of the soil that encourages growth in nature.
- Keep them humid, but allow for airflow. That plastic bag or humidity dome is key for cuttings and recently divided plants. However, once a week, I like to lift the bag for a few minutes to allow for some air exchange. This helps prevent fungal issues.
Aftercare & Troubleshooting
Once you see new growth appearing on your divisions or cuttings, that’s a fantastic sign! It usually means roots are forming. Start gradually increasing their exposure to light and watering them a little more regularly, but always check the soil moisture first.
The most common sign of trouble is rot. If the leaves start to turn yellow and mushy, or if the stem near the soil becomes dark and soft, you’re likely dealing with overwatering or a fungal infection. Unfortunately, once rot sets in, it’s very difficult to save the plant.
If your cutting or division simply doesn’t show any signs of life after several weeks, don’t despair. Some plants are just slow starters, or perhaps the conditions weren’t quite right. It happens to the best of us!
A Encouraging Closing
Propagating Curculigo seychellensis is a rewarding journey. Be patient with your new little plants. Watch them, learn their cues, and celebrate every tiny new leaf. The joy of watching something you’ve nurtured grow into a beautiful, thriving plant is truly one of gardening’s greatest pleasures. Happy propagating!
Resource: