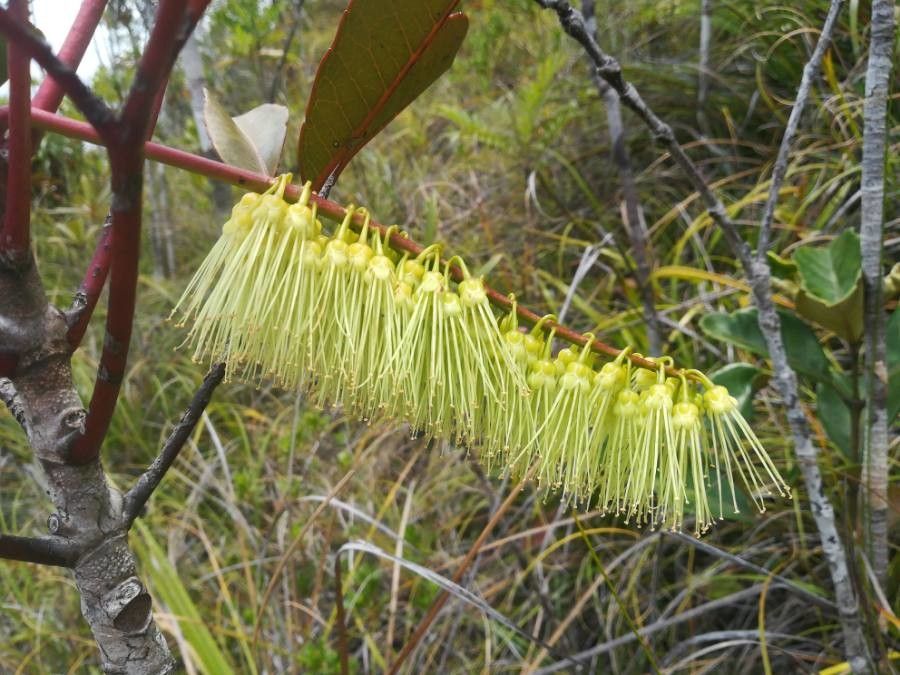
Hello fellow garden enthusiasts! It’s a delight to share another bit of green wisdom with you today. We’re going to dive into one of my absolute favorites, Cunonia macrophylla, or as I affectionately call it, the “velvet leaf” tree. If you’ve ever seen this beauty in a garden, you’ll know why it’s so captivating. Its large, glossy, deep green leaves with their striking velvety undersides are simply breathtaking. And the best part? Propagating it is a truly rewarding endeavor, though I’ll be honest, for absolute beginners, it might present a bit of a learning curve. But don’t let that deter you one bit – with a little patience and these tips, you’ll be well on your way to success!
The Best Time to Start
When it comes to getting new Cunonia macrophylla babies going, I find the sweet spot is generally late spring into early summer. This is when the plant is in its most vigorous growth phase, meaning the stems have a good amount of energy stored up. You’ll want to look for semi-hardwood cuttings, which are stems that are no longer brand new and soft, but not yet fully woody and mature. Think of it like a young willow branch – firm, but still pliable.
Supplies You’ll Need
Gathering your tools beforehand makes the whole process so much smoother. Here’s my go-to list:
- Sharp, clean pruning shears or a sharp knife: Essential for making clean cuts.
- Rooting hormone: A good quality powder or gel will significantly boost your chances.
- Potting medium: I prefer a mix of perlite and peat moss (or coco coir). A roughly 50/50 blend works wonders for drainage and aeration. Avoid heavy garden soil.
- Small pots or seed trays: Clean, with drainage holes, of course!
- Plastic bags or a propagator: To create a humid environment.
- Gloves (optional): Some find it helps keep their hands clean.
- Watering can with a fine rose attachment: Gentle watering is key.
Propagation Methods: Stem Cuttings
This is my preferred method for Cunonia macrophylla. It’s reliable and gives you the most bang for your buck.
- Take your cuttings: Select healthy, vigorous shoots from your parent plant. Using your clean shears, take cuttings that are about 4-6 inches long. Make a clean cut just below a leaf node (where the leaf attaches to the stem).
- Prepare the cuttings: Gently remove the lower leaves, leaving just a couple of sets at the top. This reduces water loss and prevents leaves from rotting in the soil.
- Apply rooting hormone: Dip the cut end of each cutting into your rooting hormone, tapping off any excess. This is like giving your little cutting a superpower boost!
- Pot them up: Fill your chosen pots with your prepared potting mix. Make a small hole with a pencil or your finger and insert the cut end of the cutting. Gently firm the soil around the base to ensure good contact.
- Water gently: Give them a thorough, but gentle, watering. You want the soil to be moist, not waterlogged.
- Create humidity: Cover each pot loosely with a plastic bag or place them in a propagator. This will create a mini-greenhouse, keeping the humidity high, which is crucial for preventing the cuttings from drying out before they can root.
The “Secret Sauce” (Pro Tips)
Okay, a few little tricks I’ve picked up along the way that really make a difference:
- My absolute favorite trick? Use bottom heat! A heated propagator or even just placing your pots on a seed warming mat can make a huge difference. It encourages root development from below, giving your cuttings a much-needed kickstart.
- When you’re watering, try not to let water collect in the leaf axils (where the leaf meets the stem). This can sometimes lead to rot, especially in humid conditions. Aim to water the soil directly.
- Don’t be tempted to peek too often! Every time you lift the cover, you’re releasing all that precious humidity. I usually leave them be for at least 3-4 weeks before checking for roots.
Aftercare & Troubleshooting
Once you start to see signs of new growth – tiny leaves unfurling or a bit of upward reach – that’s a good indication that roots are forming!
- Acclimate them slowly: Once roots are established, gradually start to remove the plastic covering for increasing periods each day. This helps them get used to the ambient humidity.
- Water consistently: Keep the soil consistently moist, but never soggy.
- Watch for rot: The most common issue is rot, which can happen if the cuttings are kept too wet or if there’s poor air circulation. You’ll see the stem turn black and mushy. If you see this, unfortunately, that cutting is likely lost. But don’t get discouraged!
A Little Patience Goes a Long Way
So there you have it – a little guide to bringing more velvet leaf trees into your life. Remember, gardening is a journey, and propagation is one of its most magical aspects. Be patient with your little cuttings, celebrate every new leaf, and most importantly, enjoy the process of nurturing new life. Happy propagating!
Resource:
https://identify.plantnet.org/k-world-flora/species/Cunonia%20macrophylla%20Brongn.%20&%20Gris/data