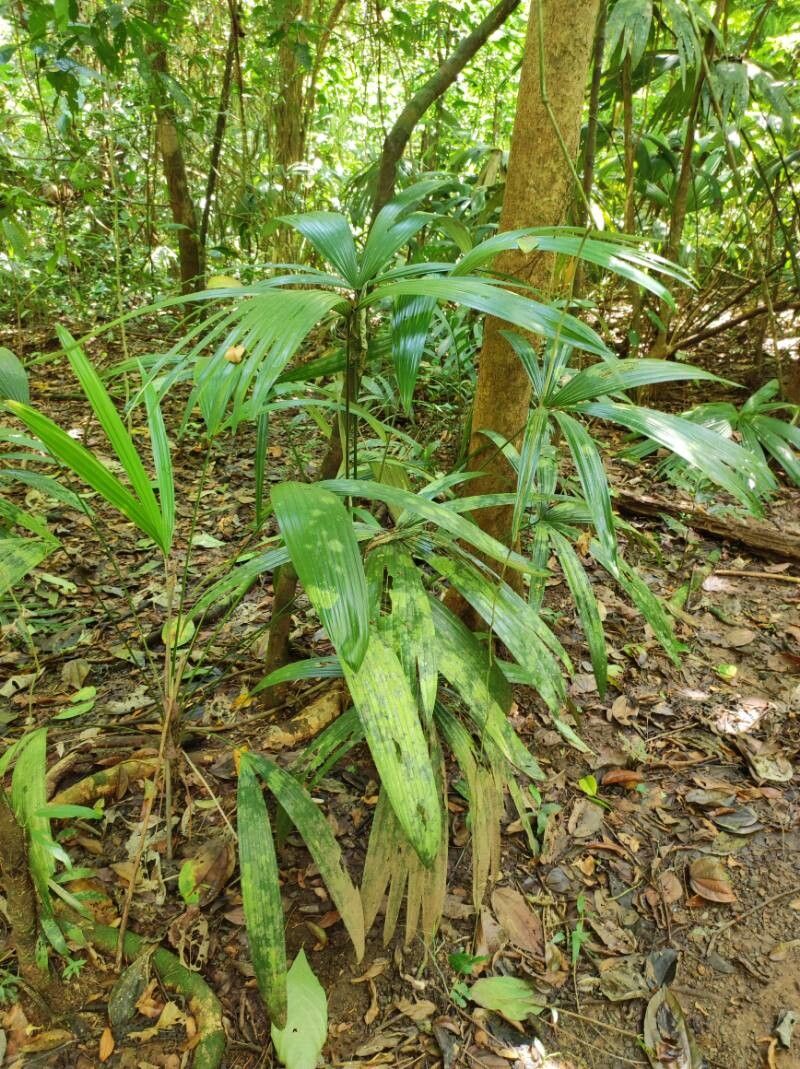
Hello fellow plant lovers! Today, we’re diving into the wonderful world of Cryosophila guagara propagation. If you’re drawn to its lush, tropical vibes and unique fronds, you’re in for a treat. There’s something incredibly satisfying about coaxing a new life from an existing plant, and the Cryosophila guagara is a particularly rewarding specimen to work with. While it might seem a little daunting initially, I promise, with a few key techniques, you’ll be well on your way to a small forest of your own!
The Best Time to Start
Generally, the prime time to propagate Cryosophila guagara is during its active growing season, which typically falls in late spring and early summer. This is when the plant has the most energy reserves. You’re looking for healthy, vigorous growth. If you’re dividing a mature plant, doing so just as new shoots begin to emerge in spring is also excellent.
Supplies You’ll Need
Gathering your tools beforehand makes the whole process smoother. Here’s what I usually have on hand:
- Sharp, clean pruning shears or a knife: For making clean cuts. Sterilize them with rubbing alcohol!
- Well-draining potting mix: A blend of peat moss, perlite, and a bit of sand works wonders for most palms.
- Small pots or trays: With drainage holes, of course.
- Rooting hormone (optional but recommended): A powder or gel can give cuttings a boost.
- Clear plastic bags or domes: To create a humid microclimate.
- Watering can or spray bottle: For gentle watering.
- A warm spot: Where the plant will receive bright, indirect light.
Propagation Methods
For Cryosophila guagara, the most successful methods are division and stem cuttings.
Method 1: Division (My Go-To!)
This is especially great for mature plants that have started producing pups or offsets around their base.
- Gently remove the parent plant from its pot. If it’s large, you might need a bit of help.
- Carefully examine the root ball. Look for smaller, independent plantlets with their own roots.
- Using your clean shears or knife, separate a pup from the mother plant, ensuring it has a good clump of roots attached. Don’t be afraid to make a clean cut if necessary.
- Pot each division into its own small pot filled with your well-draining mix.
- Water thoroughly to settle the soil around the roots.
- Place the newly potted divisions in a warm, humid spot with bright, indirect light. Keep the soil consistently moist but not waterlogged.
Method 2: Stem Cuttings (A bit more patience required)
This method involves taking sections of the stem with a few leaves.
- Select a healthy stem from the parent plant. Look for one that is firm and has at least two or three leaf nodes.
- Make a clean cut just below a leaf node, about 4-6 inches down the stem. Remove the lower leaves, leaving just the top few.
- Dip the cut end into rooting hormone, if you’re using it. Tap off any excess.
- Insert the cutting into a pot filled with your prepared potting mix. Make sure the nodes are buried.
- Water gently.
- Cover the pot with a clear plastic bag or dome to trap humidity. Make sure the leaves don’t touch the plastic.
- Place in a warm spot with bright, indirect light. You might need to open the bag for a few minutes daily to allow for air circulation and prevent mold.
The “Secret Sauce” (Pro Tips)
These little tricks have made all the difference for me over the years.
- Bottom Heat is Your Friend: Especially for stem cuttings, placing the pot on a gentle seedling heat mat can significantly speed up root development. It mimics the warmth of tropical soil, which these palms adore.
- Don’t Drown Your Roots! This is huge. Many beginners overwater, leading to rot. For divisions, water well initially, then let the top inch of soil dry out before watering again. For cuttings, misting the leaves and keeping the soil barely moist is often enough.
- The Humidity Tent is Non-Negotiable: Cryosophila guagara loves a steamy environment. That plastic bag or dome isn’t just for show; it creates that essential humid bubble that prevents the cutting or division from drying out while it establishes.
Aftercare & Troubleshooting
Once you see new leaf growth emerging, or feel a gentle tug when you lightly test the cutting, it’s a great sign that roots are forming!
- Gradually introduce your new plant to normal room humidity by slowly opening the plastic tent over a week or so.
- Continue to water consistently, but allow the top layer of soil to dry out between waterings.
- Keep it out of direct sun for the first few months, as this can scorch delicate new growth.
The most common problem you might encounter is rot. If you see mushy stems or yellowing leaves that feel limp rather than dried out, it’s usually a sign of too much moisture. If you catch it early, you can try repotting in fresh, dry soil and reducing watering.
A Little Patience Goes a Long Way
Propagating plants is a journey, not a race. Some take their sweet time to show us they’re ready for the world, and that’s perfectly okay. Don’t get discouraged if your first attempt doesn’t go exactly as planned. Learn from it, adjust your approach, and enjoy the process of nurturing new life. Happy propagating!
Resource:
https://identify.plantnet.org/k-world-flora/species/Cryosophila%20guagara%20P.H.Allen/data