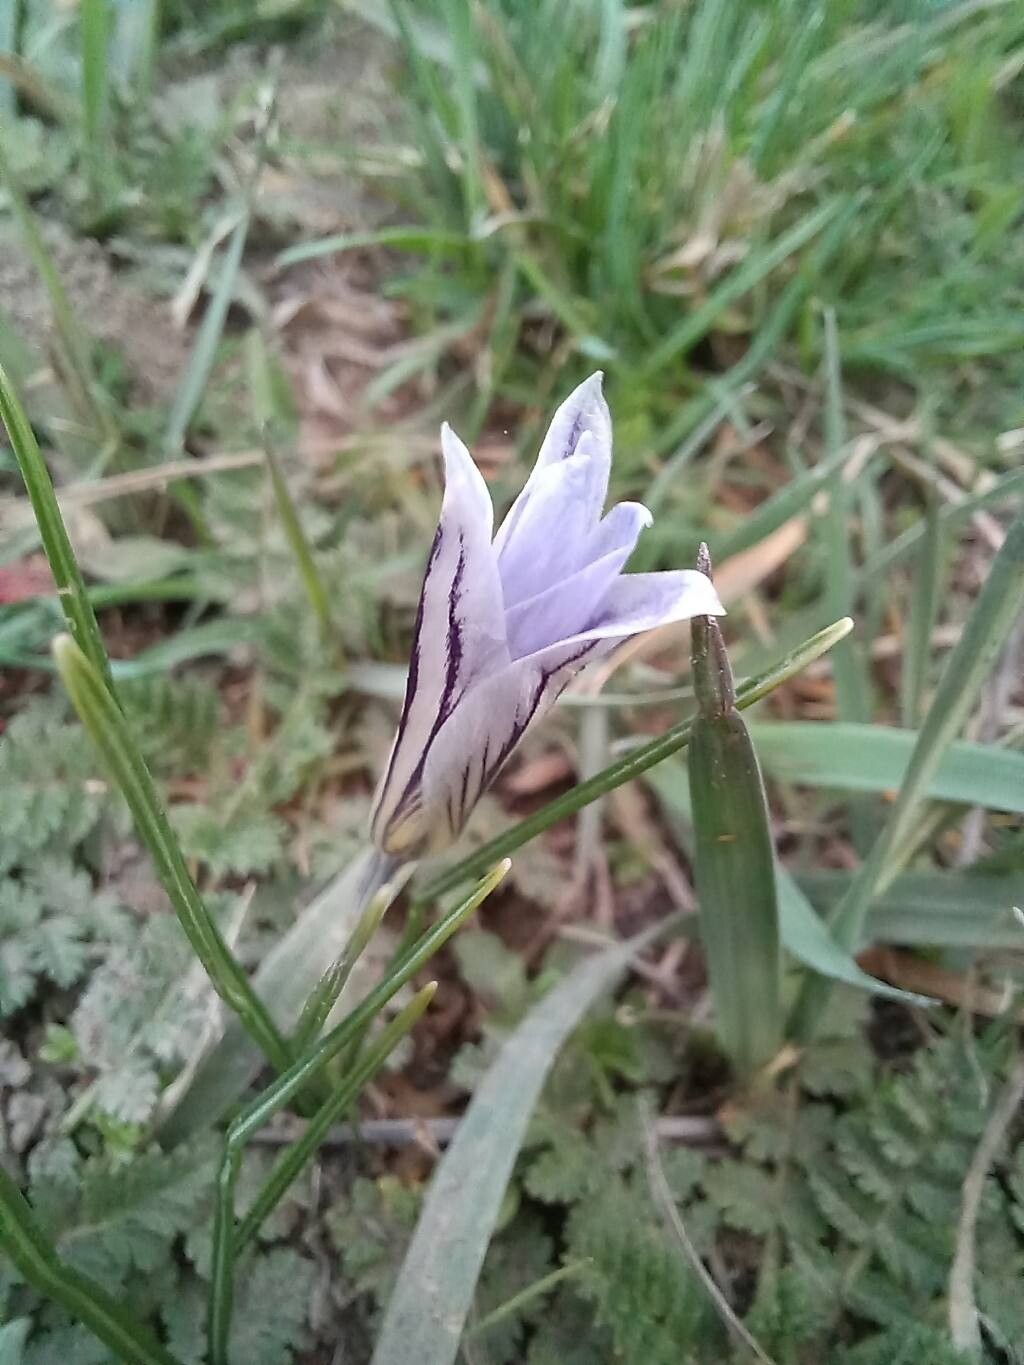
Hello, fellow garden enthusiasts! It’s so lovely to have you here. Today, we’re going to chat about a truly delightful little gem: Crocus reticulatus. These aren’t your everyday crocuses. They boast an absolutely enchanting, intricate pattern on their petals, like delicate lace. Seeing them emerge in early spring, pushing through the last vestiges of winter, is always a thrill. And guess what? Propagating them yourself is a wonderfully rewarding endeavor. While not as simple as dividing a hosta, it’s certainly achievable, even for those newer to the gardening scene. I promise, with a little know-how and some patience, you’ll be rewarded with a whole new patch of these beauties!
The Best Time to Start
For Crocus reticulatus, timing is everything. The absolute best time to think about propagating them is right after they finish flowering in late spring or early summer. This is when the corms (which are like little underground bulbs) are in their dormant phase, or at least transitioning into it. They’ve done their spring show and are storing up energy for next year. Trying to propagate them when they’re actively growing and flowering can be quite stressful for the plant, and you won’t get as good results.
Supplies You’ll Need
Gathering your materials beforehand makes the whole process go much smoother. Here’s what I like to have on hand:
- Sharp trowel or small spade: For gently lifting the corms.
- Fine-mesh sieve: To carefully separate the cormlets.
- Well-draining potting mix: A mix specifically designed for bulbs or a blend of potting soil, perlite, and a bit of sand works wonders. You want to avoid anything that holds too much moisture.
- Shallow trays or pots: For planting your newly acquired cormlets.
- Labels and a permanent marker: Don’t skip this! It’s easy to forget what you planted where.
- A watering can with a fine rose: For gentle hydration.
- A dry, cool, dark spot: To store dormant corms if needed.
Propagation Methods
For Crocus reticulatus, the primary and most successful method is division of corms. These plants, like many bulbs and corms, naturally produce smaller offset corms, often called ‘cormlets’, around the parent corm.
Here’s how I do it:
- Gentle Excavation: As soon as the leaves start to yellow and die back (signaling dormancy), it’s time to carefully dig. Using your trowel, gently loosen the soil around the area where your crocuses are planted. Be cautious – you don’t want to nick or damage the corms unearthed your prize.
- Lifting the Corms: Carefully lift the entire clump of corms from the soil. You’ll likely find the main corm surrounded by several smaller cormlets.
- Cleaning and Separating: Gently shake off as much of the old soil as you can. Now comes the delicate part. Carefully separate the cormlets from the parent corm. They should pull away quite easily if they are ready. If a cormlet is strongly attached, it might be too young to propagate successfully. You can use your fingers or a small blunt tool for this.
- Inspection and Discarding: Take a moment to inspect your corms. Discard any that look mushy, damaged, or show signs of disease. Healthy corms will be firm and plump.
- Planting the Cormlets: Fill your shallow trays or pots with your prepared well-draining soil mix. Create small divots in the soil, about as deep as the cormlet is tall. Place each cormlet pointed-side up in its little spot.
- Watering and Placement: Give them a gentle watering to settle the soil. Then, find a bright spot, but out of direct, harsh sunlight while they establish.
The “Secret Sauce” (Pro Tips)
Over the years, I’ve learned a few tricks that really help boost success.
- Don’t Rush the Dormancy: This is crucial. Resist the urge to dig them up the moment the flowers fade. Wait until the foliage has completely yellowed and withered. This ensures the corm has stored maximum energy and is truly ready to rest and divide.
- Bottom Ventilation is Your Friend: When planting your cormlets in trays, consider using pots with good drainage holes at the bottom. Sometimes, placing the trays on a layer of pebbles or even a heat mat (if you’re feeling adventurous and have it) can provide a little bit of bottom warmth and airflow, encouraging root development without the risk of waterlogged soil.
- The “Paper Towel Test” for Storage: If you have surplus corms and need to store them for a bit before planting, place them between layers of dry paper towels in a breathable bag (like a paper bag) and keep them in a cool, dark place. Check them periodically for any signs of moisture or rot.
Aftercare & Troubleshooting
Once your cormlets are planted, your job isn’t quite done!
- Consistent, Gentle Moisture: Keep the soil lightly moist, but never soggy. Water whenever the top inch of soil feels dry to the touch. Overwatering is the quickest way to invite rot.
- Patience is Key: You might not see much happening above ground for a while. That’s perfectly normal! The corms are busy developing their root systems underground.
- Signs of Trouble: The biggest culprit is rot. If you see any corms turning mushy, smelling foul, or developing black spots, it’s likely rot setting in. This often points to overwatering or poor drainage. Unfortunately, if a corm rots, it’s usually beyond saving.
- New Growth: When you do see new shoots emerge, be patient. They’ll be small at first. Keep up with the gentle watering and provide good light.
A Encouraging Closing
Propagating Crocus reticulatus is a journey, not a race. It requires a bit of planning and a whole lot of gentle care. Don’t be discouraged if your first attempt isn’t perfect. Every gardener learns through trial and error. Take pleasure in the process, enjoy the connection you’ll feel to these beautiful plants, and before you know it, you’ll have a magnificent display that you can say you grew yourself! Happy gardening!
Resource:
https://identify.plantnet.org/k-world-flora/species/Crocus%20reticulatus%20Steven%20ex%20Adams/data