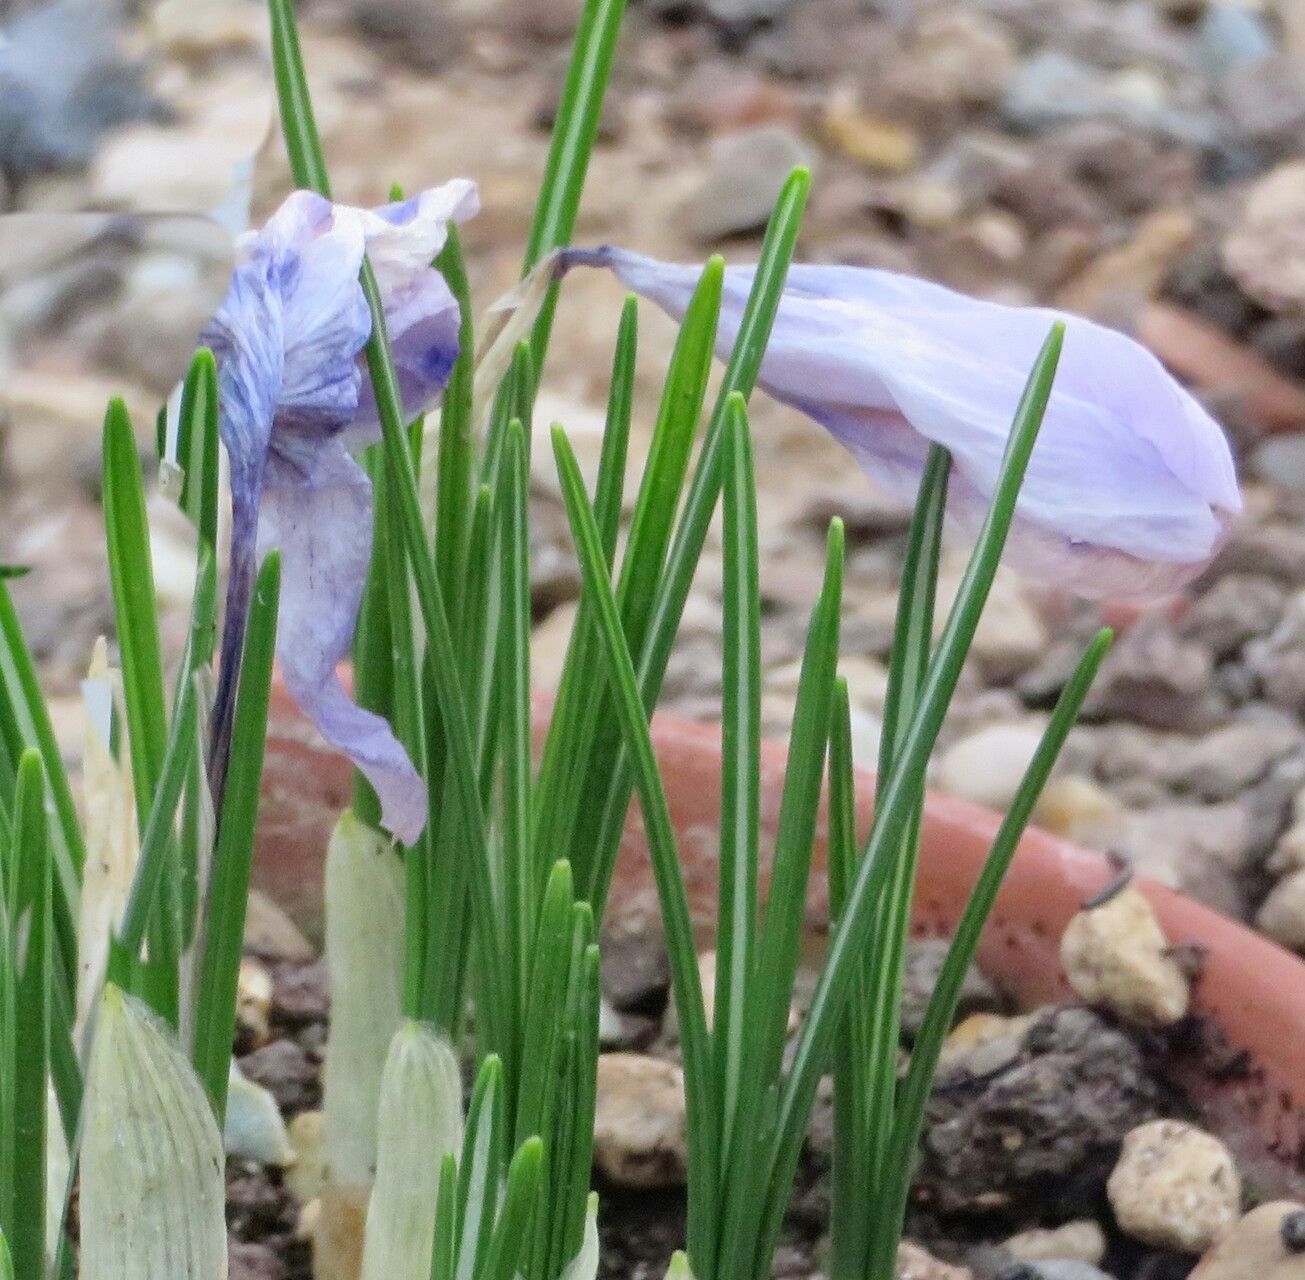
Oh, hello there! Grab a mug of your favorite beverage, and let’s chat about crocuses. Specifically, Crocus autumnalis, those delightful harbingers of autumn that pop up when everything else is settling down. I’ve always loved their cheerful faces appearing after a long summer. And the best part? Propagating them is surprisingly rewarding, and I’m happy to say it’s quite beginner-friendly! You’ll be amazed at how a single bulb can turn into a cheerful clump over time.
The Best Time to Start
For Crocus autumnalis, timing is everything, and good news – it’s quite straightforward. The absolute best time to propagate these beauties is right after they’ve finished blooming and the foliage has started to yellow and die back. This typically happens in late spring or early summer. You want to catch them when they’re a bit dormant, making the process stress-free for the plant.
Supplies You’ll Need
Here’s what you’ll want to have on hand. It’s not much, and most of it you probably already have in your shed!
- Sharp, clean trowel or a small spade: For gently digging up the bulbs.
- Well-draining potting mix: A standard potting soil mixed with perlite or coarse sand is perfect. We want no soggy roots!
- Mesh bags or paper bags: For storing any bulbs you won’t be replanting immediately.
- Optional: Rooting hormone: While not strictly necessary for crocus corms (they’re technically corms, not bulbs, but we all say bulbs, right?), it can give a little boost.
- A sunny spot: For the newly planted corms to establish.
Propagation Methods
Crocus autumnalis primarily propagates itself through division. Think of it as the plant naturally making more of itself.
Gentle Division for More Blooms:
- Wait for the die-back: As I mentioned, this is key. Wait until the green leaves have completely withered. Trying to divide too early can shock the corm and prevent it from blooming next year.
- Carefully unearth: Using your trowel or spade, gently loosen the soil around the clump of crocuses. Lift them out as a whole. You might be surprised at how many little cormlets have formed around the mother corm!
- Separate the corms: Gently pull or cut apart the larger corms from the smaller cormlets. Larger corms will likely bloom next year, while the tiny ones might take a year or two to mature. Don’t worry if a few natural divisions happen; it’s all part of the process.
- Inspect and trim: Check the corms for any signs of damage or rot. If there are any old, papery husks, you can gently peel them off. Trim off any remaining dead foliage.
- Replant immediately: This is the most crucial step. Find a sunny spot with well-draining soil. Dig a hole and plant your corms about 3-4 inches deep and 3-4 inches apart. They love to be planted fairly close together for a nice show.
The “Secret Sauce” (Pro Tips)
Now, for a couple of little tricks I’ve learned over the years:
- Air circulation is your friend: When you’ve unearthed the corms, lay them out for a few hours in a shaded, airy spot before replanting. This helps them dry out just a tiny bit and wards off any potential fungal issues. Think of it as giving them a little pre-sleep preparation.
- Watering is a gentle art: After replanting, give them a good watering. Then, ease up. Crocuses are surprisingly drought-tolerant once established. Overwatering is the quickest way to disappointment, leading to rot. Only water if the soil feels truly parched.
Aftercare & Troubleshooting
Once your little crocuses are back in the ground, keep an eye on them.
Caring for Your New Corms:
- Water wisely: As mentioned, water them in well after planting, then observe the soil. Let it dry out between waterings.
- Mulch gently: A light layer of mulch in the fall can help protect them from harsh winter temperatures and retain moisture.
- Patience is key: Don’t expect miracles overnight. It might take a few months, or even until the next blooming season, to see them really take off.
Common Signs of Failure:
- Mushy corms: This is a clear sign of rot. The most common culprits are poorly draining soil and overwatering. If you suspect rot, you might need to unearth them, trim away the rotted parts, and replant in very well-draining soil. Sometimes, sadly, they can’t be saved.
- No growth: This can happen if the corms were divided too early, are too small to bloom yet, or if they didn’t get enough sun. Don’t despair; they might surprise you next season!
Happy Planting!
See? Not so intimidating, is it? Propagating Crocus autumnalis is a lovely way to increase your collection and share their autumn magic with friends. Be patient with your new divisions, give them the right conditions to thrive, and I promise you, the satisfaction of seeing those little blooms push through the earth year after year will be absolutely worth it. Happy gardening!
Resource:
https://identify.plantnet.org/k-world-flora/species/Crocus%20autumnalis%20Mill./data