Hey there, fellow garden lovers!
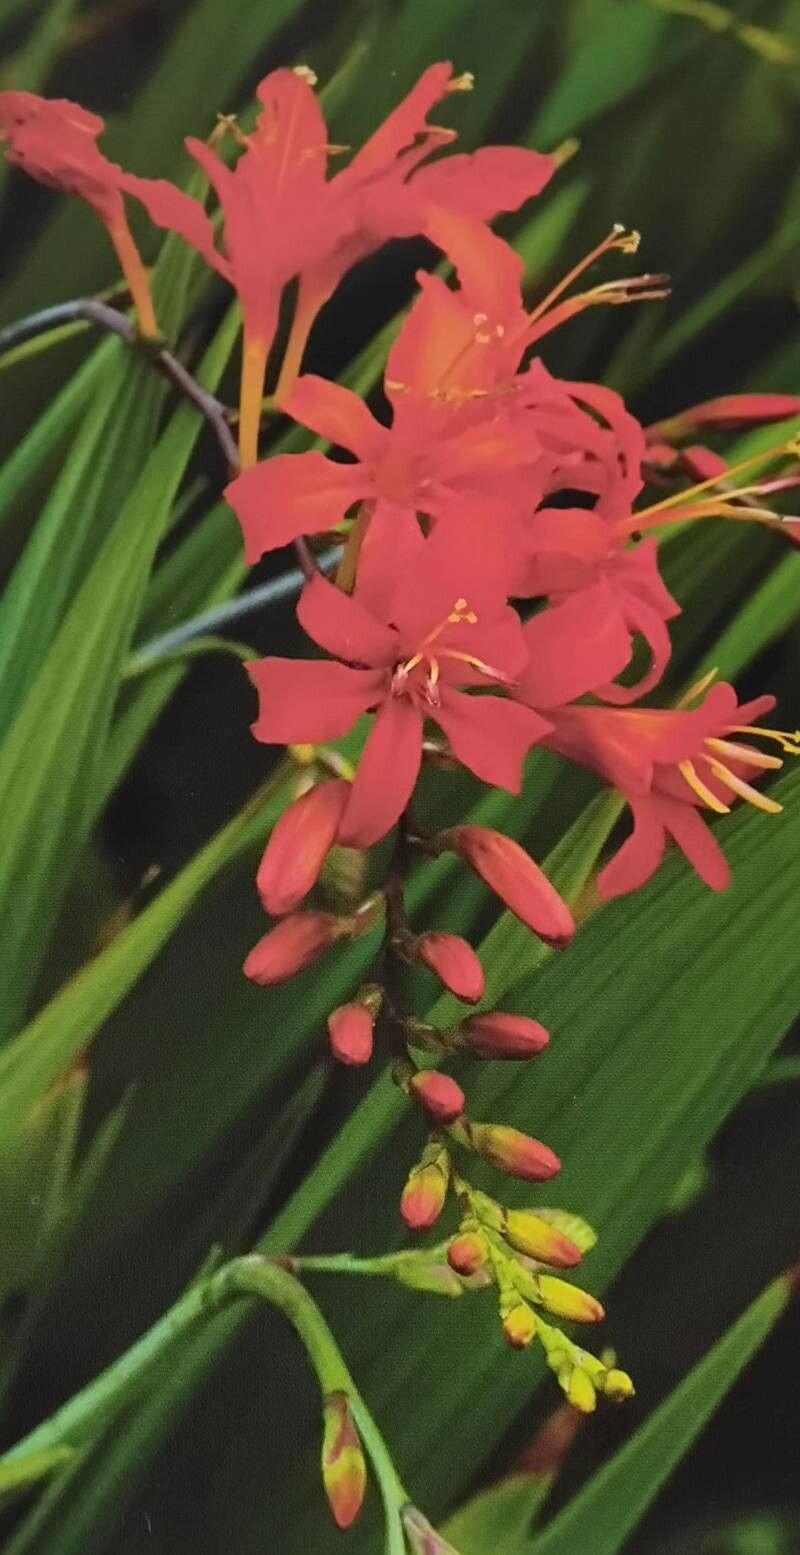
There’s something truly magical about taking a healthy, vibrant plant and creating more of it. It’s like a little bit of gardening alchemy, and today we’re going to dive into the wonderful world of propagating Crocosmia masoniorum, also known as the Montbretia. These fiery beauties, with their arching stems of vibrant red, orange, and yellow blooms, are an absolute showstopper in the summer garden. Propagating them is not only incredibly rewarding but also surprisingly straightforward, making them a fantastic choice even for those just starting out on their propagation journey.
The Best Time to Start
For Crocosmia, the sweet spot for propagation is generally in the spring, after the last hard frost has passed but before the plant really gets into its full summer growth spurt. You want to catch them when they’re actively waking up and full of energy. Early autumn is also a possibility, especially if you’re focusing on division, but spring gives you the longest growing season for your new little plants to establish themselves.
Supplies You’ll Need
Here’s what I like to have on hand:
- Sharp secateurs or a clean knife: For making clean cuts.
- Well-draining potting mix: A standard potting soil mixed with some perlite or coarse sand works wonders.
- Small pots or trays: Terracotta pots are great for breathability.
- Labels and a marker: So you don’t forget what you’ve planted!
- Watering can with a fine rose: To avoid disturbing delicate cuttings.
- Optional: Rooting hormone: While not strictly necessary for Crocosmia, it can give cuttings an extra boost.
- Optional: A heat mat: Especially beneficial for maximizing success with cuttings.
Propagation Methods
Crocosmia can be propagated in a couple of easy ways. The most common and successful for this particular plant is division.
Division
This is essentially like multiplying your plant by carefully separating its existing root structure.
- Dig it up gently: In spring, when the soil is moist but not waterlogged, carefully dig around the root ball of your established Crocosmia. You want to lift the entire clump.
- Gently tease apart: Shake away excess soil. You’ll see that the plant has grown from corms (which look a bit like bulbs) that are often clumped together. Use your hands, or a trowel if they’re really stuck, to gently tease apart the clump into smaller sections. Each section should have at least one or two healthy corms and some visible shoots or roots.
- Inspect and trim: If any of the corms look damaged or diseased, trim them away. You can also trim off any dead foliage.
- Replant: Plant your divisions directly back into the ground or into pots filled with your well-draining potting mix. Make sure the top of the corm is just at or slightly below the soil surface.
- Water well and mulch: Water them in thoroughly to settle the soil. A light layer of mulch will help retain moisture and keep the soil temperature more consistent.
Now, while Crocosmia isn’t traditionally propagated from stem cuttings in the same way some other plants are, some gardeners have found success with corm propagation. This involves carefully detaching smaller cormels that form at the base of mature corms.
Cormel Propagation (Less Common, but Possible)
- Examine mature corms: When dividing larger clumps, you might notice small, pebble-like cormels attached to the parent corms.
- Carefully separate: Use a clean knife to carefully detach these cormels.
- Pot them up: Plant these tiny cormels in small pots filled with a light, sandy potting mix, barely covering them.
- Keep them moist and warm: Place the pots in a warm, bright location, but out of direct sun. Keep the soil consistently moist but not soggy.
- Patience is key: These little guys can take their time to sprout, sometimes weeks or even months.
The “Secret Sauce” (Pro Tips)
- My go-to trick for division is to do it when the plant is just starting to wake up. You can see the tiniest bit of green poking through the soil. This tells you it’s ready to go and has enough stored energy to push out new growth.
- When replanting divisions, don’t crowd them too much. Give them space to grow. If you’re potting them up, aim for about 3-4 inches apart so they don’t get root-bound too quickly.
- For those tiny cormels, bottom heat really makes a difference. Popping them on a heat mat, even a gentle one, can significantly speed up germination.
Aftercare & Troubleshooting
Once your divisions or cormels are planted, the key is consistent moisture. Don’t let them dry out, but also avoid waterlogging, as soggy conditions are the quickest way to invite rot. Keep them in their pots or in a sheltered spot in the garden until they show clear signs of new growth. You’ll know they’re happy when you see new shoots emerging.
The most common sign of trouble is if your cuttings or cormels simply refuse to grow, appearing mushy or discolored. This usually points to either not enough moisture (they dried out) or too much moisture (rot set in). If you see rot, it’s best to discard the affected corms to prevent it from spreading. Don’t be discouraged; sometimes they just don’t take.
A Encouraging Closing
Propagating Crocosmia is a wonderfully satisfying process that connects you even more deeply with your garden. Be patient with your new plants – they have their own timeline. Enjoy the journey of watching them grow and soon you’ll have even more of those stunning fiery blooms to fill your garden with joy. Happy propagating!
Resource: