Hello fellow plant lovers!
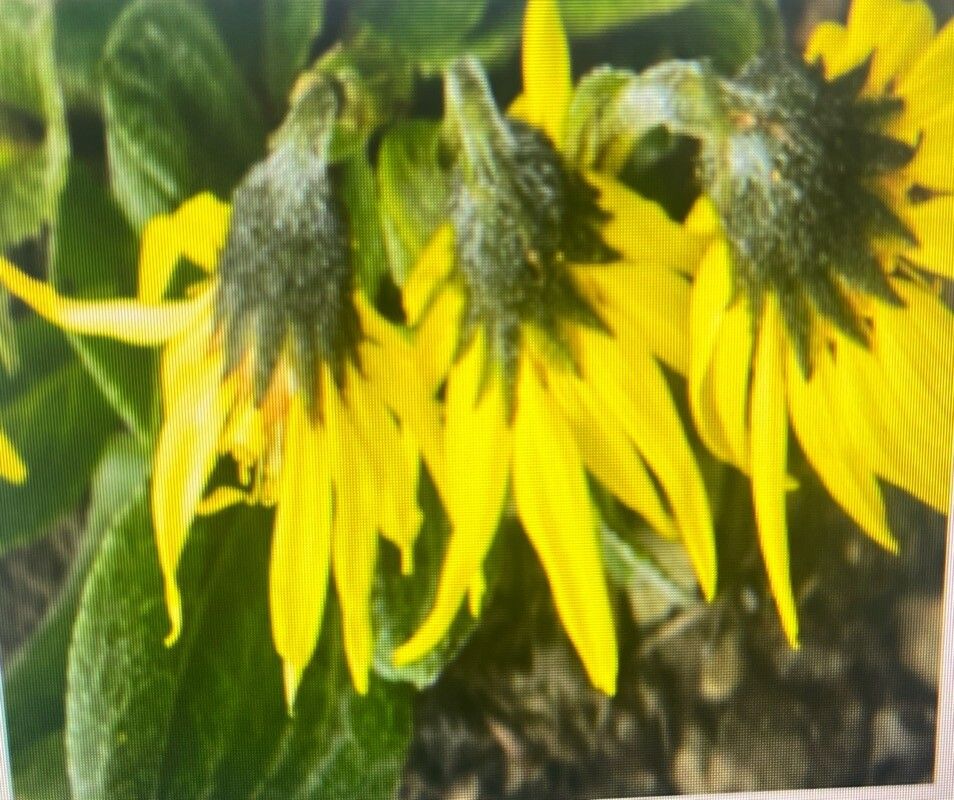
I’m so excited to talk to you today about a truly enchanting plant: Cremanthodium ellisii. If you’re not familiar with it, imagine cheerful, daisy-like flowers in vibrant hues, often appearing in shades of yellow, orange, or even a lovely pink. They bring such a joyful splash to any garden. And the best part? Propagating Cremanthodium ellisii is a wonderfully rewarding endeavor. While it’s not the absolute easiest plant for a complete beginner, with a little care and attention, you’ll find a lot of success. It’s a fantastic way to expand your collection and share these beauties with friends.
The Best Time to Start
For the highest success rate, I always recommend propagating Cremanthodium ellisii in late spring or early summer, right as the plant is actively growing. You’ll want to work with healthy, vigorous stems that are just reaching their prime. Avoid trying to propagate from old, woody growth or during the plant’s dormancy.
Supplies You’ll Need
Gathering your tools beforehand makes the process so much smoother. Here’s what I always have on hand:
- Sharp, clean pruning shears or a sharp knife: For making clean cuts.
- A good quality potting mix: I like a mix that drains well, often a blend of peat moss, perlite, and a bit of compost. For cuttings, a lighter mix with more perlite is often best.
- Small pots or trays: Clean, with drainage holes.
- Rooting hormone (optional but recommended): A powder or gel can significantly boost your chances of success.
- A spray bottle: For gentle misting.
- A clear plastic bag or humidity dome: To create a humid environment for cuttings.
- Labels: So you don’t forget what you’ve planted!
Propagation Methods
There are a couple of ways to get new Cremanthodium ellisii plants going, but my absolute favorite is by stem cuttings. It’s reliable and gives you a good return.
Propagation by Stem Cuttings:
- Select Your Stem: Find a healthy, non-flowering stem on your established plant. Look for one that’s supple but not too soft.
- Make the Cut: Using your sharp pruning shears or knife, make a clean cut just below a leaf node. A leaf node is where a leaf attaches to the stem. These nodes are where new roots will form. Aim for cuttings that are about 4-6 inches long.
- Prepare the Cutting: Gently remove the lower leaves from the cutting, leaving just a couple of leaves at the very top. This helps the plant focus its energy on rooting. If the remaining leaves are very large, you can even snip them in half to reduce water loss.
- Apply Rooting Hormone (Optional): If you’re using rooting hormone, lightly dip the cut end into the powder or gel. Tap off any excess.
- Plant Your Cutting: Fill your small pots or trays with your prepared potting mix. Make a small hole in the center with your finger or a pencil. Carefully insert the cut end of the stem into the hole, ensuring the leaf nodes that were below the soil line are covered. Gently firm the soil around the base of the cutting.
- Water Gently: Water the soil thoroughly but gently with your spray bottle or a fine rose on your watering can. You want the soil to be moist, not waterlogged.
- Create Humidity: Place a clear plastic bag loosely over the pot, or cover it with a humidity dome. This traps moisture and creates a mini-greenhouse effect. Make sure the bag doesn’t touch the leaves if possible.
- Find a Bright Spot: Place your pots in a location that receives bright, indirect light. Avoid direct sun, which can scorch the delicate cuttings.
The “Secret Sauce” (Pro Tips)
Here are a couple of little tricks I’ve learned over the years that really make a difference:
- Bottom Heat: For stem cuttings, providing a little gentle warmth from below can really speed up root development. I often use a propagation mat, but even placing the pots on a warm windowsill or near a gentle appliance can help.
- Don’t Overwater the Cuttings: This is crucial! Soggy soil is the quickest way to invite rot. The goal is consistently moist, but not wet, soil. Let the very top of the soil dry out slightly between waterings.
Aftercare & Troubleshooting
Once your cuttings have been in their humid environment for a few weeks, you’ll start to see signs of new growth, like new leaves emerging from the top or even tiny roots peeking out the drainage holes. This is a wonderful sign!
- Acclimation: When you see good root development, it’s time to gradually acclimate your new plants to normal conditions. Start by opening the plastic bag or humidity dome for an hour or two each day, slowly increasing the time until they can be removed completely.
- Continued Care: Continue to water when the top inch of soil feels dry. Keep them in bright, indirect light. Once they are a bit larger and more established, you can transplant them into slightly larger pots with their regular potting mix.
The most common problem you’ll encounter is rot. If you see your cutting turning mushy or black, it’s likely too much moisture. Unfortunately, a rotted cutting usually can’t be saved. The best defense against this is proper drainage and careful watering. If your cutting wilts or looks sad but isn’t mushy, it might just need more humidity or a bit more time. Be patient!
A Encouraging Closing
Propagating plants is a journey, and like any good gardening adventure, it requires a bit of patience and a lot of observation. Don’t be discouraged if not every cutting takes – that’s perfectly normal! Celebrate the successes, learn from any setbacks, and most importantly, enjoy the process of nurturing new life. Happy gardening!
Resource: