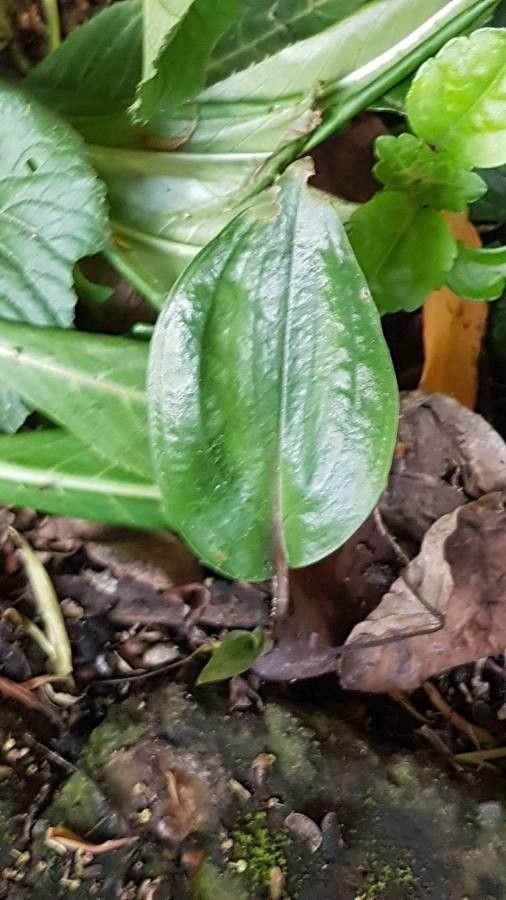
Oh, Cranichis ciliata! If you’ve ever seen this little beauty in bloom, you know exactly why I’m so excited to talk about it. Those delicate, fringed flowers are an absolute gem, and bringing another one into existence is a truly satisfying feeling. It’s not the absolute easiest plant to start from scratch, mind you, but with a little patience and aiming for the right conditions, it’s definitely achievable for most enthusiastic home gardeners. Think of it as a delightful little project, a way to deepen your connection with this special orchid.
The Best Time to Start
For Cranichis ciliata, I’ve found the sweet spot for propagation is during its active growing season. This usually kicks off in late spring or early summer, once the harsh chill of winter has truly passed and the plant is showing new growth. You’ll see those little shoots eagerly pushing upwards, which tells you it has the energy reserves it needs to dedicate to making new roots. Trying to propagate when it’s dormant or stressed is just setting yourself up for disappointment.
Supplies You’ll Need
Here’s what I usually gather before I get my hands dirty:
- Sharp, sterile pruning shears or a clean razor blade: Essential for clean cuts and preventing disease.
- A well-draining potting mix: A custom blend works best for me. I typically use a mix of fine orchid bark, perlite, and a bit of sphagnum moss. You want air to circulate around those developing roots.
- Small pots or seedling trays: Clean and of a suitable size for your cuttings or divisions. Terracotta pots are great for breathability.
- Rooting hormone (optional but recommended): A powdered or liquid form can give your cuttings an extra boost.
- Watering can with a fine rose or a spray bottle: For gentle watering.
- A clear plastic bag or propagation dome: To create a humid microclimate.
Propagation Methods
I’ve had the most success with Cranichis ciliata using division. While stem cuttings are possible for some orchids, this particular one tends to respond more readily when you work with its existing structure.
Method: Division
- Gently remove the plant from its pot. If it’s stuck, water it a bit beforehand. You want to be as careful as possible with the roots.
- Clean away excess soil. You can do this by gently rinsing the root ball under lukewarm water. This allows you to clearly see the rhizomes and where the plant naturally wants to divide.
- Identify natural divisions. Look for areas where you see distinct shoots or pseudobulbs (if present) that have their own root systems. You’re not looking to hack through healthy growth.
- Carefully separate the divisions. Using your sterilized shears or even your clean fingers, gently pull or cut apart the sections. Make sure each piece has at least one healthy pseudobulb or shoot and a good portion of roots. If a division has very few roots, don’t despair, but it might take a little longer to establish.
- Plant your new divisions. Pot each division into its own small container filled with your well-draining orchid mix. Plant them at the same depth they were previously growing.
- Water lightly. Give them a gentle watering.
The “Secret Sauce” (Pro Tips)
Here are a few things I’ve learned that make a difference:
- Don’t overwater! This is crucial for orchids, especially when they’re trying to establish new roots. The mix should be consistently moist but never soggy. Soggy conditions are a fast track to rot. Let the surface of the mix just begin to dry before watering again.
- A touch of bottom heat can work wonders. If you have a heating mat designed for seedlings, a gentle warmth from below can encourage root development. The key word here is gentle; you don’t want to cook the roots.
- Patience is your best friend. Orchids, particularly Cranichis, aren’t lightning-fast propagators. Don’t be discouraged if you don’t see new growth appearing immediately. Give it time – sometimes several weeks or even months.
Aftercare & Troubleshooting
Once your divisions are potted up, keep them in a spot with bright, indirect light. Avoid direct sun, which can scorch delicate new growth. I like to place them under a light misting or cover them loosely with a plastic bag or propagation dome to maintain high humidity for the first few weeks. Remove the cover gradually as you see the plant acclimating.
The most common sign of trouble is rot. If you see mushy, blackening stems or leaves, it’s likely due to too much moisture and not enough air circulation. If this happens, you might need to try to salvage any healthy parts and repot them in completely fresh, dry media. Another sign of failure is wilting that doesn’t improve after watering. This can be due to damaged roots or insufficient water retention in very porous media, so watch your watering habits!
A Encouraging Closing
Propagating Cranichis ciliata is a journey, not a race. It’s a wonderful way to expand your orchid collection and share the beauty of these plants with others. Be patient, pay attention to what your new little plants are telling you, and most importantly, enjoy the process of nurturing new life. Happy growing!
Resource:
https://identify.plantnet.org/k-world-flora/species/Cranichis%20ciliata%20Kunth/data