Well hello there, fellow plant lovers! It’s so lovely to see you here today. I’ve got something truly special to chat about, something that brings a bit of wild, coastal charm right into our gardens: Sea Kale, or Crambe maritima as it’s known to us plant nerds.
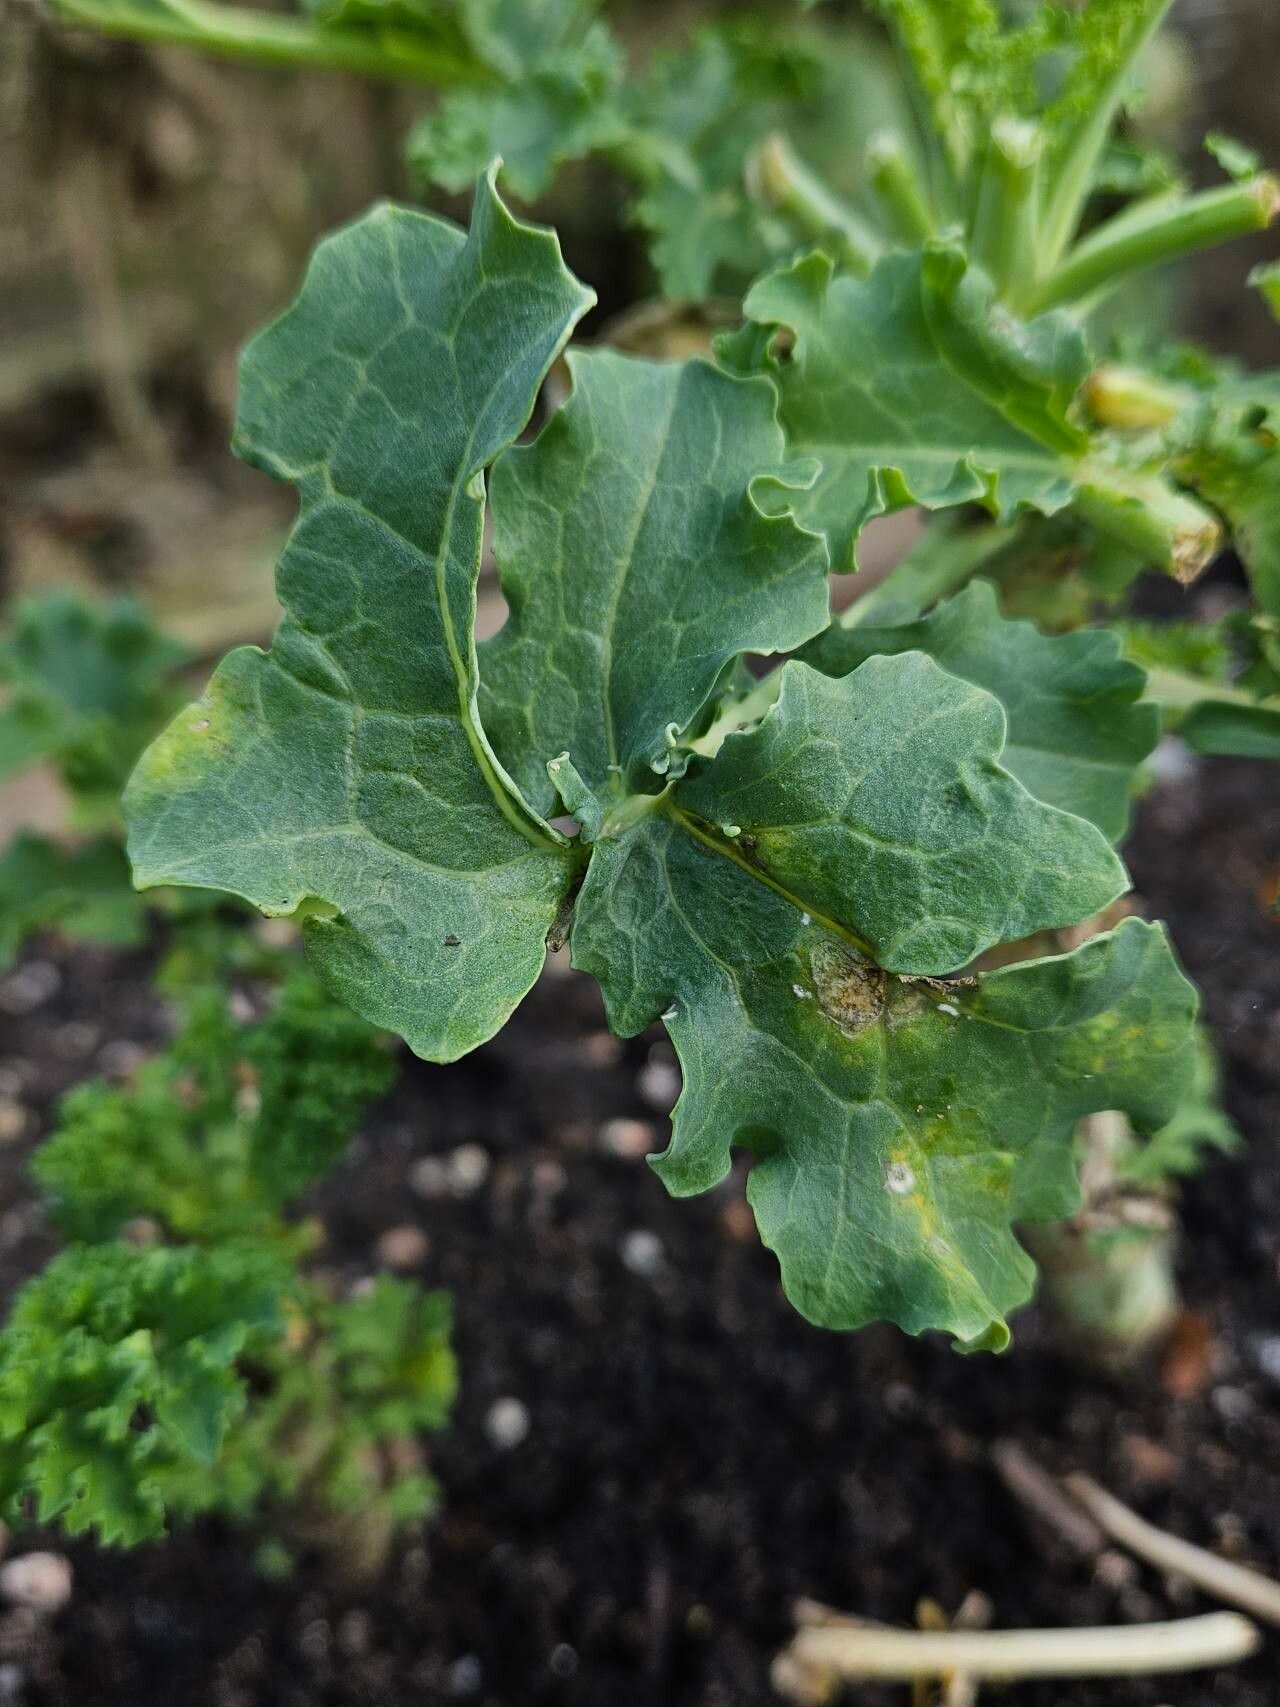
There’s something so utterly captivating about Sea Kale. Its architectural, blue-grey foliage has a dramatic presence, and when it flowers, those delicate white blooms are just stunning. Plus, the young shoots, when blanched, are a forgotten delicacy – truly a taste of the sea! Propagating it yourself is one of the most satisfying gardening feats. It can feel a tad challenging at first, but with a little know-how, you’ll be rewarded with a patch of your own in no time.
The Best Time to Start
When it comes to getting new Sea Kale plants going, late winter or early spring is your golden window. This is when the plant is still dormant, or just beginning to stir. If you’re thinking about taking cuttings, late spring or early summer after the initial flush of growth has hardened off a bit is also a good bet. The key is working with material that’s vigorous but not too soft and sappy.
Supplies You’ll Need
Here’s what I usually have on hand when I’m ready to propagate Sea Kale:
- Sharp pruning shears or a clean, sharp knife: for making precise cuts.
- Rooting hormone (powder or gel): While not strictly essential for Sea Kale, it can give your cuttings a helpful boost.
- Well-draining potting mix: I often use a 50/50 blend of peat moss and perlite or horticultural grit. Good drainage is non-negotiable!
- Small pots or seed trays: Clean ones, please!
- Plastic bags or a propagator: To maintain humidity around your cuttings.
- Labels and a marker pen: Because trust me, you will forget what you planted.
- A watering can with a fine rose: To avoid disturbing your delicate cuttings.
- A warm, bright location: Out of direct, scorching sunlight.
Propagation Methods
Sea Kale can be propagated in a few ways, but my favorites are through cuttings and root cuttings.
Stem Cuttings
This is a popular method for getting new plants.
- Take your cuttings: In late spring or early summer, select healthy, non-flowering shoots. Aim for pieces about 4-6 inches long. Make a clean cut just below a leaf node (where the leaf attaches to the stem).
- Prepare the cuttings: Gently remove the lower leaves. If the leaves are large, you can even cut them in half to reduce water loss.
- Dip in rooting hormone: Lightly dip the cut end into your rooting hormone if you’re using it. Tap off any excess.
- Pot them up: Fill your pots with the well-draining mix. Make a hole with a pencil or your finger and insert the cutting, firming the soil gently around it.
- Water and cover: Water thoroughly, allowing excess water to drain away. Cover the pots with a plastic bag or pop them into a propagator to keep the humidity high.
Root Cuttings (My Personal Favorite!)
This is a fantastic way to propogate Sea Kale, especially if you’re dividing an established plant.
- Get to the roots: In late winter or early spring, carefully excavate around the base of a healthy Sea Kale plant. You’re looking for thick, fleshy roots, about the diameter of a pencil or thicker.
- Take your root pieces: Using your sharp knife, cut sections of root that are about 2-3 inches long. Make sure each piece has at least one bud or a bit of dormant growth on it.
- Prepare the cuttings: You can orient them in the pot with the bud pointing upwards, but honestly, they’re pretty resilient.
- Pot them up: Place the root cuttings horizontally or angled into pots filled with your well-draining mix. They should be buried about an inch deep.
- Water and wait: Water gently and keep the pots in a cool but frost-free spot. You won’t see much happening above ground initially, but those roots are busy working!
The “Secret Sauce” (Pro Tips)
Here are a couple of things I’ve learned over the years that really seem to make a difference:
- Bottom Heat is Your Friend: For stem cuttings, especially, a bit of gentle bottom heat from a propagator or a heat mat can significantly speed up root development. It mimics the warmer soil temperatures of spring.
- Don’t Overwater (Seriously!): This is probably the biggest killer of cuttings. Sea Kale, particularly its fleshy roots, is prone to rot if kept too soggy. Aim for consistently moist but not wet soil. Letting them dry out a tiny bit between waterings can actually encourage root growth.
- Patience, Patience, Patience: Sea Kale isn’t the fastest propagator. For stem cuttings, it can take several weeks, even months, to see substantial root development. For root cuttings, you might not see any top growth for a good while. Trust the process and try not to fuss too much.
Aftercare & Troubleshooting
Once you see signs of new growth – a tiny shoot emerging from a stem cutting or a tuft of leaves from a root cutting – you know you’ve got roots!
- Gradually Acclimatize: If your cuttings are in a propagator or under plastic, start to remove the cover for increasing periods over a week or so to let them get used to normal humidity.
- Keep Them Moist: Continue to water gently, ensuring the soil stays consistently moist.
- Potting Up: When the new plants are big enough to handle, and their roots have filled their initial pot, you can carefully pot them up into slightly larger containers or move them to their final planting spot.
The most common sign of failure is rot. If your cuttings suddenly turn mushy and black, or if the soil feels constantly waterlogged and smells foul, you’ve likely got a rot issue. This is usually down to too much moisture and not enough drainage. For root cuttings, a lack of any growth after several months might mean they just didn’t take, which is okay – gardening is a journey of trial and error!
A Encouraging Closing
So there you have it! Propagating your own Sea Kale is a wonderfully rewarding endeavor. It might take a little patience and a keen eye, but the joy of nurturing a new plant from a small piece of its parent is unmatched. Don’t be discouraged if your first few attempts aren’t perfect. Keep at it, enjoy the process, and soon you’ll have beautiful Sea Kale to admire and perhaps even taste. Happy gardening!
Resource:
https://identify.plantnet.org/k-world-flora/species/Crambe%20maritima%20L./data