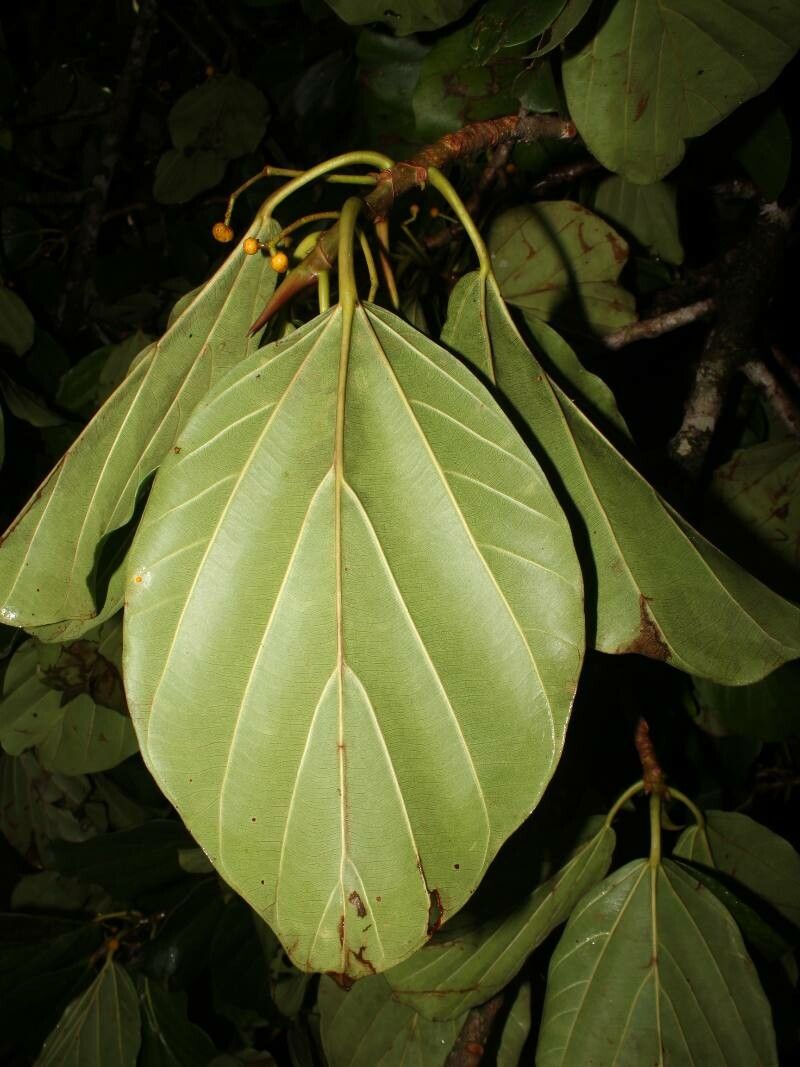
Oh, hello there! Pull up a chair, let’s chat about one of my favorite, more unusual plants: Coussapoa parviceps. You know, the one with those gorgeous, velvety leaves that look like they’ve been dusted with a fine shimmer? It’s a true stunner, and frankly, there’s just something incredibly satisfying about coaxing a brand new plant into existence from a tiny piece of another. Don’t let its exotic good looks fool you; while it’s not as straightforward as a pothos, propagating Coussapoa parviceps is absolutely achievable, even if you’re relatively new to the plant-parenting game. With a little bit of know-how and patience, you’ll be rewarded with more of that lush foliage to enjoy.
The Best Time to Start
For the highest success rate with Coussapoa parviceps, aim to propagate during its active growing season. This typically falls in the spring and summer months. During this period, the plant is full of energy and has a better chance of healing from cuttings and developing roots quickly. Trying to propagate when it’s dormant in cooler months is just asking for disappointment.
Supplies You’ll Need
Before you start snipping, let’s gather our tools. You don’t need anything too fancy, just the essentials:
- Sharp Pruning Shears or a Clean Knife: For making clean cuts.
- Rooting Hormone (Optional but Recommended): A powder or gel specifically for plant propagation can give cuttings a boost.
- Well-Draining Potting Mix: A blend of peat moss or coco coir, perlite, and a bit of compost works beautifully. Or, you can use a pre-made succulent/cactus mix.
- Small Pots or Seedling Trays: Make sure they have drainage holes.
- Clear Plastic Bag or Dome: To create a humid environment for your cuttings.
- Watering Can or Spray Bottle: For gentle watering.
Propagation Methods
Coussapoa parviceps is most commonly and successfully propagated through stem cuttings. It’s straightforward and gives you the best chance of success.
Stem Cuttings
- Select Your Cutting: Look for a healthy, mature stem on your parent plant. You want a piece that’s at least 4-6 inches long and has a few sets of leaves. Ideally, choose a stem that is not flowering.
- Make the Cut: Using your sharp pruning shears or knife, make a clean cut just below a leaf node. A leaf node is where a leaf attaches to the stem; this is where roots are most likely to form.
- Prepare the Cutting: Gently remove the lower leaves from the cutting, leaving just 2-3 leaves at the top. This prevents them from rotting in the soil or water and directs the plant’s energy into root development. If the remaining leaves are very large, you can cut them in half horizontally to reduce moisture loss.
- Apply Rooting Hormone (Optional): If you’re using rooting hormone, dip the cut end of the stem into the powder or gel. Tap off any excess.
- Plant Your Cutting: Fill your small pot or seedling tray with your well-draining potting mix. Make a small hole in the center with your finger or a pencil. Insert the cut end of your Coussapoa parviceps cutting into the hole, ensuring the leaf node you cut below is buried in the soil. Gently firm the soil around the stem.
- Provide Humidity: Water the soil lightly until it’s moist but not waterlogged. Then, cover the pot with a clear plastic bag or place it inside a propagator with a lid. This creates a humid microclimate essential for cuttings to root. You can secure the bag with a rubber band around the pot.
Water Propagation (Less Common, but Possible)
While I generally prefer soil propagation for Coussapoa parviceps, you can try water propagation if that’s what appeals to you.
- Follow steps 1-3 above for selecting and preparing your cutting.
- Place the cutting in a jar or glass of water, ensuring no leaves are submerged. You can rest the stem on the rim or use a propagation station with holes.
- Place the jar in bright, indirect light.
- Change the water every few days to keep it fresh and prevent bacterial growth.
- Roots should begin to appear in a few weeks. Once the roots are at least an inch long, carefully transplant the cutting into well-draining potting mix. Be gentle, as water roots are more delicate.
The “Secret Sauce” (Pro Tips)
Alright, let’s get down to a few tricks of the trade. These little things can make all the difference!
- Bottom Heat is Your Friend: If you have a Coussapoa parviceps cutting that’s being a bit stubborn, using a seedling heat mat can significantly speed up root development. Place your pots on top of it. This gentle warmth mimics ideal soil temperatures and gives the roots a real push.
- Don’t Overwater Your Cuttings: This is probably the biggest mistake I see beginners make. While humidity is key, soggy soil is a one-way ticket to rot. The goal is consistently moist, never drenched. Stick your finger into the soil about an inch down; if it feels dry, then it’s time for a light watering.
- Patience is a Virtue (Especially with Coussapoa): Some plants root in a blink of an eye, others take their sweet time. Coussapoa parviceps can be one of the latter. Don’t be tempted to constantly dig them up to check for roots. You might jostle delicate new growth. Give it at least 4-6 weeks before you even think about gently tugging on a cutting to see if it has resistance.
Aftercare & Troubleshooting
Once you see signs of new growth emerging from your cutting (a tiny leaf unfurling, for instance!), it’s a good indication that roots have formed.
- Gradual Acclimation: If you’ve used a plastic bag for humidity, slowly start to acclimate your new plant to normal room humidity over a week or two. Start by opening the bag for a few hours each day, then gradually leave it off for longer periods.
- Watering: Continue to water when the top inch of soil feels dry. Overwatering is still the enemy at this stage, so err on the side of caution.
- Light: Provide bright, indirect light. Avoid harsh, direct sunlight, which can scorch young leaves.
- Troubleshooting – Is it Rotting? The most common sign of failure is wilting, yellowing leaves that become mushy and black, eventually leading to the stem turning brown and soft. This is almost always caused by too much moisture and lack of air circulation. If you see this happening, sadly, the cutting is likely lost. Remove it immediately to prevent it from affecting other cuttings. Ensure your soil is indeed well-draining and consider using bottom heat with good air circulation.
A Final Word
Propagating plants can feel like a bit of magic, can’t it? It’s a wonderful way to connect with nature and expand your green collection without breaking the bank. So, go ahead, give propagating Coussapoa parviceps a try. Be patient, observe your cuttings, and enjoy the process of nurturing new life. Happy growing!
Resource:
https://identify.plantnet.org/k-world-flora/species/Coussapoa%20parviceps%20Standl./data