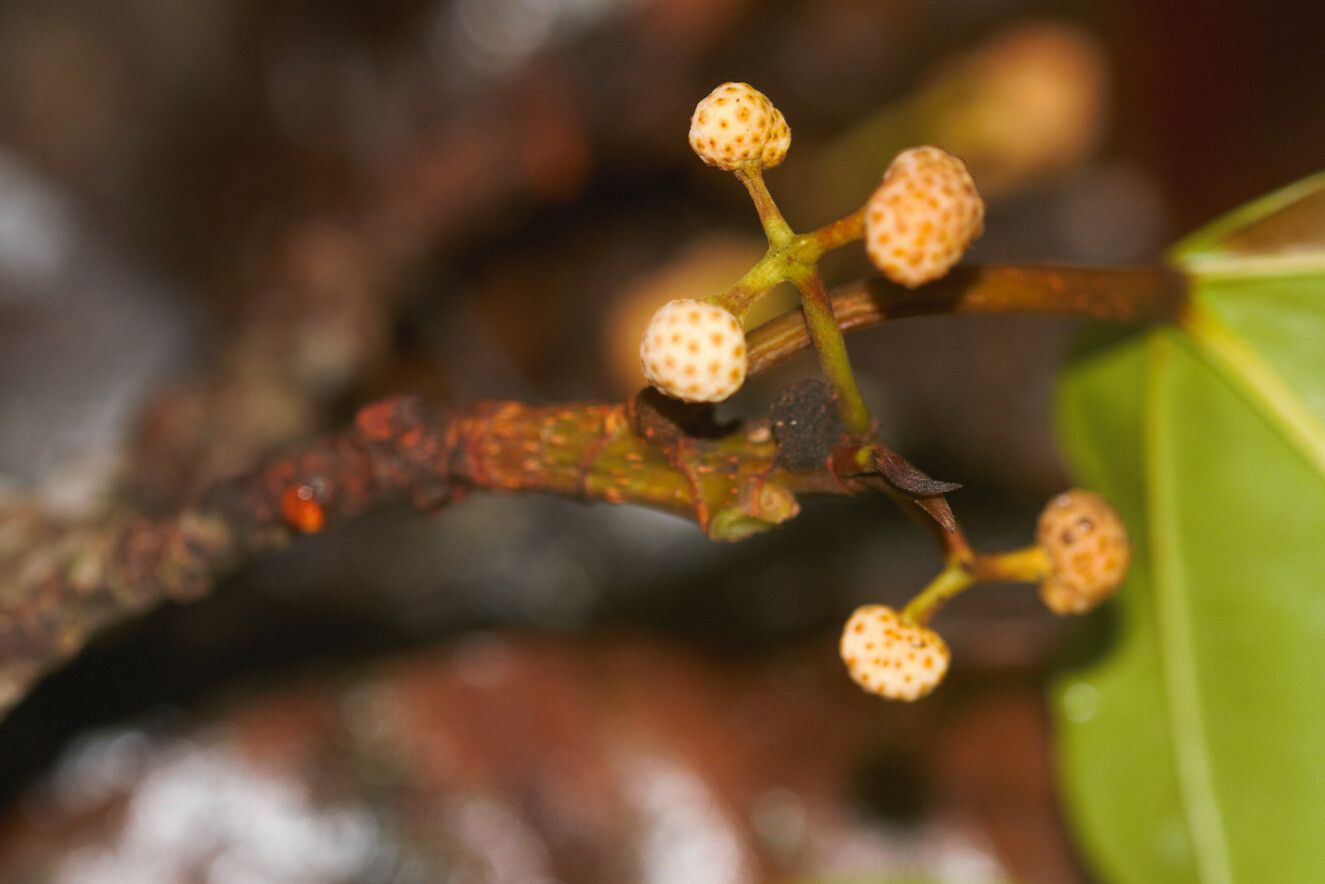
Hello, plant lovers! It’s wonderful to have you here today. If you’re anything like me, you’ve probably fallen head over heels for the lush, architectural beauty of Coussapoa latifolia. These plants, with their broad, glossy leaves, bring such a tropical vibe into our homes and gardens. And the best part? You can easily multiply your collection by propagating them! It’s a truly rewarding feeling to nurture a tiny cutting into a thriving new plant. Now, I’ll be honest, Coussapoa latifolia isn’t the absolute easiest plant for a complete beginner to propagate, but with a little care and these tips, you’ll be successful.
The Best Time to Start
When it comes to getting the best results, spring and early summer are your golden ticket. This is when the plant is actively growing and has the most energy to put into developing new roots. Look for healthy, vigorous stems that are actively producing new leaves. Avoid propagating from woody or dormant stems.
Supplies You’ll Need
Gathering your tools beforehand makes the whole process go smoothly. Here’s what you’ll want to have on hand:
- Sharp, sterilized pruning shears or a clean knife.
- A well-draining potting mix. I often use a blend of peat moss, perlite, and a bit of orchid bark.
- Small pots or containers for your cuttings. Make sure they have drainage holes!
- Rooting hormone powder (optional, but can give cuttings a good boost).
- A clear plastic bag or a propagation dome.
- Water for soaking cuttings or misting.
- A spray bottle for misting.
Propagation Methods
While Coussapoa latifolia can be a bit particular, the most reliable method for me has always been stem cuttings.
- Select Your Stems: Choose a healthy, non-flowering stem that is at least 4-6 inches long. Look for one that has at least two or three sets of leaves.
- Make the Cut: Using your sterilized shears, make a clean cut just below a leaf node (where a leaf attaches to the stem). This is crucial because that’s where root-forming cells are concentrated.
- Prepare the Cutting: Gently remove the lower leaves from the cutting, leaving just a couple of leaves at the top. This reduces water loss and energy expenditure. If the remaining leaves are very large, you can cut them in half horizontally to further decrease transpiration.
- Apply Rooting Hormone (Optional): If you’re using rooting hormone, dip the cut end of the stem into the powder, tapping off any excess.
- Plant Your Cutting: Fill your small pots with your well-draining potting mix. Make a hole in the center with your finger or a pencil and insert the cutting, ensuring the leaf nodes are buried. Firm the soil gently around the stem.
- Create a Humid Environment: Water the soil lightly. Then, cover the pot with a clear plastic bag or place it in a propagation dome. This creates a mini-greenhouse, keeping humidity high, which is essential for preventing the cuttings from drying out before they root.
- Find the Right Spot: Place your potted cuttings in a spot with bright, indirect light. Avoid direct sunlight, which can scorch the delicate leaves.
The “Secret Sauce” (Pro Tips)
Over the years, I’ve learned a few little tricks that really make a difference:
- The “Green Tip” Cut: When you make your initial cut on the stem, try to make it at a slight angle, almost like a subtle point. This can sometimes increase the surface area for root development.
- Bottom Heat is Your Friend: If you can, place your propagation pots on a gentle heating mat. This little bit of warmth from below can significantly speed up root formation. You don’t need it scorching hot, just a cozy warmth.
- Don’t Overwater! It’s tempting to keep the soil constantly wet, but this is a fast track to rot. Aim for the soil to be consistently moist, not soggy. Allow the very top layer to dry slightly between waterings.
Aftercare & Troubleshooting
Once your cuttings have developed roots (you might see them peeking from the drainage holes or gently tugging on the cutting and feeling resistance), it’s time for a little more attention. Gradually acclimate your new plant to normal room conditions by opening the plastic bag or dome a bit more each day over a week. Continue to keep the soil consistently moist.
The most common sign of a failed cutting is wilting and then shriveling, often accompanied by dark, soft spots if rot has set in. This usually means the cutting either dried out too quickly or was kept too wet and rotted at the base. If you see mold or rot, discard the cutting and start again, ensuring your tools are clean and your soil is well-draining.
A Little Patience Goes a Long Way
Propagating plants is a journey. There will be successes, and there might be a few less successful attempts along the way. Don’t get discouraged! Each attempt is a learning experience. Take a deep breath, enjoy the process of nurturing these new life forms, and soon you’ll have even more beautiful Coussapoa latifolia to love and share. Happy growing!
Resource:
https://identify.plantnet.org/k-world-flora/species/Coussapoa%20latifolia%20Aubl./data