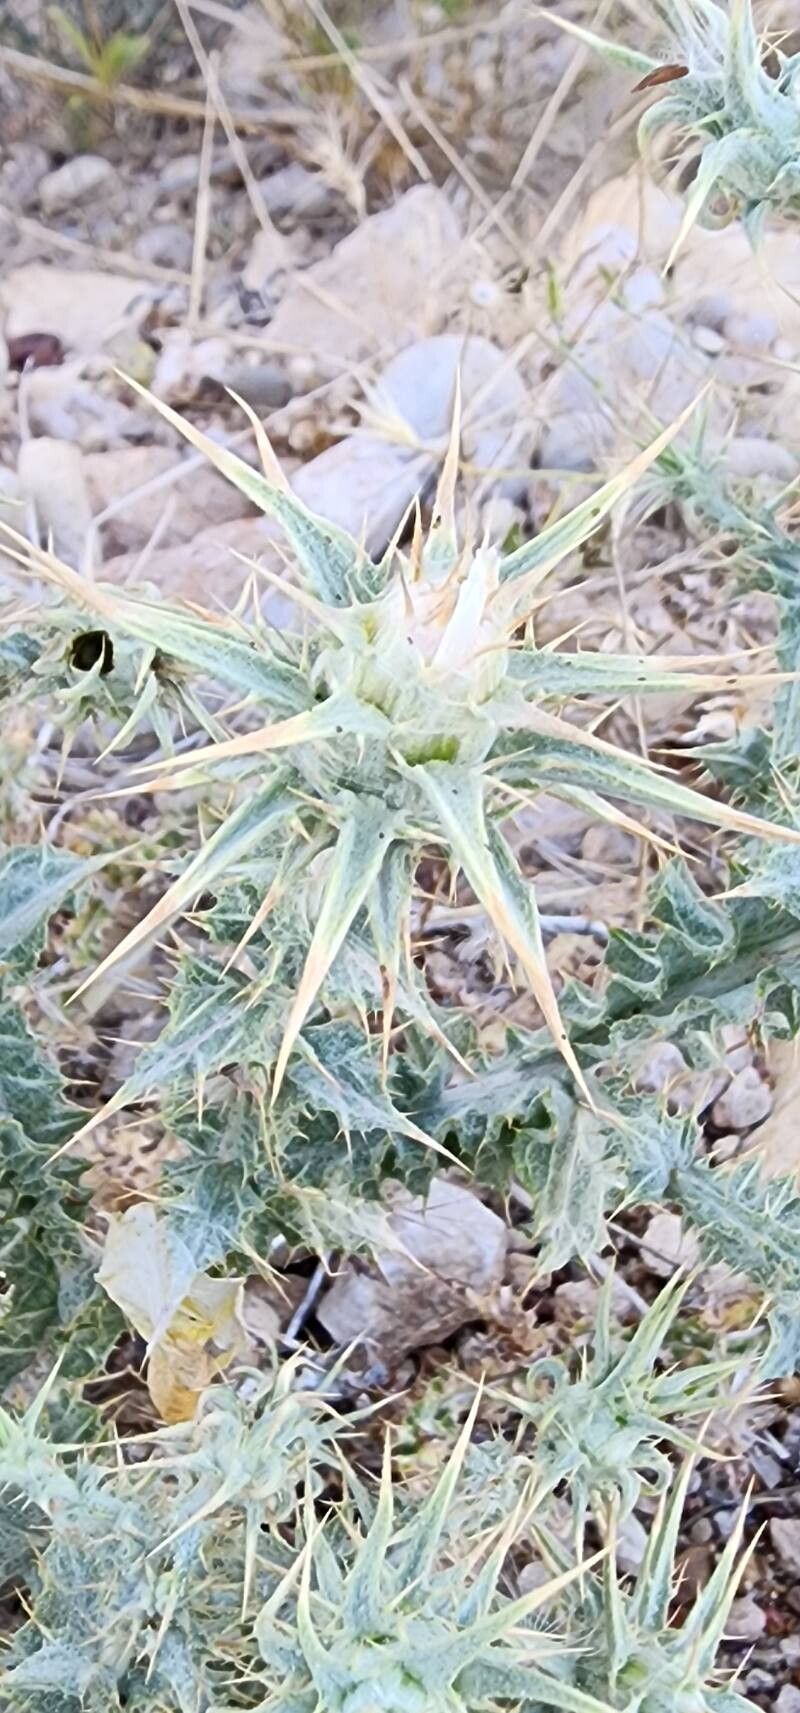
Ah, Cousinia kotschyi! What a stunning specimen. If you’ve ever seen its delicate, thistle-like blooms gracing a dry, sunny spot, you know exactly why I’m so smitten with this plant. It’s a real stunner, bringing a wonderful texture and a touch of the wild to any landscape. And guess what? Bringing more of these beauties into your garden is totally achievable! Propagating Cousinia kotschyi is a wonderfully rewarding endeavor, though I’ll be honest, it can be a tad selective for absolute beginners. But with a little guidance, you’ll be well on your way.
The Best Time to Start
Timing, as they say, is everything in gardening, and it’s especially true when we’re talking about propagation. For Cousinia kotschyi, the sweet spot is definitely late spring to early summer. This is when the plant is actively growing and has plenty of energy to put into developing those crucial roots. Starting with healthy, new growth will give you the best chance of success.
Supplies You’ll Need
Here’s what you’ll want to have on hand before you dive in:
- A sharp, clean pruning shear or a sharp knife – we want clean cuts!
- Rooting hormone (optional but highly recommended, especially for cuttings)
- A well-draining potting mix – think about a succulent or cactus mix, or create your own with perlite and peat moss.
- Small pots or seed trays with drainage holes.
- A spray bottle filled with clean water.
- A clear plastic bag or propagation dome to create a humid environment.
- A labels and a marker to keep track of your projects.
Propagation Methods
Let’s get our hands dirty with the most reliable methods for Cousinia kotschyi.
Stem Cuttings
This is my go-to method for Cousinia kotschyi. It’s straightforward and yields excellent results.
- Select Your Cuttings: Look for healthy, non-flowering stems from your established plant. Aim for pieces that are about 4-6 inches long. You want stems that are firm but still flexible, not woody or too soft.
- Make the Cut: Using your sharp shear or knife, make a clean cut just below a leaf node (where a leaf attaches to the stem). This is where the magic happens when it comes to root formation.
- Prepare the Cuttings: Gently remove the lower leaves from the cutting. You want to expose the node. You can leave a couple of leaves at the top to help with photosynthesis, but we don’t want anything submerged in soil or water.
- Apply Rooting Hormone: If you’re using rooting hormone, dip the cut end of the stem into the powder or gel. Tap off any excess. This step really encourages root development.
- Plant Your Cuttings: Fill your small pots with your well-draining mix. Make a small hole in the center with your finger or a pencil. Gently insert the cutting into the hole, ensuring the nodes where you removed the leaves are buried in the soil. Firm the soil gently around the base.
- Water and Cover: Give the soil a light watering. You want it moist, not soggy. Then, place the pot inside a clear plastic bag or cover it with a propagation dome to create a mini-greenhouse. This high humidity is key to preventing the cuttings from drying out before they can root.
Division
If your Cousinia kotschyi has grown into a nice clump, division is a simple way to get new plants.
- Gently Dig Up the Plant: In late spring, carefully dig up the entire plant. Try to disturb the roots as little as possible.
- Separate the Sections: Gently tease apart the root ball. Look for natural divisions where the plant has branched out from the base. You should be able to see where a new stem and its own root system are emerging.
- Make Your Divisions: Use your fingers or a clean trowel to separate the clump into smaller sections, ensuring each division has healthy roots and at least one or two shoots.
- Replant Immediately:
Pot up each division into its own containerfilled with well-draining soil, or replant them directly into your garden beds, spacing them appropriately. Water them gently.
The “Secret Sauce” (Pro Tips)
Here are a couple of little tricks that I’ve found make a big difference:
- Avoid Submergence: When doing water propagation (though I find stem cuttings in soil more reliable for Cousinia), never let the leaves touch the water. They’ll just rot and drag your cutting down with them.
- Bottom Heat is Your Friend: If you’re serious about propagation, a heating mat placed under your pots can significantly speed up root formation. It mimics the warmth of spring soil and gives those roots a real boost. It’s not essential, but if you get serious about propagating tougher plants, it’s a game-changer.
Aftercare & Troubleshooting
Once your cuttings are planted, patience is your main ingredient. Keep the soil consistently moist but never waterlogged. Check on them regularly. You’re looking for signs of new growth, which usually indicates roots have formed. This can take anywhere from 3-8 weeks, depending on the conditions.
The most common issue you might encounter is rot. If you see mushy, discolored stems or leaves, it’s likely due to too much moisture and not enough air circulation. If you catch it early, you might be able to save the cutting by trimming away the rotted parts and repotting in fresh, drier soil. Make sure your pots have excellent drainage!
A Encouraging Closing
Propagating Cousinia kotschyi is a journey, and like any good gardening adventure, there’s a little art and a little science involved. Don’t be discouraged if your first attempt isn’t a perfect success. Keep experimenting, observe your plants, and most importantly, enjoy the process of creating new life. Soon enough, you’ll have a whole new clan of these delightful plants to admire!
Resource:
https://identify.plantnet.org/k-world-flora/species/Cousinia%20kotschyi%20Boiss./data