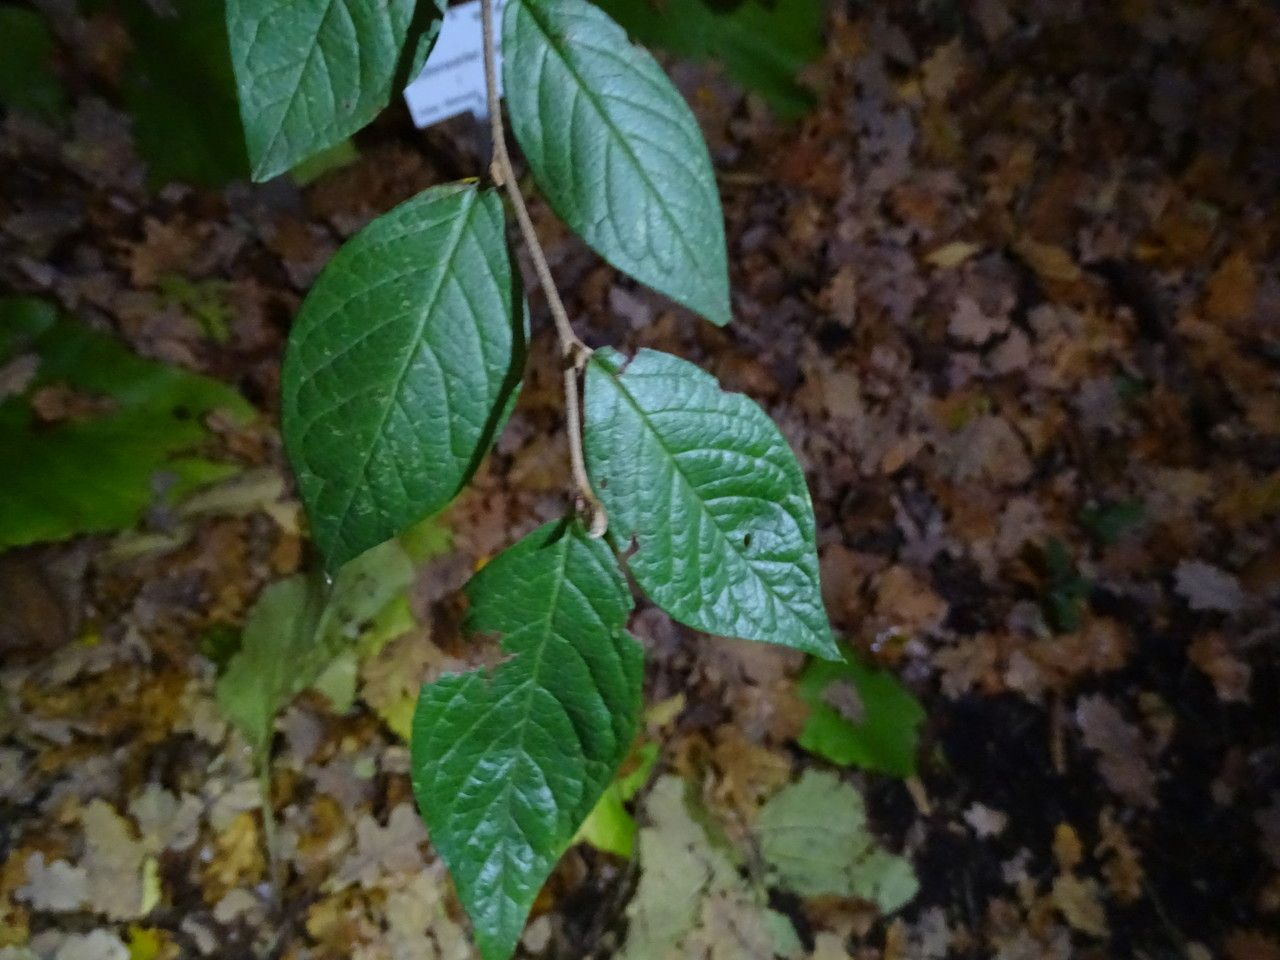
Hello my fellow plant enthusiasts! It’s so lovely to chat with you today. I’m here to share a little secret weapon from my garden: Cotoneaster ogisui. These beauties, with their delicate foliage and often showy berries, bring such a lovely touch to any landscape. And the best part? They’re surprisingly fun to propagate, making it a truly rewarding endeavor. Don’t be intimidated if you’re new to this; while it has its nuances, with a little guidance, you’ll be well on your way!
The Best Time to Start
For the very best success with Cotoneaster ogisui, I find that starting in late spring or early summer is the sweet spot. This is when the plant is actively growing, producing that nice, fresh, semi-hardwood growth that takes so well to cuttings. You’re essentially catching it at its most vibrant and ready to branch out.
Supplies You’ll Need
Before we dive in, let’s gather our toolkit. Having everything ready makes the process so much smoother:
- Sharp Pruning Shears or a Knife: For clean cuts, which are crucial.
- Rooting Hormone: A powder or gel specifically for softwood or semi-hardwood cuttings.
- Well-Draining Potting Mix: I like a blend of peat moss, perlite, and a bit of compost. A commercial seed-starting mix also works wonders.
- Small Pots or Trays: Clean ones, please!
- Plastic Bags or a Propagation Dome: To create a humid environment.
- Water Mister: For keeping those cuttings moist.
- Labels: Don’t forget to label your cuttings!
Propagation Methods
Let’s get our hands dirty! While you could try water propagation with Cotoneaster, I find stem cuttings offer the highest success rate for this particular plant.
Taking Stem Cuttings:
- Identify Your Stems: Look for new, healthy growth from the current season. These are usually a lighter green than older stems and slightly bendy, but not so soft that they flop over. Aim for stems about 4-6 inches long.
- Make the Cut: Using your clean shears or knife, make a clean cut just below a leaf node. This is where roots tend to form. Remove the lower leaves, leaving just 2-3 at the top.
- Apply Rooting Hormone: Dip the cut end of the stem into your chosen rooting hormone. Tap off any excess.
- Plant the Cuttings: Fill your small pots with your well-draining mix. Make a small hole with a pencil or your finger and gently insert the cutting. Firm the soil around it. You can usually fit several cuttings in one pot, ensuring they don’t touch each other.
- Water Gently: Water the soil thoroughly until it drains from the bottom.
- Create Humidity: Place the pot inside a plastic bag, or cover it with a propagation dome. Ensure the plastic doesn’t touch the leaves by propping it up slightly. This trap will keep the humidity high, which is essential for cuttings to root.
The “Secret Sauce” (Pro Tips)
Now, for a couple of little tricks I’ve learned over the years:
- Don’t Be Afraid to Sacrifice: Sometimes, a cutting looks a bit sad. If a leaf turns yellow or brown, gently remove it. A stressed cutting has a harder time focusing its energy on root development. This applies even if the whole leaf isn’t dead, just a significant portion.
- Bottom Heat is a Game Changer: If you can manage it, placing your pots on a gentle heat mat specifically designed for propagation can significantly speed up root formation. It mimics the warmth of the soil in the spring and encourages those roots to wiggle out.
Aftercare & Troubleshooting
Once your cuttings are planted, the real waiting game begins. Keep them in a bright, indirect light location. Avoid direct sun, as it can scorch those delicate leaves and dry out the cuttings too quickly. Misting the leaves a couple of times a day is also a good habit, especially if you don’t have a dome.
You’ll know your cuttings have rooted when you see new growth appearing at the top, or when you give them a very gentle tug and feel resistance. This usually takes anywhere from 4-12 weeks, so patience is key!
The most common sign of failure is rot. If your cuttings turn mushy or black and fall over, it’s likely too much moisture for too long. Ensure your soil is draining well, and don’t let water sit stagnant at the bottom of the pot. If you see any signs of mold or rot, try to remove the affected cutting immediately and ensure you have good air circulation around the others.
A Little Bit of Patience Goes a Long Way
Propagating Cotoneaster ogisui is such a fulfilling way to expand your garden and share these lovely plants with friends. It’s a process that teaches you to observe, to learn, and to appreciate the resilience of nature. So, don’t get discouraged if your first few attempts aren’t perfect. Each cutting is a learning opportunity. Enjoy the process, and soon you’ll have a whole new family of gorgeous Cotoneasters to tend and admire! Happy gardening!
Resource: