Hey there, fellow plant lovers!
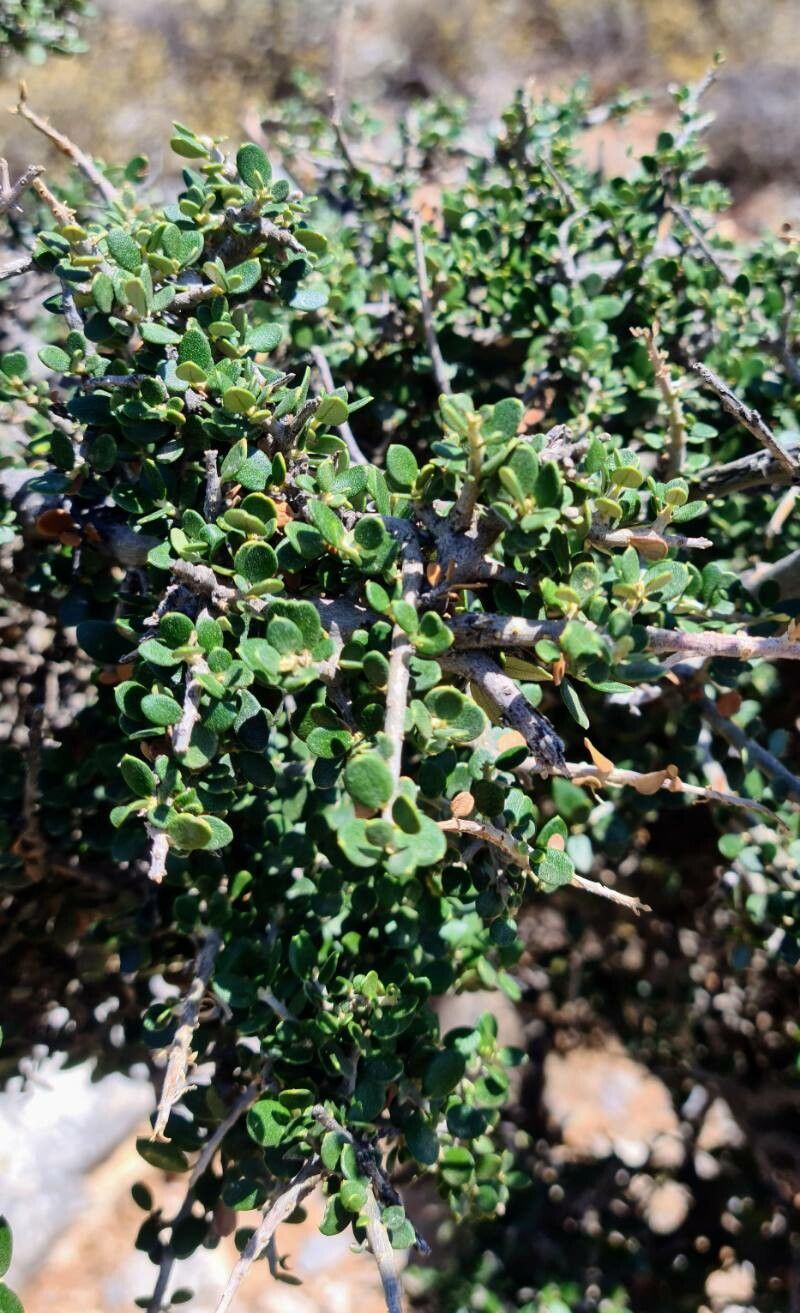
I’m absolutely delighted to chat with you today about a plant that holds a special place in my heart (and in many of my garden designs): Cotoneaster nummularius. If you haven’t met it yet, imagine a shrub that’s just brimming with charm. Its small, rounded leaves give it a lush, almost mounding habit, and in the fall, it absolutely lights up with a spectacular display of bright red berries. It’s a beauty, plain and simple, and one that’s incredibly rewarding to bring more of into your garden. And guess what? Propagating it is more achievable than you might think! For beginners, I’d say it falls into the “moderately easy” category – with a little patience and the right approach, you’ll be well on your way.
The Best Time to Start
When it comes to getting the best results with Cotoneaster nummularius cuttings, late spring to early summer is your golden window. This is when the plant is in its active growth phase, and the stems are semi-hardwood – not too soft and floppy, but not completely woody and stiff. These are the perfect conditions for rooting. You can try later in the season, but you might find your success rate dips a bit.
Supplies You’ll Need
Before we dive into the fun part, let’s make sure we have our toolkit ready. Having everything on hand makes the whole process smoother.
- Sharp pruning shears or a clean craft knife: For taking clean cuts.
- Rooting hormone (optional but recommended): This gives your cuttings a little boost.
- A well-draining potting mix: I prefer a blend of perlite and peat moss or coir, about a 50/50 ratio. This ensures good aeration and moisture retention without getting waterlogged.
- Small pots or seed trays: With drainage holes, of course!
- A clear plastic bag or a propagator lid: To maintain humidity around your cuttings.
- A spray bottle: For misting.
Propagation Methods
Let’s get our hands dirty! Stem cuttings are my go-to method for Cotoneaster nummularius, and it’s usually the most effective.
Stem Cuttings (Semi-Hardwood)
- Select your parent plant: Find a healthy, vigorous Cotoneaster nummularius shrub.
- Take cuttings: Using your clean shears or knife, make a cut just below a leaf node (where a leaf attaches to the stem). Aim for cuttings that are about 4-6 inches long. Remove any leaves from the bottom half of the cutting.
- Prepare the cuttings: If you’re using rooting hormone, dip the cut end of each cutting into it, gently tapping off any excess.
- Pot them up: Fill your small pots with your prepared potting mix. Make a small hole in the center of each pot with your finger or a pencil.
- Insert the cuttings: Gently push each cutting into the hole, ensuring the base is well-buried. You can fit a few cuttings into one pot, as long as they don’t touch each other. Firm the soil gently around them.
- Water them in: Water the pots thoroughly until water drains from the bottom.
- Create a humid environment: Place the pots inside a clear plastic bag or cover them with a propagator lid. This creates a mini-greenhouse effect, which is crucial for preventing the cuttings from drying out.
The “Secret Sauce” (Pro Tips)
Here are a couple of things I’ve learned over the years that can really make a difference:
- Don’t let the leaves touch the water! If you’re doing water propagation (which I’m not detailing here, as cuttings are generally more reliable for this shrub), any leaves submerged will rot, which can then spread to the whole cutting. For cuttings in pots, keep the leaves well above the soil line to avoid fungal issues.
- Bottom heat is your friend. While not strictly necessary, placing your pots on a gentle heat mat designed for plants can significantly speed up root development. It mimics the warmth of spring soil and encourages those roots to get moving.
Aftercare & Troubleshooting
Once your cuttings are potted and tucked into their humid home, the real waiting game begins!
- Check for moisture regularly: The soil should be kept consistently moist but not soggy. If the pot feels light or the soil surface looks dry, give it a gentle misting or a small watering. Avoid overwatering – that’s the quickest way to invite rot.
- Provide bright, indirect light: Place your propagator in a bright spot, but out of direct, hot sun. Too much sun can scorch the delicate cuttings.
- Be patient: Rooting can take anywhere from 4 to 8 weeks, sometimes longer. You’ll know they’ve rooted when you give them a gentle tug and feel resistance, or when you see new leaf growth appearing.
- Watch for rot: The most common sign of failure is wilting and blackening stems, often at the soil line. This usually means the environment is too wet and not airy enough, or the cutting was introduced to too much moisture. Discard any rotten cuttings immediately to prevent it from spreading.
A Encouraging Closing
Propagating plants is such a wonderful way to connect with nature and expand your garden without spending a fortune. With Cotoneaster nummularius, a bit of patience and these simple steps will set you up for success. Don’t get discouraged if your first few attempts aren’t perfect; gardening is a journey of learning and experimenting. Enjoy the process, celebrate every new root that appears, and soon you’ll have a whole new family of beautiful Cotoneaster nummularius to enjoy! Happy propagating!
Resource: