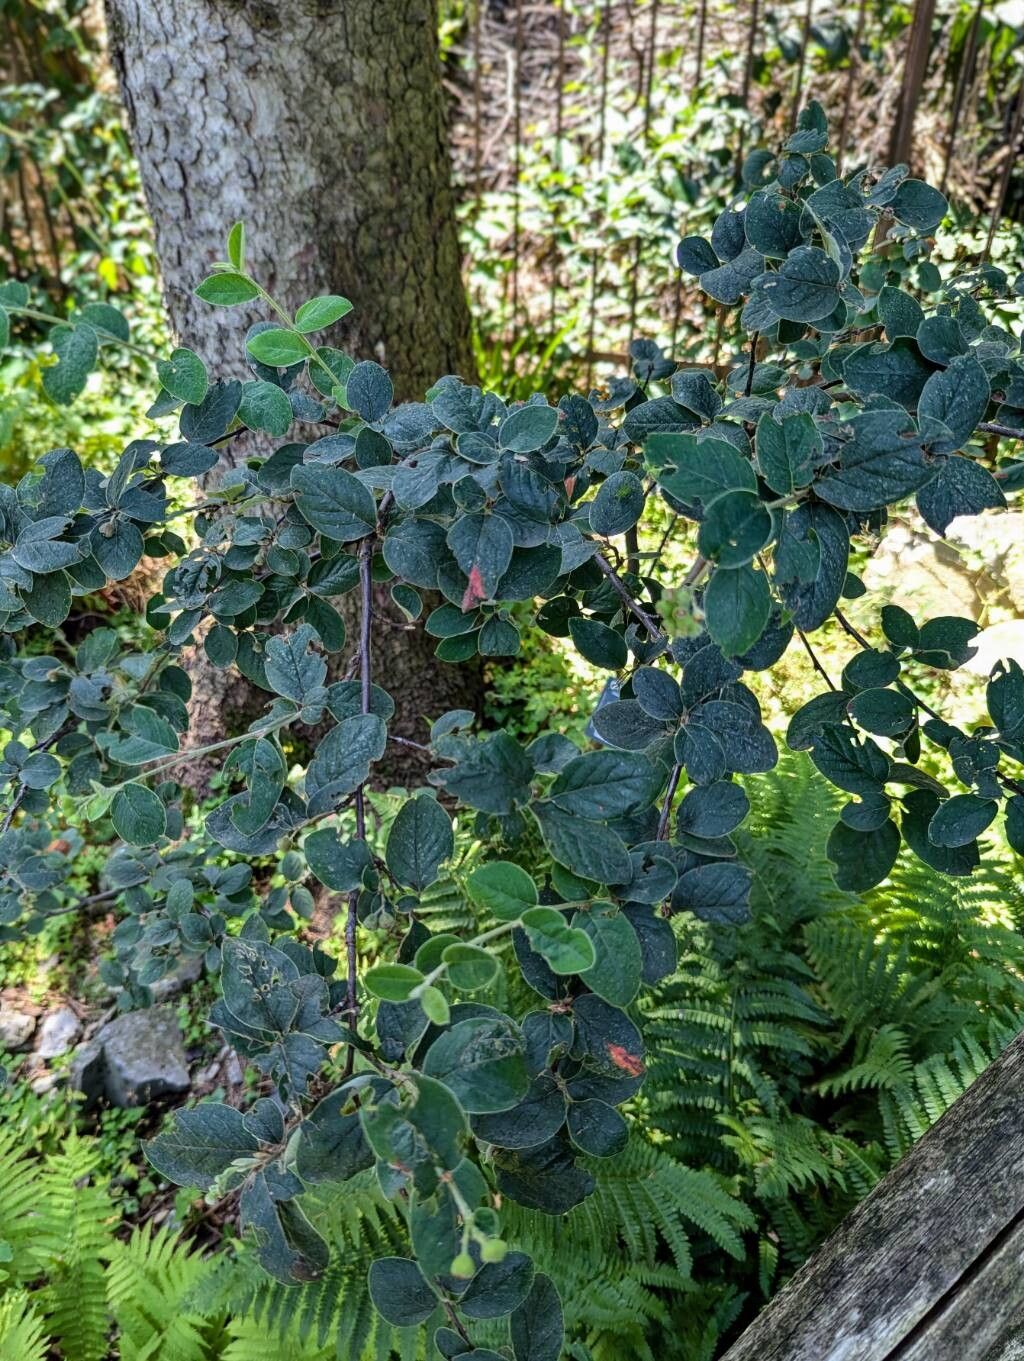
Oh, Cotoneaster integerrimus! If you’ve ever admired those lovely branches, laden with charming red berries come autumn, or the delicate pinkish-white flowers that herald spring, you’re not alone. This little native beauty, often called the Wild Cotoneaster, has a quiet charm that truly captures the essence of the season.
There’s something incredibly satisfying about coaxing new life from an established plant. It’s like unlocking a secret to nature’s magic, and with Cotoneaster, it’s a truly rewarding endeavor. Don’t let the fancy name fool you; while it might not be the absolute easiest plant for a total beginner to multiply, it’s certainly achievable with a little patience and a few pointers from my years in the garden.
The Best Time to Start
For Cotoneaster, I find my best success comes from working with semi-hardwood cuttings taken in the late summer or early autumn. Think of it as the plant having just finished its spring growth spurt and is now hardening off its new stems. These cuttings have enough flexibility to root but are mature enough to have a good chance of success. You can also try softwood cuttings in late spring or early summer, but I’ve found they can be a bit more finicky.
Supplies You’ll Need
Getting your setup ready makes a world of difference. Here’s what I always have on hand:
- Sharp Pruning Shears or a Craft Knife: For clean cuts that heal better.
- Rooting Hormone: A gentle dip in this really gives cuttings a nudge in the right direction. I prefer powdered forms.
- Small Pots or Seed Trays: With good drainage holes, of course!
- A Well-Draining Potting Mix: A 50/50 blend of perlite and peat moss or coco coir works wonderfully. You want it airy and moisture-retentive, but not soggy.
- A Plastic Bag or Humidity Dome: To keep the cuttings moist.
- Watering Can or Spray Bottle: For gentle watering.
- Labels and a Pen: To keep track of what you’ve planted and when!
Propagation Methods: Stem Cuttings
This is my go-to method for Cotoneaster. It’s reliable and you can multiply your plants quite effectively.
- Take Your Cuttings: Head out to your mature Cotoneaster in late summer or early autumn. Look for current year’s growth that is firm but still slightly flexible. You want to cut sections that are about 4-6 inches long. Make your cut just below a leaf node (where a leaf attaches to the stem).
- Prepare the Cuttings: Gently strip off the leaves from the bottom two-thirds of the cutting. This prevents them from rotting in the soil and encourages the plant to direct its energy towards root development. If any leaves are very large, you can carefully cut them in half.
- Apply Rooting Hormone: Dip the cut end of each prepared cutting into your rooting hormone, tapping off any excess.
- Pot Them Up: Fill your small pots or trays with your prepared potting mix. Make a small hole in the center of the soil with your finger or a pencil. Insert the cutting, firming the soil gently around it. You can usually fit several cuttings in one pot, spaced a couple of inches apart.
- Water Gently: Water the soil thoroughly until it drains from the bottom of the pot.
- Create a Humid Environment: Pop the pots into a plastic bag, sealing it carefully, or cover them with a clear plastic dome. This traps moisture and creates the humid environment cuttings need to thrive. Place them in a bright spot, but out of direct sunlight.
The “Secret Sauce” (Pro Tips)
Here are a few little tricks that I’ve learned over the years that can really boost your success rate:
- Bottom Heat is Your Friend: If you have a seedling heat mat, using it under your cutting pots can make a huge difference. It encourages the roots to form from the bottom up. Just keep it on a low setting.
- Don’t Let Leaves Wilty: While you want to avoid leaves touching the soil, if you see a cutting looking a bit sad and droopy, it might just need a bit more humidity. Try misting the inside of the bag or dome gently.
- Patience is a Virtue, Especially Here: Cotoneaster isn’t the fastest rooter. I often leave my cuttings undisturbed for at least 6-8 weeks, sometimes longer, before I even think about checking for roots. Rushing it can disturb delicate new growth.
Aftercare & Troubleshooting
Once you see little roots peeking out from the drainage holes, or feel some gentle resistance when you lightly tug on a cutting, it’s a good sign! Slowly acclimatize your new little plants to normal humidity by gradually opening the plastic bag or dome over a few days. Continue to water them carefully, keeping the soil consistently moist but not waterlogged.
The most common issue you might encounter is rot. This usually happens if the soil is too wet and there isn’t enough air circulation. If you see a cutting turn black and mushy, it’s best to remove it immediately to prevent it from spreading. Good drainage and that airy potting mix are your best defense against this.
A Encouraging Closing
Don’t be discouraged if not every cutting makes it. Gardening is always a journey of learning and experimentation. Celebrate the successes, learn from the challenges, and most importantly, enjoy the process of bringing new life into your garden. Happy propagating!
Resource:
https://identify.plantnet.org/k-world-flora/species/Cotoneaster%20integerrimus%20Medik./data