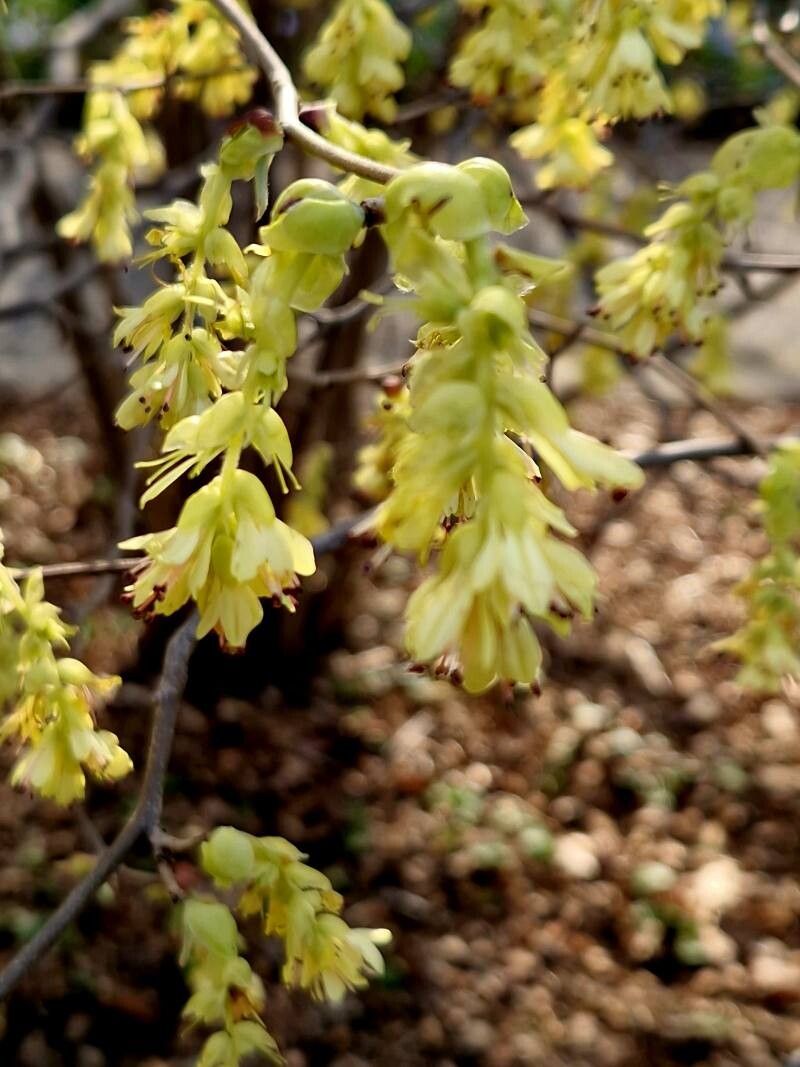
Hey there, fellow plant lovers! Today, we’re diving into the wonderful world of Corylopsis spicata, or as many of us affectionately call it, Winter Hazel. If you’ve ever been charmed by its delicate, pendulous yellow flowers that appear on bare branches in late winter or early spring, you know it’s a plant that just brings a smile to your face. And guess what? You can have more of this beauty right in your own garden!
Propagating Corylopsis spicata is a wonderfully rewarding project. Seeing a tiny cutting unfurl new leaves and eventually establish itself as its own plant is just pure gardening joy. While it’s not the absolute easiest plant for a complete beginner, with a little patience and the right approach, you’ll find it’s very achievable. Don’t let that deter you; let’s get our hands dirty!
The Best Time to Start
For the highest success rate with Corylopsis spicata, I’ve found that starting stem cuttings in early summer, right after the plant has finished flowering and is actively growing, is your best bet. The new, soft growth is still flexible enough to root easily. You can also consider division in early spring as the plant is just waking up.
Supplies You’ll Need
Gathering your supplies beforehand makes the whole process so much smoother. Here’s what I usually have on hand:
- Sharp pruning shears or a clean knife: For taking your cuttings.
- Rooting hormone: A good quality powder or gel can significantly boost your chances.
- Well-draining potting mix: A mix of peat moss, perlite, and a little bit of compost works wonders. You can also buy specific cutting mixes.
- Small pots or seed trays: Clean ones are crucial to prevent disease.
- Plastic bags or a propagator: To create a humid environment for your cuttings.
- Watering can with a fine rose: For gentle watering.
- Labels and a marker: So you don’t forget what you planted where!
- For division: A garden fork or trowel.
Propagation Methods
Let’s explore the most effective ways to get more Winter Hazels.
Stem Cuttings
This is my go-to method for Corylopsis spicata.
- Take Your Cuttings: In early summer, select healthy, 4-6 inch long shoots from the current year’s growth. These should be slightly firm but not woody. Use your clean shears to make a cut just below a leaf node.
- Prepare the Cuttings: Gently remove the lower leaves from the bottom half to two-thirds of the cutting. This prevents them from rotting once planted and also encourages rooting. You can also take off the very tip of the very top leaf if it’s quite large.
- Apply Rooting Hormone: Dip the cut end of the stem into your rooting hormone, tapping off any excess. This stuff isn’t magic, but it really gives those roots a helping hand.
- Plant the Cuttings: Fill your clean pots with your well-draining potting mix. Make a small hole with a pencil or your finger and insert the cutting, pushing the soil gently around the stem. Make sure at least one or two leaf nodes are below the soil surface.
- Create Humidity: Water the cuttings gently. Then, cover the pots with a plastic bag or place them in a propagator. Ensure the leaves aren’t touching the plastic if possible.
- Find a Spot: Place the pots in a bright location out of direct sunlight. A greenhouse or a bright windowsill is perfect.
Division
When the soil is workable in early spring, you can also divide established clumps.
- Gently Excavate: Carefully dig around the base of your established Corylopsis spicata plant. You want to loosen the entire root ball.
- Separate the Clumps: Gently tease apart the root system with your hands or use a garden fork to help break up dense sections. Aim to create sections that have both roots and some healthy shoots.
- Replant Immediately: Plant your new divisions in their prepared spots in the garden or in pots, ensuring they are at the same depth they were previously growing. Water them well.
The “Secret Sauce” (Pro Tips)
Here are a couple of things I’ve learned that make a real difference:
- The Power of Bottom Heat: If you can, providing a little bit of gentle bottom heat to your cuttings via a propagation mat can dramatically speed up root formation. It mimics the warmth of spring and really encourages those roots to get going.
- Don’t Drown Your Dreams: When misting or watering your cuttings, avoid letting water sit on the leaves for extended periods, especially in humid conditions. This can encourage fungal diseases. A light misting is usually enough.
- Patience is a Gardener’s Virtue: Sometimes cuttings take ages to show signs of life. Don’t give up too soon! I’ve had cuttings that took several months before I saw any new growth. Keep them in a suitable environment, and trust the process.
Aftercare & Troubleshooting
Once you start seeing signs of new growth – tiny leaves unfurling – that’s a good indicator roots are forming!
- Acclimate Slowly: Once roots have developed, gradually introduce your new plants to drier air by opening the propagator or holes in the plastic bag over a week or so.
- Watering When Rooted: Keep the soil consistently moist but not waterlogged. As they grow, you can water them a bit more freely.
- Watch for Rot: The most common sign of failure is rot, where the cutting turns mushy and black. This is usually due to too much moisture, poor drainage, or not enough air circulation. If you see this, unfortunately, that cutting is likely lost.
Propagating Corylopsis spicata is a journey, not a race. There will be successes, and sometimes, despite our best efforts, things just don’t pan out. That’s part of the learning curve for every gardener. Be patient with yourself and your new little plants. Enjoy the process, celebrate every new leaf, and soon you’ll have more beautiful Winter Hazels to share (or keep all to yourself!). Happy propagating!
Resource:
https://identify.plantnet.org/k-world-flora/species/Corylopsis%20spicata%20Siebold%20&%20Zucc./data