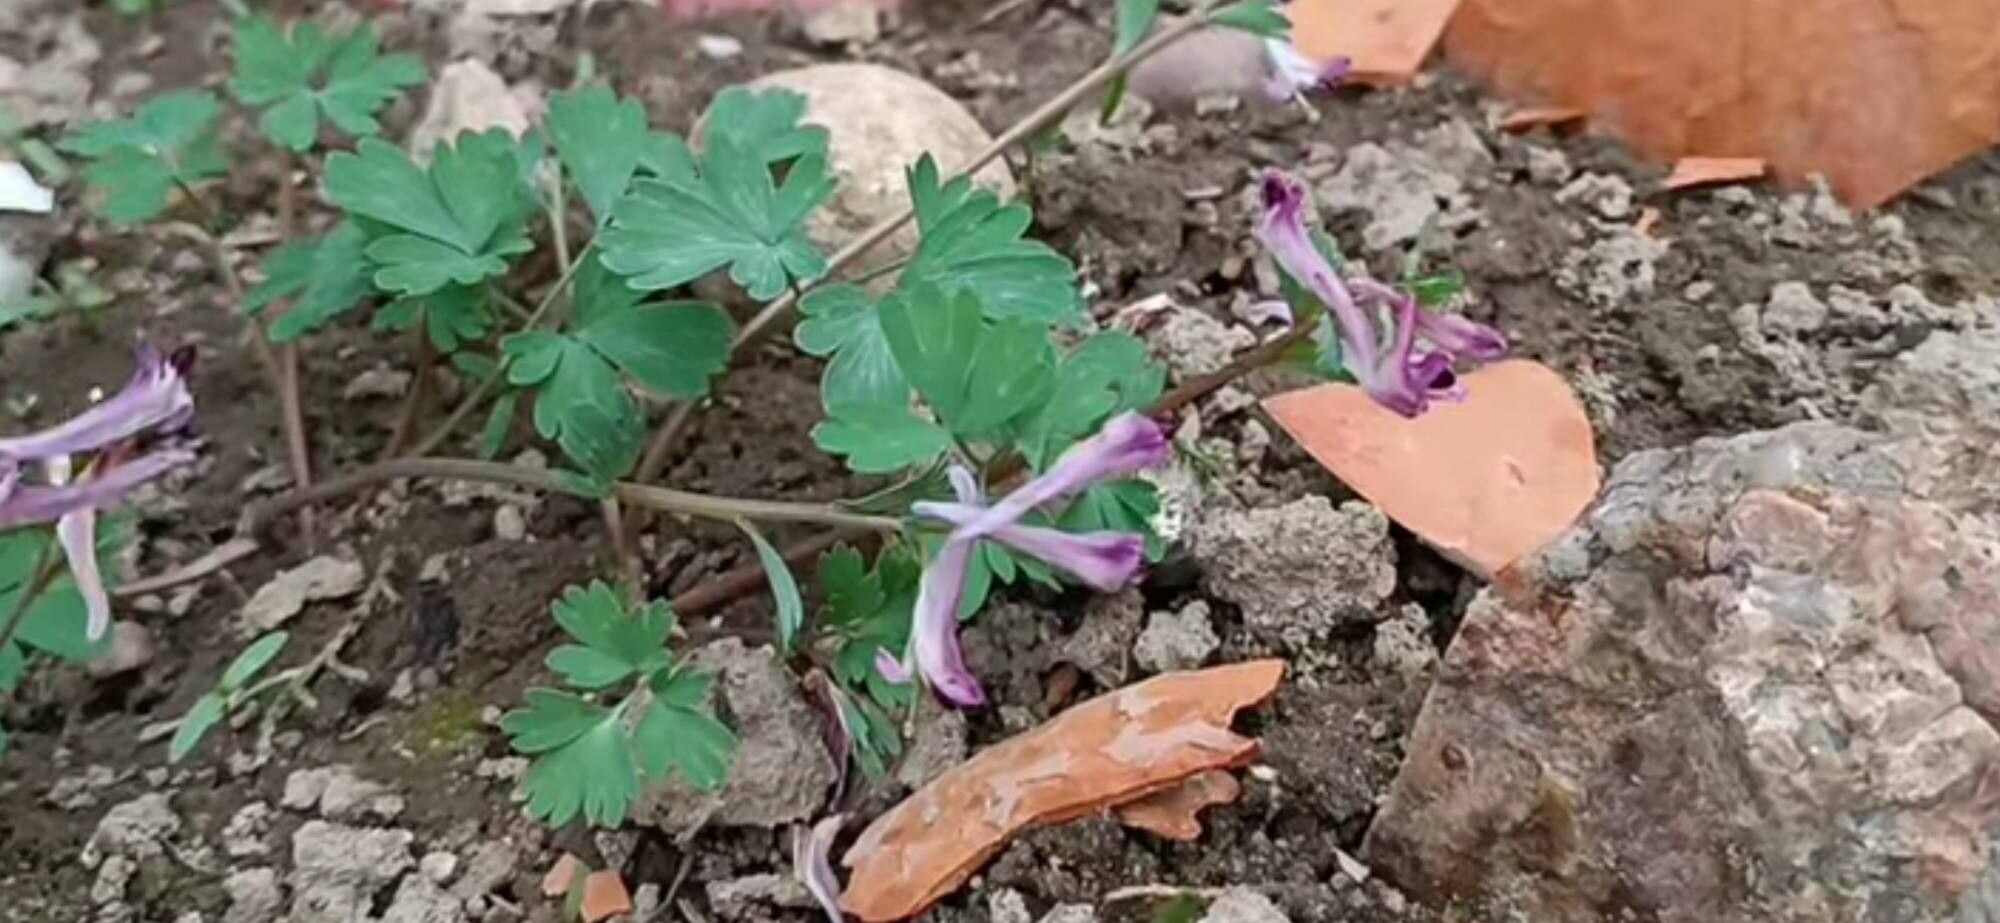
Hello there, fellow garden enthusiasts! Today, let’s talk about a gem that truly brightens up shady corners: Corydalis paczoskii. Its delicate, often vibrant blue flowers and fern-like foliage are simply enchanting, especially when you see a whole drift of them. If you’ve ever admired this beauty in someone’s garden (or your own!), you might be wondering how to get more for yourself. I’m here to tell you it’s absolutely doable, and it’s a wonderfully rewarding journey. For beginners, Corydalis paczoskii can be a tad fussy, but with a little patience and the right approach, you’ll be celebrating success in no time.
The Best Time to Start
Timing is everything, as we gardeners know! For Corydalis paczoskii, the very best time to think about propagating is late spring to early summer, right after the plant has finished its main flush of flowering. You want to catch it when it’s actively growing but before the heat of midsummer really kicks in. This gives the new cuttings or divisions the best chance to establish themselves before the growing season winds down.
Supplies You’ll Need
Gathering your tools beforehand always makes the process smoother. Here’s what I like to have on hand:
- Sharp, clean pruning shears or a sharp knife: For making clean cuts.
- A good quality potting mix: I prefer a light, well-draining mix – something like a blend of peat moss, perlite, and a touch of compost works wonderfully. Avoid anything too heavy that will hold too much moisture.
- Small pots or propagation trays: Clean ones are a must to prevent disease.
- Rooting hormone (optional but helpful): A powdered or gel form can give cuttings a nice boost.
- A watering can with a fine rose: For gentle watering.
- Plastic bags or a propagation dome: To create a humid environment.
- Labels and a permanent marker: For keeping track of your efforts!
Propagation Methods
Corydalis paczoskii can be propagated in a couple of ways, but dividing the plant is often the most straightforward and successful for home gardeners.
Division: The Reliable Route
This is my go-to method for Corydalis paczoskii.
- Gently excavate: In late spring or early summer, carefully dig around the base of your established Corydalis paczoskii plant. You want to lift the entire root ball, or at least a good portion of it, with minimal disturbance to the roots.
- Inspect and separate: Gently shake off excess soil, and you’ll likely see that the plant has naturally formed clumps or divisions. Use your hands or a clean trowel to gently pull apart these divisions. Aim for divisions that have at least a few healthy stems and a good starting root system. If a division is stubborn, a clean knife can help you make the cut.
- Potting up: Prepare your small pots with your well-draining soil mix. Plant each division so the top of the root ball is about an inch below the soil surface. Water each pot thoroughly but gently.
- Provide humidity: Place the potted divisions in a sheltered spot, perhaps in a frame or under a larger plant, where they’ll get bright, indirect light. Cover them loosely with a plastic bag or a propagation dome to maintain humidity.
Stem Cuttings: A Bit More Patience
While division is often easier, you can try stem cuttings too.
- Take cuttings: In late spring or early summer, select healthy, non-flowering stems that are about 3-4 inches long. Using your sharp shears, make a clean cut just below a leaf node (where a leaf emerges from the stem).
- Prepare for rooting: Gently remove the lower leaves from the cutting. If you’re using rooting hormone, dip the cut end into it now.
- Plant your cuttings: Pot the cuttings into small pots filled with your well-draining propagation mix. You can plant several cuttings per pot.
- Water and cover: Water gently and cover the pots with a plastic bag or propagation dome to keep the humidity high. Place them in a bright, indirect light location.
The “Secret Sauce” (Pro Tips)
Here are a few little tricks I’ve learned over the years that can really make a difference:
- Don’t overwater that soil! This is crucial. Even though you want to keep things moist, soggy soil is the fastest way to invite rot for Corydalis. The mix should always feel like a wrung-out sponge, never waterlogged.
- Bottom heat is a game-changer for cuttings. If you’re trying stem cuttings, placing the pots on a heat mat set to a low temperature (around 70°F / 21°C) can significantly speed up root development. It convinces those cuttings that spring has truly arrived.
- Allow airflow. While you want to maintain humidity with a bag or dome, it’s a good idea to lift the cover for a few minutes each day to allow for some air circulation. This helps prevent fungal issues.
Aftercare & Troubleshooting
Once your divisions or cuttings start to root – you’ll often see new growth pushing up – it’s time to transition them. Gradually reduce the humidity by opening the bag or dome slightly more each day. Keep them watered consistently, but still check that the soil isn’t staying wet. As they grow stronger, you can transplant them into slightly larger pots.
The most common issue you’ll encounter is rot. If you see stems turning mushy or the whole cutting just collapsing, it’s almost always a sign of too much moisture. In this case, sadly, it’s usually best to discard the affected cutting and start again, paying closer attention to your watering. Yellowing leaves can sometimes indicate insufficient light, while wilting might mean they’re drying out too much. Adjust accordingly.
A Little Patience Goes a Long Way
Propagating any plant is a lesson in patience, and Corydalis paczoskii is no different. Don’t get discouraged if your first attempt isn’t a roaring success. Each time you try, you’ll learn more. Enjoy the process, celebrate the tiny signs of life, and soon you’ll have beautiful new Corydalis paczoskii to enjoy or share. Happy gardening!
Resource:
https://identify.plantnet.org/k-world-flora/species/Corydalis%20paczoskii%20N.Busch/data