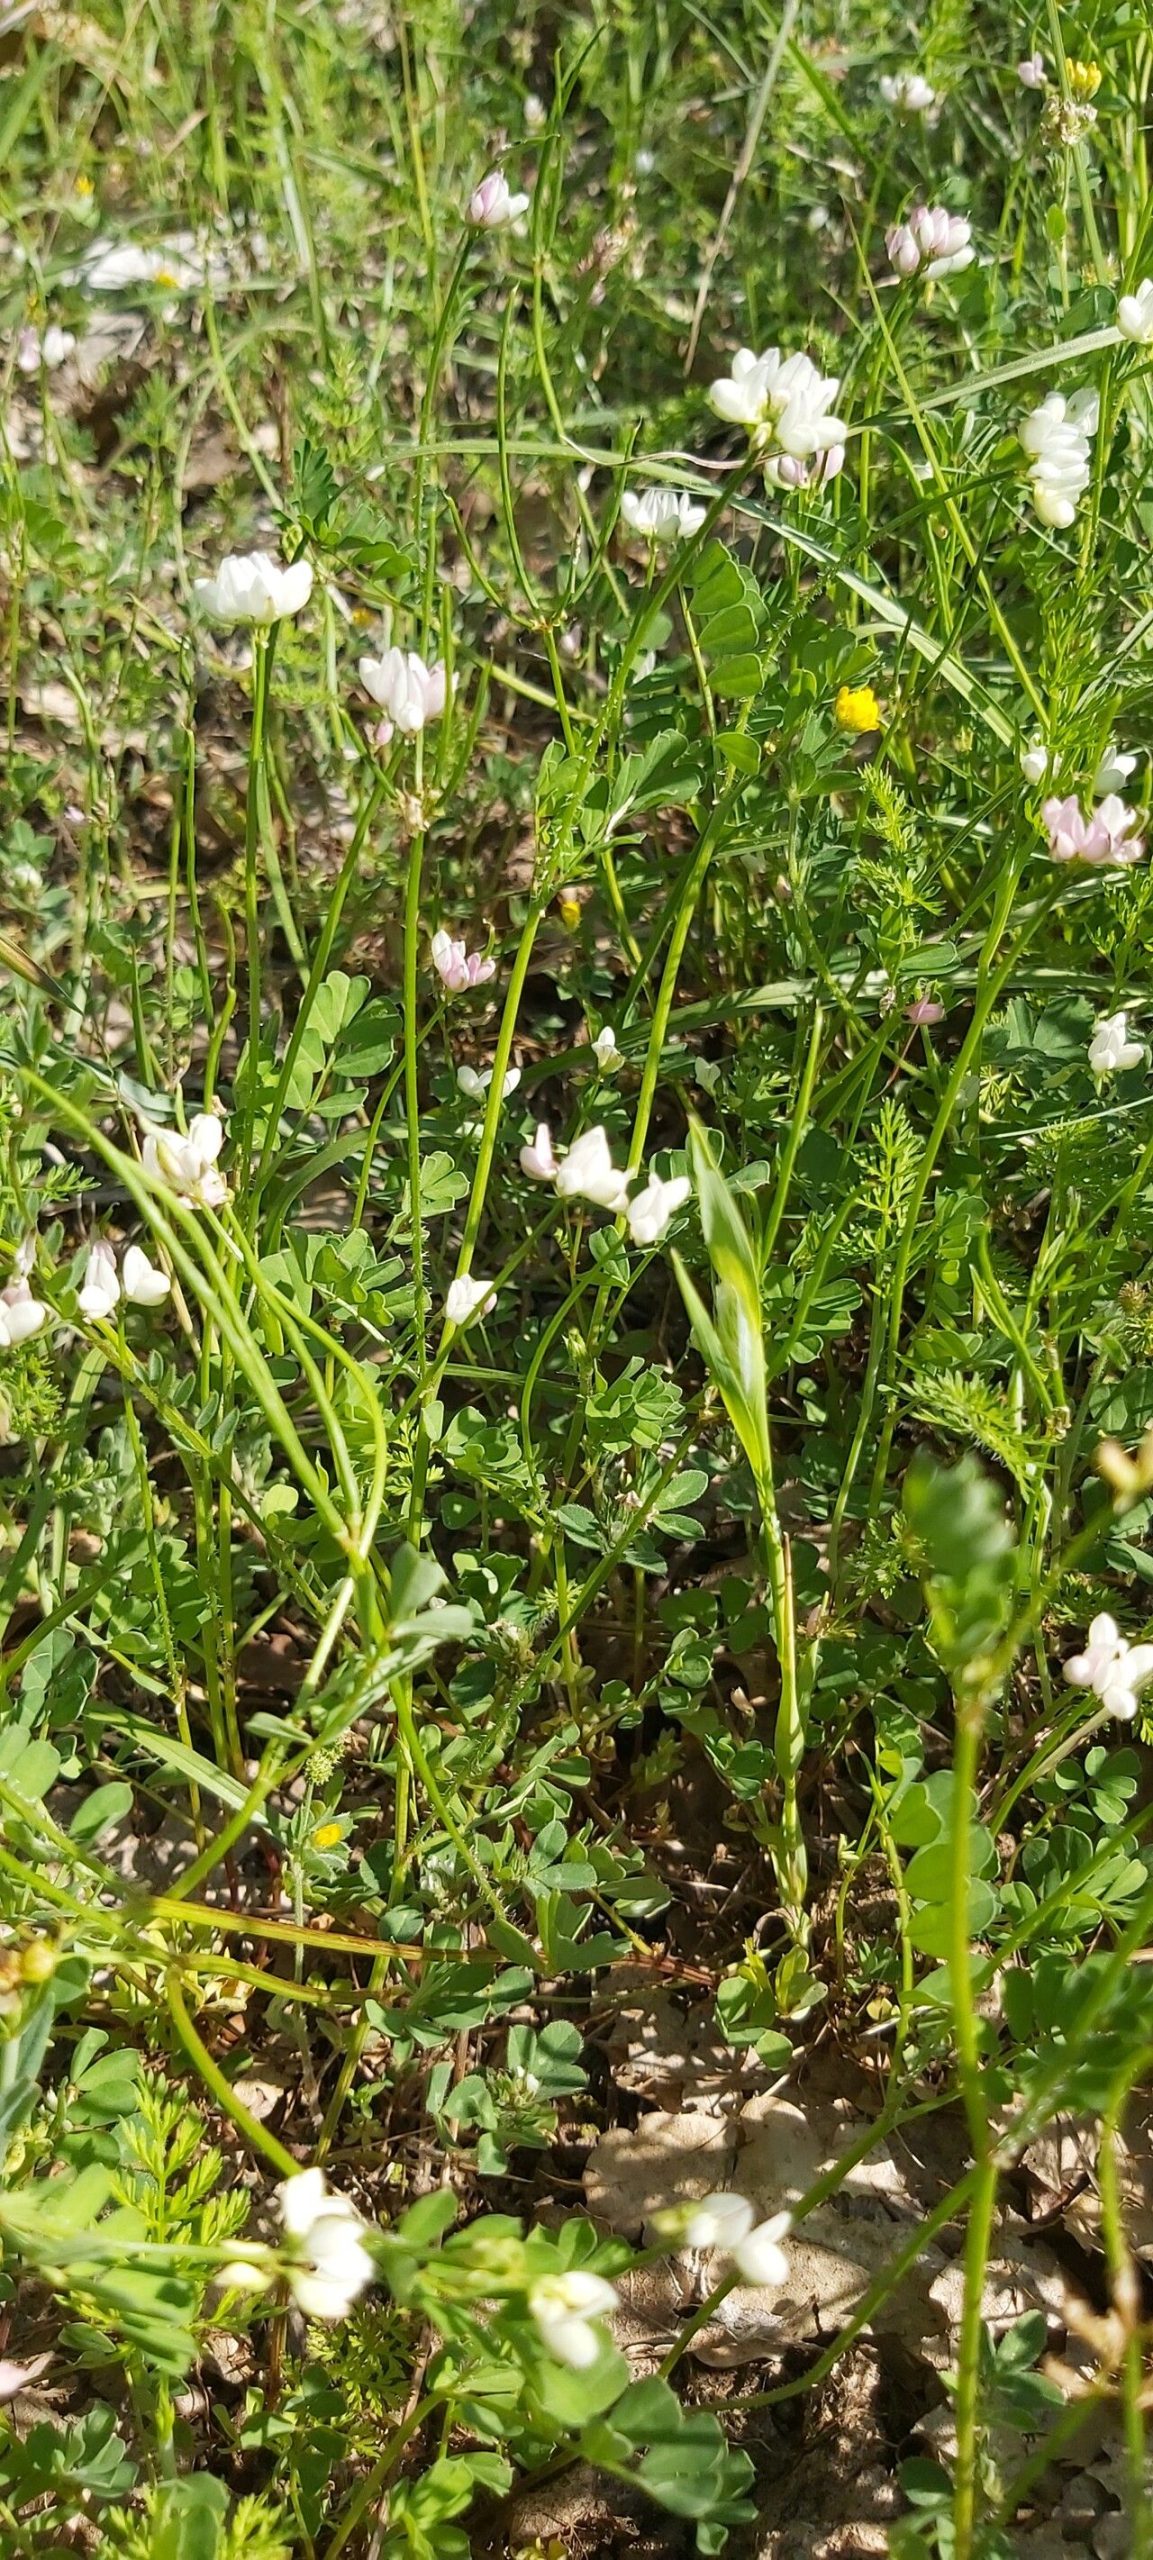
Oh, Coronilla cretica! What a cheerful beauty. Its delicate, pea-like flowers bring such a splash of sunshine to the garden, and those lovely grey-green leaves are a delight year-round. If you’ve ever admired this plant and thought, “I’d love more of those!”, you’re in luck. Propagating Coronilla cretica isn’t too tricky, and it’s incredibly rewarding to watch a little slip of a plant grow into its own. It’s a fantastic project, even for those just starting their gardening journey.
The Best Time to Start
Honestly, spring is your best bet for propagating Coronilla cretica. As the plant wakes up from its winter slumber and starts putting on new growth, it’s full of vigor. This is when cuttings are most likely to root successfully. Aim to take your cuttings when the new stems are still somewhat flexible but have started to harden off a bit – not the super soft, floppy new shoots, nor the woody old stems.
Supplies You’ll Need
Here’s what I usually gather before I get started:
- Sharp pruning shears or a clean knife: For making clean cuts.
- Rooting hormone powder (optional but recommended): Helps encourage root development.
- A well-draining potting mix: I like a blend of equal parts peat moss or coco coir and perlite or coarse sand. You can also buy specific succulent or cactus mixes, which work well.
- Small pots or trays with drainage holes: About 3-4 inches is a good size.
- Plastic bags or propagation domes: To create a humid environment.
- A watering can or spray bottle: For gentle watering.
Propagation Methods
I find stem cuttings to be the most straightforward way to get more Coronilla cretica.
Stem Cuttings:
- Select a healthy stem: Look for a stem that’s about 4-6 inches long and has a few sets of leaves.
- Make your cut: Using your clean shears or knife, make a cut just below a leaf node (where a leaf attaches to the stem). A clean cut is crucial to prevent disease.
- Prepare the cutting: Gently remove the bottom few leaves from the cutting. This exposes the leaf nodes, which are where roots will emerge. If the remaining leaves are very large, you can also trim them in half to reduce water loss.
- Dip in rooting hormone (optional): Lightly moisten the cut end of the stem and dip it into rooting hormone powder. Tap off any excess.
- Plant your cutting: Fill your small pots with your well-draining potting mix. Make a small hole in the center with your finger or a pencil. Insert the cut end of the stem into the hole, ensuring that at least one leaf node is below the soil surface. Gently firm the soil around the stem.
- Water gently: Water the soil lightly. You want it to be moist, not soggy.
- Create a humid environment: Cover the pot loosely with a plastic bag or place it under a propagation dome. This traps humidity, which is vital for cuttings to root. You can prop up the bag with a stick or two so it doesn’t touch the leaves directly.
- Place in bright, indirect light: Find a spot that gets plenty of light but avoids direct, scorching sun. A bright windowsill is usually perfect.
The “Secret Sauce” (Pro Tips)
Here are a few little tricks I’ve picked up over the years that can really boost your success:
- Don’t let those leaves touch the water! If you choose water propagation (which is trickier for larger-leafed plants but can work if you’re patient), make sure the cut end is submerged, but no leaves dip into the water. Any leaves sitting in water will rot, and that’s a sure way to lose your cutting.
- Bottom heat is your friend. If you have a heat mat designed for seedlings, placing your pots on it can significantly speed up root formation. It mimics the warmth of spring soil and encourages those roots to get going. Make sure it’s not too hot, though – think warm to the touch, not hot!
- Sterilize everything. Cleanliness is so important when you’re propagating. I always give my pots and tools a good wash with soapy water and a quick rinse in diluted bleach or rubbing alcohol to prevent passing any nasty bugs or diseases from the parent plant to your new baby.
Aftercare & Troubleshooting
Once your cuttings have roots, it’s time to give them a little extra love. You’ll know they’re rooting when you see new growth appearing, or if you gently tug on the cutting and feel a bit of resistance.
- Gradual acclimatization: Once roots are established (this can take anywhere from 4-8 weeks, sometimes longer), slowly start to remove the plastic bag or dome for increasing periods each day. This helps the new plant adjust to normal humidity levels.
- Gentle watering: Continue to water when the top inch of soil feels dry. Avoid overwatering, as this is the most common cause of rot.
- Troubleshooting: The biggest enemy here is rot. If your cutting turns black and mushy, or if you see mold growing on the soil surface, it’s likely due to too much moisture and not enough air circulation. Unfortunately, once rot sets in, it’s usually game over. If your cutting simply shrivels up and looks dead, it might be a sign that it wasn’t getting enough humidity or water, or perhaps too much direct sun. Don’t be too discouraged if you have a few failures; it happens to all of us!
A Encouraging Closing
Propagating plants is a little bit of magic, isn’t it? It’s a patience game, for sure, but the joy of nurturing a brand-new plant from a single stem is truly wonderful. Be patient with your Coronilla cretica, enjoy the process of learning, and celebrate every little bit of progress. Happy propagating!
Resource:
https://identify.plantnet.org/k-world-flora/species/Coronilla%20cretica%20L./data