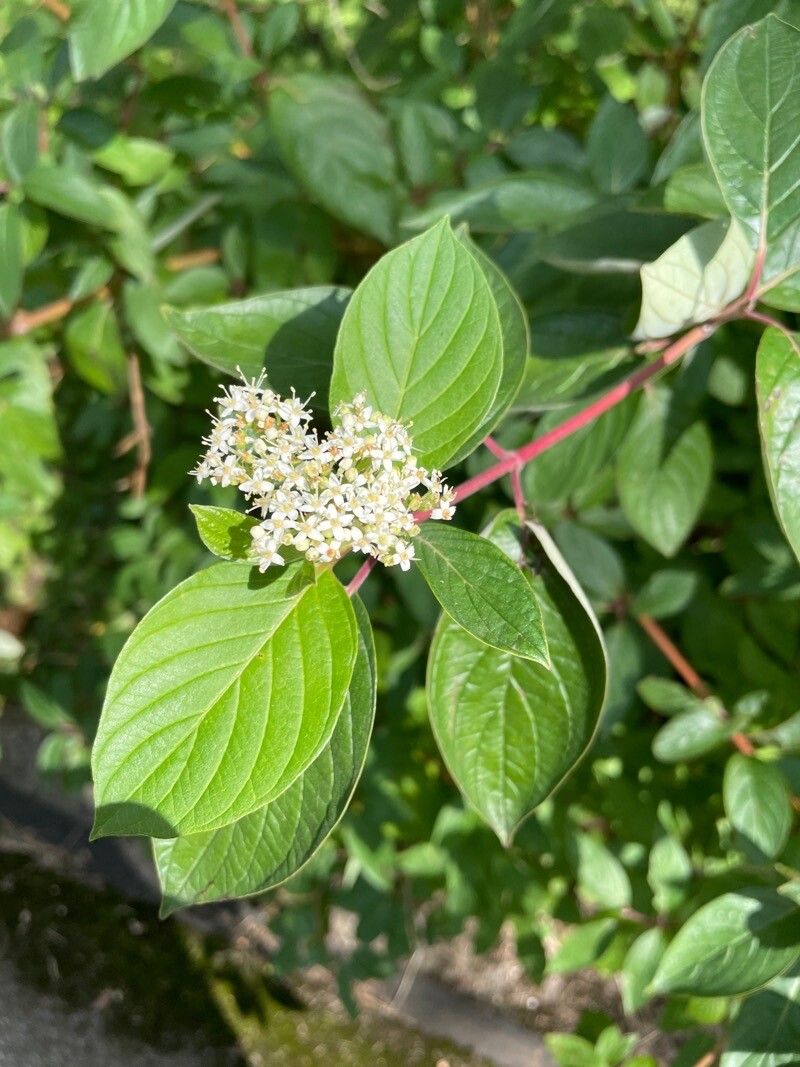
Oh, hello there! Pull up a chair and let’s chat about one of my favorite garden treasures: Cornus asperifolia, or rough-leaved dogwood. You know, the one with that gorgeous, slightly textured foliage and delicate white flowers that just sing in the spring? It’s a real understated beauty, isn’t it? And the best part? You can easily bring more of its charm into your own garden by propagating it. For us plant lovers, coaxing new life from an existing specimen is just plain magical. Now, if you’re new to propagating, let me tell you, Cornus asperifolia is a fairly rewarding plant to start with. It’s not overly fussy and tends to respond well, which is always a good sign for beginners!
The Best Time to Start
My favorite time to get propagating Cornus asperifolia is right after the plant has finished its spring bloom, which is typically in late spring to early summer. This is when the new growth is still a bit soft – we call it semi-hardwood. It’s got enough vigor to root, but it’s not so tough that it’s difficult to work with. You want that growth that bends rather than snaps.
Supplies You’ll Need
Here’s what I usually gather before I get my hands dirty:
- Sharp, clean pruning shears or a razor blade: Cleanliness is key to preventing disease.
- Rooting hormone (optional but recommended): I like to use a powdered form.
- A well-draining potting mix: A good base is about equal parts peat moss or coco coir and perlite. You can also buy specialized cutting mixes.
- Small pots or seed trays: Clean ones, of course!
- Plastic bags or a humidity dome: To keep those cuttings nice and moist.
- Water: For misting and watering.
- Labels and a marker: Trust me, you’ll thank yourself later.
Propagation Methods
The most reliable way I’ve found to propagate Cornus asperifolia is through stem cuttings. It’s pretty straightforward, and I usually have a good success rate with it.
Stem Cuttings:
- Take Your Cuttings: Using your sharp shears, select healthy, vigorously growing stems from your established plant. Aim for pieces that are about 4-6 inches long. Look for those semi-hardwood stems I mentioned.
- Prepare the Cuttings: Remove the leaves from the bottom two-thirds of each cutting. You can leave just one or two leaves at the very top to help with photosynthesis, but make sure they aren’t too big. If they are, I’ll often cut them in half horizontally.
- Apply Rooting Hormone (Optional): Dip the cut end of each stem into rooting hormone or willow water if you have it. Tap off any excess. This stuff really gives the cuttings a helpful boost.
- Plant the Cuttings: Fill your clean small pots or seed trays with your well-draining potting mix. Make a hole in the center of the mix large enough for the cutting. Gently insert the prepared cutting, ensuring the nodes (where the leaves were removed) are buried in the soil. Firm the soil around the base of the cutting.
- Create a Humid Environment: Lightly water the soil so it’s moist but not waterlogged. Then, cover the pots loosely with a plastic bag or a humidity dome. This is crucial for preventing the cuttings from drying out. Make sure the leaves aren’t touching the sides of the bag. You can prop up the bag with a few stakes if needed.
- Place in a Suitable Location: Find a spot that receives bright, indirect light. Avoid direct hot sun, which can scorch the delicate cuttings.
The “Secret Sauce” (Pro Tips)
Here are a couple of things I’ve learned over the years that seem to make a difference:
- Bottom Heat is Your Friend: If you can, place your pots on a heated propagation mat. This gentle warmth encourages root development from below. It’s like giving them a tiny, cozy foot spa!
- Don’t Over-Water, But Don’t Let Them Dry: The key is consistently moist soil. I check them daily. If the surface feels dry, I give them a gentle misting or a light watering. The plastic bag helps with this, but it’s still good to check.
- Air Circulation is Important: Once a day, I’ll lift the plastic bag or dome for a few minutes to allow for some air circulation. This helps prevent fungal issues, which can be the downfall of tender cuttings.
Aftercare & Troubleshooting
Keep those cuttings in their humid environment and under bright, indirect light. Be patient! It can take anywhere from 4 to 8 weeks for roots to form. You can check for roots gently by giving a cutting a very light tug. If there’s resistance, you’ve got roots!
Once roots have formed, it’s time to transition them slowly. Gradually remove the plastic bag or dome over several days, allowing the new plant to acclimate to normal humidity. Continue to water them, keeping the soil consistently moist. You can start feeding them with a diluted liquid fertilizer once you see new leaf growth.
The most common issue you might face is rot. If you see mushy, black stems or leaves, it’s usually a sign of too much moisture and poor air circulation. If this happens, try to remove the affected parts immediately and ensure the soil is draining well and there’s better airflow.
A Encouraging Closing
Propagating a new Cornus asperifolia is an incredibly rewarding experience. It’s a wonderful way to expand your garden or share its beauty with friends. Don’t be discouraged if your first attempt isn’t perfect. Gardening is all about learning and experimenting. Just keep trying, be patient with your little green babies, and enjoy the beautiful process of growing new life! Happy propagating!
Resource:
https://identify.plantnet.org/k-world-flora/species/Cornus%20asperifolia%20Michx./data