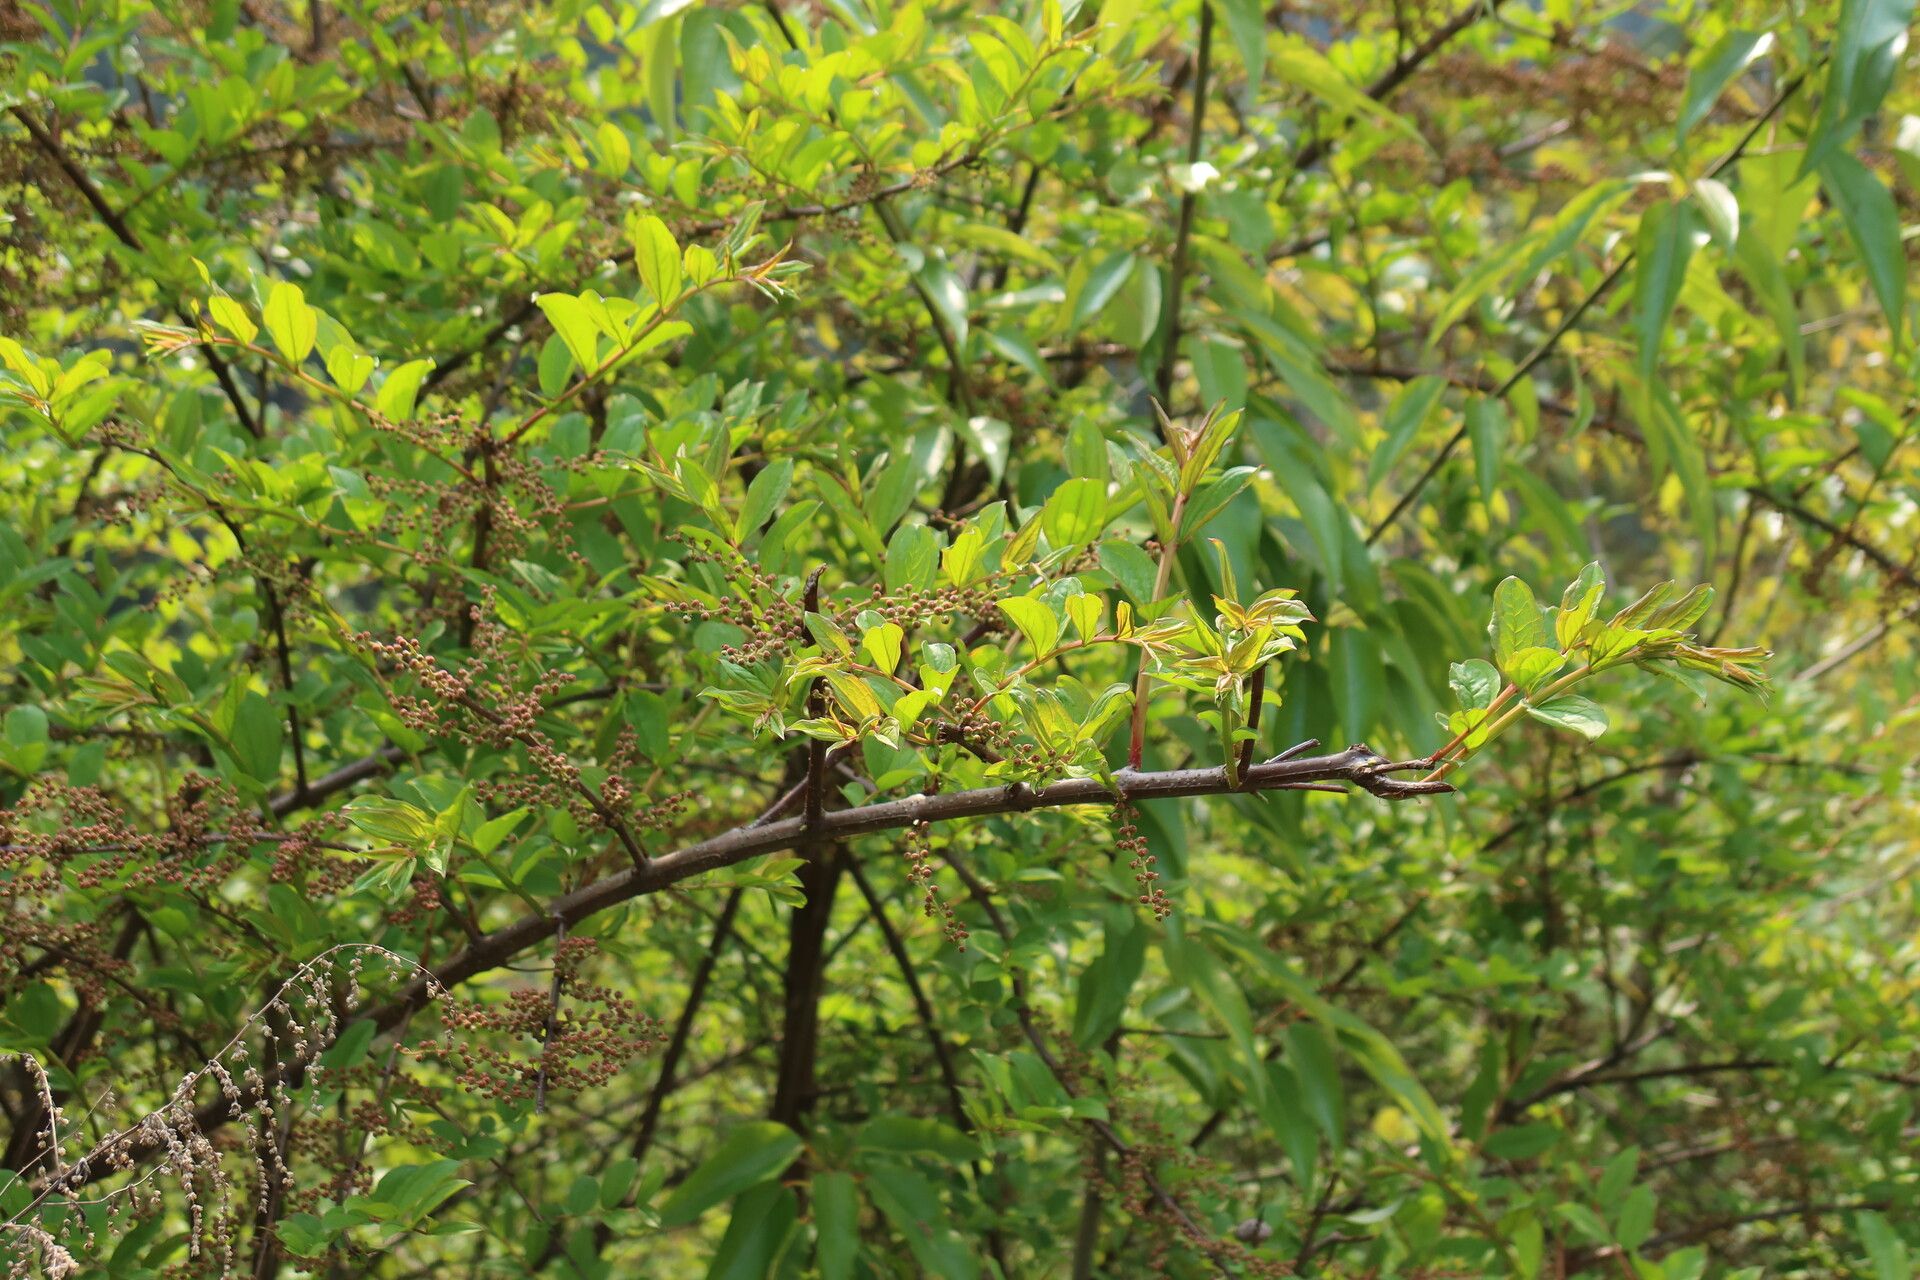
Hello fellow plant lovers! Today, we’re going to dive into the wonderful world of propagating Coriaria napalensis, that gorgeous shrub that adds such unique charm to the garden. Its delicate, almost fern-like foliage and charming berries make it a real standout. And let me tell you, successfully coaxing a new plant from an existing one? There’s truly nothing quite like it. For those of you just starting out with propagation, Coriaria napalensis can be a bit of a middle-ground plant. It’s not as fussy as some, but it definitely rewards careful attention.
The Best Time to Start
The sweet spot for propagating Coriaria napalensis is when the plant is actively growing but not stressed. For me, this usually means late spring to early summer. You’re looking for stems that are new and flexible, but have had a little time to harden off – we call these “semi-hardwood cuttings.” If you try too early, the stems are too soft and prone to rot. Go too late, and they might not have enough energy to root before cooler weather sets in.
Supplies You’ll Need
To give your cuttings the best chance, having the right toolkit makes all the difference:
- Sharp pruning shears or a clean knife: For making clean cuts.
- Rooting hormone (optional but recommended): A powder or gel.
- A clean tray or pot: With good drainage holes.
- Well-draining potting mix: I like a blend of peat moss, perlite, and a little bit of coarse sand.
- Small stakes or labels: To keep track of your projects!
- A clear plastic bag or a propagator lid: To create a humid environment.
- Water: Good old tap water is usually fine.
Propagation Methods
Let’s get our hands dirty! The most reliable method for Coriaria napalensis is stem cuttings.
Stem Cuttings:
- Take your cuttings: In late spring or early summer, select healthy, non-flowering stems. Look for growth from this year that’s started to firm up. Using your clean shears, take cuttings that are about 4-6 inches long. Make the cut just below a leaf node (where a leaf attaches to the stem).
- Prepare the cuttings: Gently remove the leaves from the bottom half of each cutting. This is important because those leaves would otherwise sit in the soil or water and rot, which is the last thing we want. You can leave a couple of leaves at the top.
- Apply rooting hormone: Dip the cut end into rooting hormone powder or gel. Tap off any excess. This isn’t strictly necessary, but it really does give your cuttings a boost.
- Pot them up: Fill your clean tray or pot with your well-draining potting mix. Make small holes with a pencil or your finger. Insert the cuttings into these holes, ensuring the leaves at the top aren’t touching the soil. Gently firm the soil around them.
- Water and cover: Water the soil thoroughly but gently until water drains from the bottom of the pot. Then, cover the tray or pot with a clear plastic bag or a propagator lid to create a mini greenhouse effect. This keeps the humidity high, which is crucial for rooting.
The “Secret Sauce” (Pro Tips)
Over the years, I’ve picked up a few tricks that seem to make a real difference:
- Bottom heat is your friend: If you have it, placing your propagator on a gentle heat mat can significantly speed up root development. It mimics the warmth that encourages roots to emerge from warmer soil.
- Don’t drown a good cutting: When you water your potted cuttings, make sure the soil is moist but not waterlogged. Soggy soil is an invitation for rot, and we want to encourage healthy root growth, not fungal diseases.
- Freshness matters with leaf nodes: When you’re preparing your cuttings, pay close attention to where you make your lowest cut. Ideally, you want this just below a leaf node, as this is where roots are most likely to emerge.
Aftercare & Troubleshooting
Once your cuttings are potted, place them in a bright spot but out of direct, harsh sunlight. Keep the humidity high by misting occasionally if the bag feels dry, and check the moisture level of the soil regularly.
You’ll know your cuttings are starting to root when you see new leaf growth at the top, or when you gently tug on the cutting and feel a bit of resistance. This can take anywhere from 4-8 weeks, sometimes longer. Be patient!
The most common problem you’ll encounter is rot. If a cutting turns mushy, black, or starts to wilt dramatically and doesn’t recover, it’s likely succumbed to rot. This usually means the environment was too wet, or the cutting wasn’t healthy to begin with. Don’t be discouraged if a few don’t make it; it’s part of the learning process. Just tidy up and try again with new cuttings.
A Little Encouragement
Propagating Coriaria napalensis is a fulfilling journey. It’s a chance to learn more about your plant and to share its beauty by creating new life. Remember, patience is key. Treat your cuttings gently, provide them with the right conditions, and enjoy watching them grow. Happy propagating!
Resource:
https://identify.plantnet.org/k-world-flora/species/Coriaria%20napalensis%20Wall./data