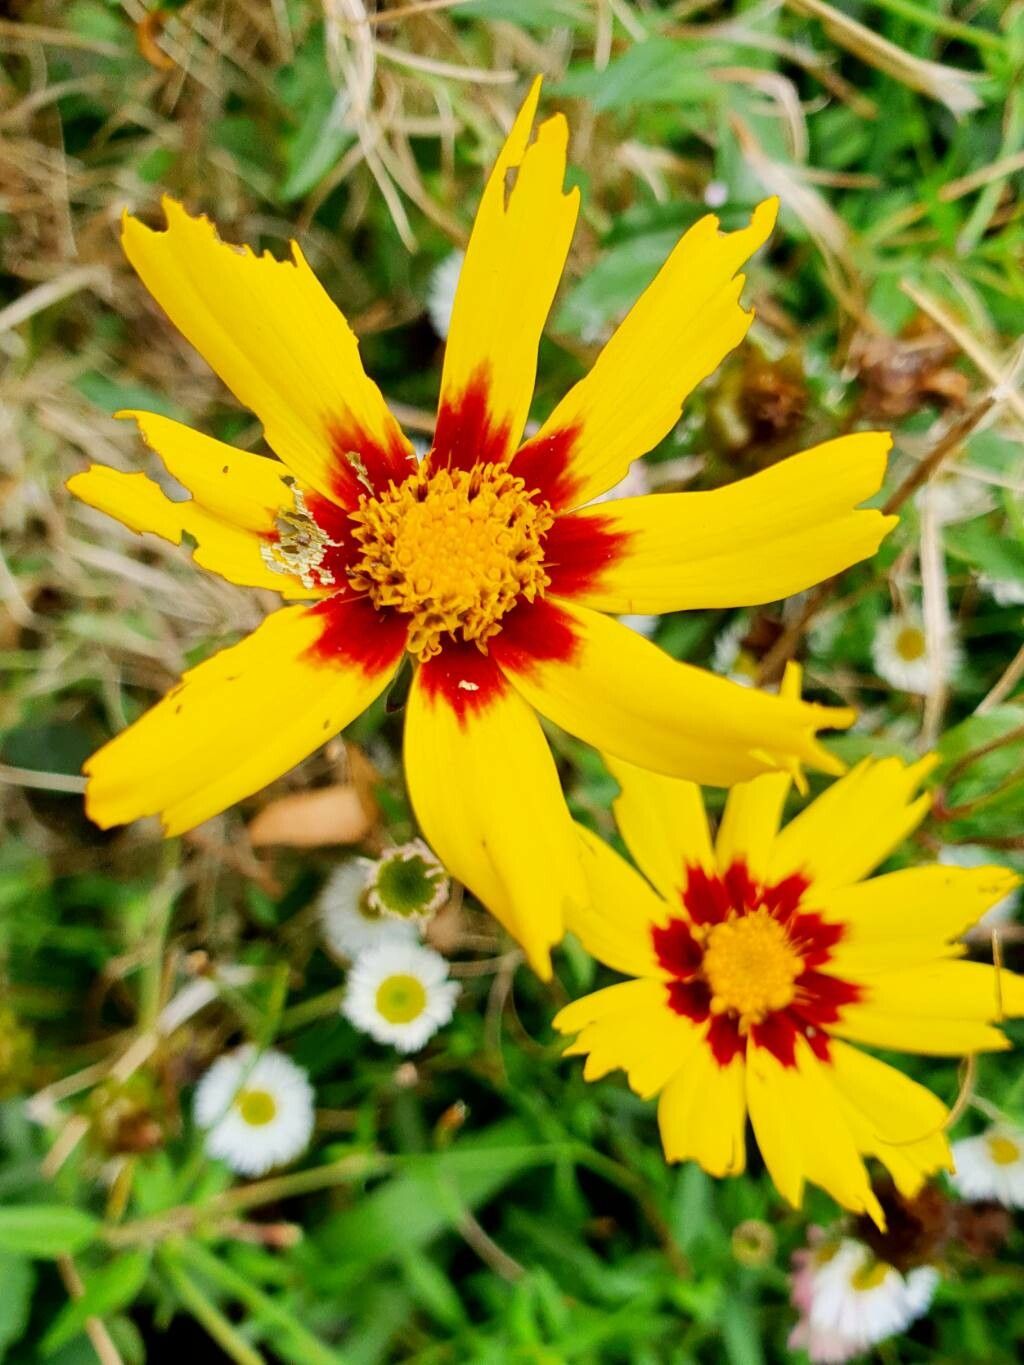
Oh, Coreopsis grandiflora! Isn’t it just a ray of sunshine in the garden? Those cheerful, daisy-like blooms in shades of yellow and gold really do brighten any corner. For me, the joy of growing Coreopsis isn’t just in its beauty, but in the simple satisfaction of making more of them. It’s a wonderfully rewarding feeling, and good news for all of you budding gardeners out there – Coreopsis grandiflora is surprisingly easy to propagate. You’ll be sharing your sunny blooms with friends in no time!
The Best Time to Start
Generally, I find the best time to get going with propagating Coreopsis is in late spring or early summer. This is when the plant is actively growing, and you want to take advantage of that vigorous energy. You can also do it in early autumn, giving your new plants a chance to establish before winter truly sets in. The key is to work with healthy, actively growing material.
Supplies You’ll Need
To get your Coreopsis propagation project underway, here’s a quick rundown of what you’ll want to have on hand:
- Sharp pruning shears or a clean craft knife: For taking cuttings.
- Small pots or seedling trays: With good drainage holes.
- Propagation mix or a blend of perlite and peat moss: A light, airy mix is essential.
- Rooting hormone (optional but recommended): A powder or gel will encourage faster root development.
- Watering can or spray bottle: For gentle watering.
- A plastic bag or propagator lid: To create a humid environment.
- Labels: To keep track of what you’ve planted!
Propagation Methods
Coreopsis grandiflora is quite obliging when it comes to making new plants. Here are a couple of my go-to methods:
Stem Cuttings
This is my absolute favorite way to start new Coreopsis. It’s efficient and you get nearly identical plants to your parent.
- Select your cuttings: Look for healthy, non-flowering stems. Aim for cuttings about 4-6 inches long. Make your cut just below a leaf node (where a leaf attaches to the stem).
- Prepare the cuttings: Gently remove the lower leaves from the cutting, leaving just a few at the top. This prevents them from rotting in the soil or water.
- Apply rooting hormone: If you’re using rooting hormone, dip the bottom inch of the stem into it, tapping off any excess.
- Plant them up: Fill your small pots or trays with the propagation mix. Make a small hole with your finger or a pencil, then gently insert the cut end of the stem. Firm the soil gently around it.
- Water and cover: Water the soil thoroughly but gently. Then, cover the pot with a plastic bag or a propagator lid to trap humidity. You can prop the bag up with skewers if needed, so it doesn’t touch the leaves.
Division
If you have a mature clump of Coreopsis, division is a wonderfully simple way to get new plants, and it also helps to rejuvenate the parent plant.
- Dig it up: In spring or early autumn, carefully dig around the base of the plant and lift the entire clump from the soil.
- Separate the sections: Gently shake off excess soil so you can see the root structure. You can often pull the clump apart with your hands, or use a clean trowel or a sharp knife to divide it into smaller sections. Make sure each section has plenty of roots and at least one or two healthy shoots.
- Replant: Immediately replant the divisions into your garden or into pots filled with fresh soil. Water them in well.
The “Secret Sauce” (Pro Tips)
Here are a few little tricks I’ve picked up over the years that can really boost your success rate:
- Bottom heat is your friend: If you have a seedling mat or can place your pots on a slightly warm spot (like near a sunny window that doesn’t overheat!), gentle bottom heat encourages root development much faster. It mimics the warmth of spring soil.
- Don’t overwater: This is probably the most common mistake! Cuttings and divisions need consistent moisture, but soggy soil leads to rot. Let the surface of the soil dry out just a tiny bit between waterings. A good poke with your finger is the best way to check.
- Patience is paramount: Some plants root quickly, others take their sweet time. Resist the urge to tug on your cuttings to “check” for roots. Wait at least 3-4 weeks before gently trying to see if there’s resistance.
Aftercare & Troubleshooting
Once you see new growth, that’s your first sign of success!
- Acclimatize slowly: If your cuttings are under a propagator lid or plastic bag, gradually start to lift it off over a week or so to let them get used to the drier air.
- Watering: Continue to keep the soil consistently moist but not waterlogged. Water at the base of the plant to avoid getting the leaves wet.
- Transplanting: Once your new plants have developed a good root system (you’ll see roots coming out of the drainage holes, or they’ll feel firm when gently tugged), they’re ready to be transplanted into larger pots or into their permanent garden spot.
The biggest issue you might encounter is rot. This is usually a sign of too much moisture or not enough air circulation. If you see a cutting looking yellow and limp, or developing mushy stems, it’s likely rotted. Sadly, there’s not much you can do to save it at that point, but don’t be discouraged! Just try again with better drainage and a lighter hand on the watering can.
A Encouraging Closing
So there you have it! Propagating Coreopsis grandiflora is a delightful way to fill your garden with those sunny blooms and share them with others. Be patient with the process, enjoy the journey, and celebrate every little root you help create. Happy gardening!
Resource:
https://identify.plantnet.org/k-world-flora/species/Coreopsis%20grandiflora%20Hogg%20ex%20Sweet/data