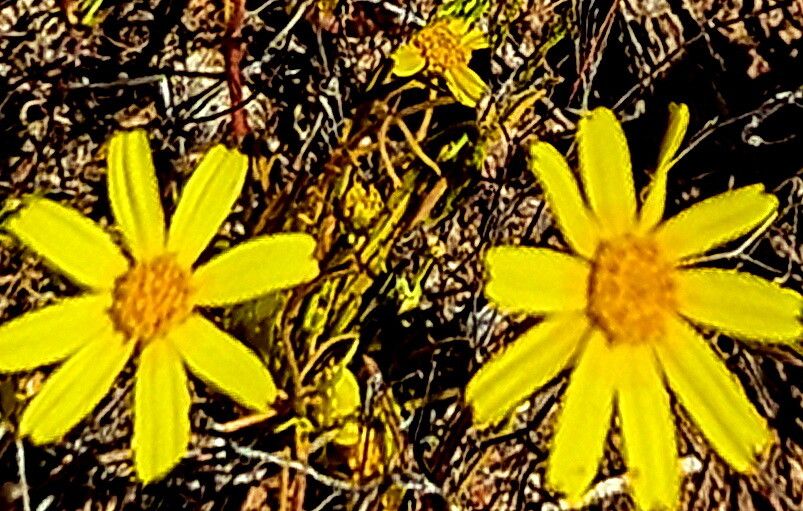
Oh, Coreopsis californica! What a cheerful ray of sunshine that plant brings to any garden. Its vibrant, daisy-like blooms are a delight, and the thought of making more of them… well, that’s just good gardening fun, isn’t it? I’ve been coaxing new life from my favorite plants for two decades now, and I can tell you, propagating Coreopsis californica is a truly rewarding endeavor. It’s also, happily, quite accessible for beginners. You’ll be amazed at how few plants you need to get a whole colony going!
The Best Time to Start
For the highest success rate with Coreopsis californica, I find the sweet spot is late spring to early summer. This is when the plant is actively growing and has plenty of energy to put into developing new roots. Look for new, sappy growth that’s not yet woody.
Supplies You’ll Need
Gathering your supplies before you start makes the whole process feel much smoother. Here’s what I typically have on hand:
- Sharp pruning shears or a clean, sharp knife: For making clean cuts on your cuttings.
- Rooting hormone (optional but helpful): The powder or gel kind works well. It’s not strictly necessary for coreopsis, but it can give your cuttings a little boost.
- Potting mix: A light, well-draining mix is key. I often use a blend of equal parts seed-starting mix and perlite or coarse sand.
- Small pots or seed trays: Clean containers are important to prevent disease.
- Watering can or spray bottle: For gentle watering.
- Plastic bags or a propagation dome: To maintain humidity around your cuttings.
- Labels and a marker: To keep track of what you’ve propagated and when.
Propagation Methods
There are a couple of great ways to get new Coreopsis californica plants. I’ll walk you through my favorites.
Stem Cuttings
This is my go-to method for Coreopsis as it’s usually quite successful.
- Select your cutting: Look for healthy, non-flowering stems. You want pieces that are about 4-6 inches long. Snip them just below a leaf node – that’s the point where a leaf attaches to the stem.
- Prepare the cutting: Gently remove the lower leaves, leaving just the top two or three sets. This prevents them from rotting in the soil. If you’re using rooting hormone, dip the cut end into the hormone powder, tapping off any excess.
- Plant your cutting: Fill your small pots with your prepared potting mix, moisten it lightly, and then make a small hole with your finger or a pencil. Insert the cut end of your stem cutting into the hole, ensuring it’s firm. Gently firm the soil around the stem.
- Create a humid environment: Lightly mist the cuttings with water, and then cover the pot with a clear plastic bag or place it under a propagation dome. This traps moisture, which is crucial for root development. Place the pots in a bright spot that doesn’t get direct, scorching sun.
Division
This is a great option if you already have a mature plant that’s looking a little crowded.
- Dig up the plant: In early spring, before it gets too vigorous, carefully dig up your Coreopsis californica plant. Try to disturb the roots as little as possible.
- Separate the divisions: Gently shake off some of the excess soil. You should be able to see natural breaks in the root system. Use your hands, or if it’s a bit stuck, a clean spade or trowel to carefully pull or cut the plant into smaller sections. Each division should have a good amount of roots and a few leafy shoots.
- Replant immediately: Plant your new divisions in their new home in the garden or in pots, settling them at the same depth as they were before. Water them in well.
The “Secret Sauce” (Pro Tips)
Over the years, I’ve picked up a few little tricks that seem to make all the difference.
- Don’t let those leaves touch the water when water propagating! If you choose to try rooting cuttings in water (which works sometimes for Coreopsis but can be trickier than soil), make sure only the cut stem is submerged. Any leaves dipping into the water are an invitation for rot.
- Bottom heat is your friend. If you have a heat mat designed for propagation, placing your pots on it can significantly speed up root formation. It mimics the warmth of spring soil and really encourages those roots to get going.
Aftercare & Troubleshooting
Once you see signs of new growth – little leaves popping up or roots peeking out the drainage holes – you’re on your way!
- Acclimatize your cuttings: As your cuttings develop roots, gradually introduce them to drier air. This means opening up the plastic bag or dome for longer periods each day over a week or so.
- Watering: Keep the soil consistently moist but not waterlogged. Overwatering is the quickest way to invite rot, which looks like mushy, dark stems. If you notice this, unfortunately, that cutting is likely lost.
- Transplanting: Once your new plants have a good root system and are about three to four inches tall, you can transplant them into larger pots or their permanent garden spot.
A Encouraging Closing
The journey of growing new plants is a beautiful one. Be patient with your Coreopsis californica cuttings. Some might take their time, and occasionally, one won’t make it – that’s just part of gardening! Celebrate the successes, learn from any little setbacks, and most importantly, enjoy the process of bringing more of that delightful sunshine into your world. Happy propagating!
Resource: