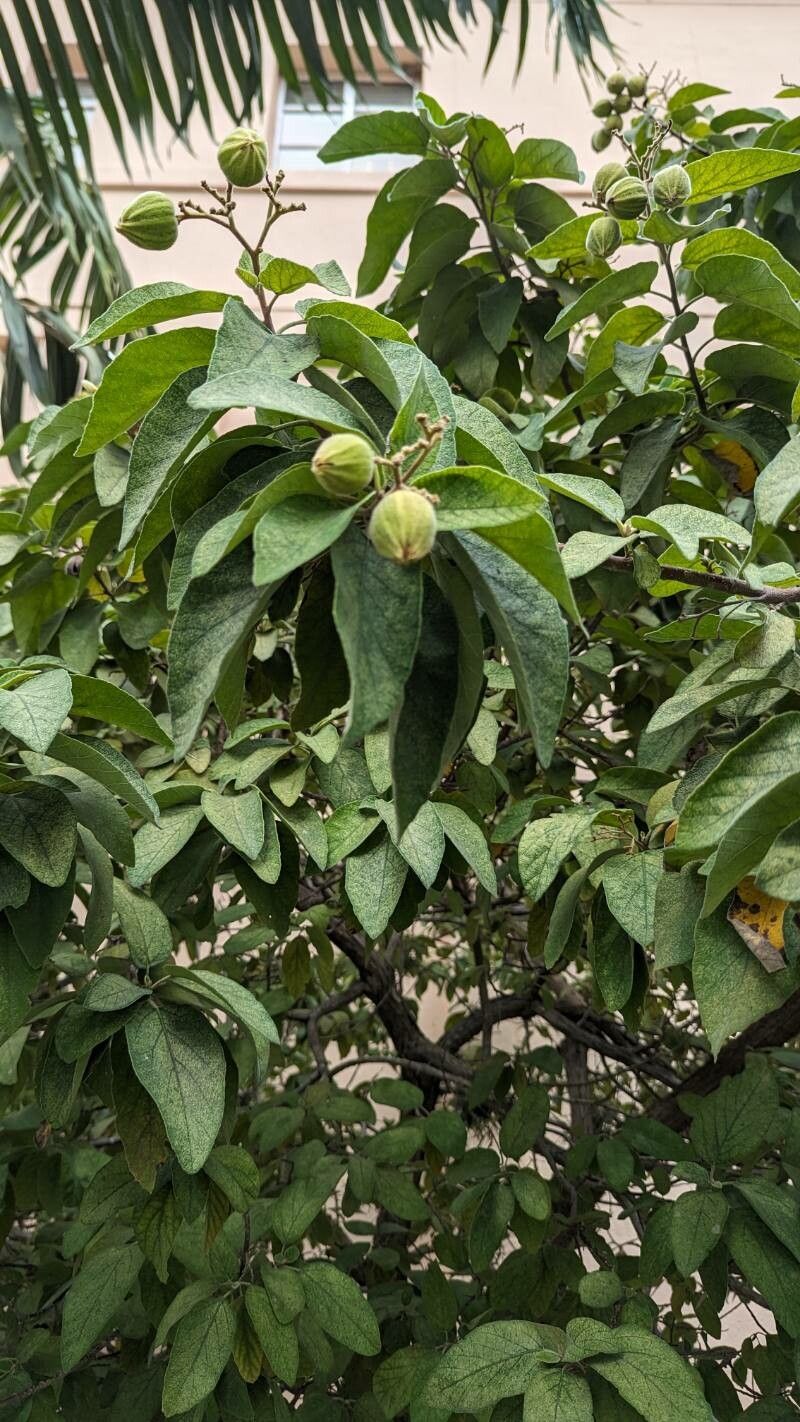
Hello fellow garden enthusiasts! Today, we’re diving into the wonderful world of propagating Cordia boissieri, often called Texas Olive or White Geiger. Honestly, who can resist those stunning white, trumpet-shaped flowers and the glossy, dark green leaves? It’s a true showstopper, especially in warmer climates. And the best part? Knowing you can grow more of these beauties from your existing plants is incredibly satisfying. I’ve found Cordia boissieri to be moderately easy to propagate, which means even if you’re a newer gardener, you’ve got a great shot at success with a little patience and care.
The Best Time to Start
For the highest success rate with Cordia boissieri, I always recommend working with semi-hardwood cuttings. This means taking cuttings when the plant is actively growing but the stems have started to firm up a bit. Think of late spring to early summer as your prime window. The plant has good energy reserves, and the warmer temperatures are perfect for encouraging root development. Trying to take cuttings when the plant is dormant or stressed is just an uphill battle.
Supplies You’ll Need
Before we get our hands dirty, let’s gather our toolkit. Having everything ready makes the process so much smoother:
- Sharp Pruning Shears or a Knife: Sterilize them with rubbing alcohol to prevent disease. I prefer a clean cut.
- Rooting Hormone: A powder or gel type works well. This gives your cuttings an extra boost.
- Rooting Medium: A good mix is usually 50% perlite and 50% peat moss or coco coir. This provides excellent drainage and aeration, which we absolutely need. You can also buy pre-made “seed starting mix” or “cutting mix.”
- Small Pots or Trays: Clean ones, of course! 4-inch pots are a good size for initial cuttings.
- Plastic Bags or a Propagator: To create a humid environment around your cuttings. A simple plastic bag with a few holes poked in it can work wonders.
- Water: For moistening your medium and for any potential water propagation attempts.
- Labels and Marker: So you don’t forget what you’ve planted where!
Propagation Methods
Cordia boissieri can be propagated through stem cuttings, and it’s my go-to method for this plant.
Stem Cuttings (Semi-Hardwood):
- Select Your Cuttings: Choose healthy, non-flowering stems from your mature plant. Look for stems that are about pencil-thick and have started to harden off, but are not woody. You want stems that bend slightly when you try to break them, rather than snapping cleanly or being very flexible.
- Take the Cuttings: Using your sterilized shears, cut stems into lengths of 4 to 6 inches. Make the cut just below a leaf node (where a leaf attaches to the stem). This is where roots tend to originate.
- Prepare the Cuttings: Gently remove the lower leaves from your cuttings, leaving just the top two or three leaves. If the remaining leaves are very large, I like to cut them in half horizontally. This reduces water loss through transpiration while still allowing for some photosynthesis.
- Apply Rooting Hormone: Dip the cut end of each stem into your rooting hormone, tapping off any excess.
- Plant the Cuttings: Moisten your perlite/peat mix until it’s damp but not soggy. Make small holes in the medium with a pencil or your finger, and insert the cuttings, ensuring at least one leaf node is buried beneath the surface. Gently firm the medium around the base of each cutting.
- Create a Humid Environment: Water the medium lightly. Then, place your pots or trays inside a plastic bag or a propagator. Seal it to trap humidity. If you’re using a bag, poke a few small holes in it for air circulation.
The “Secret Sauce” (Pro Tips)
Here are a couple of things I’ve learned over the years that can really make a difference:
- Bottom Heat is Your Best Friend: If you can get your hands on a heat mat designed for plant propagation, use it! Placing your pots on a gentle heat mat (around 70-75°F or 21-24°C) can significantly speed up root formation. It mimics the warmth of the soil in summer and gives those roots a much-needed push.
- Don’t Over-Water the Medium: This is crucial. The perlite/peat mix needs to be consistently moist, but never waterlogged. Overwatering is the quickest way to invite rot. Check the moisture level by gently pressing your finger into the soil. If it feels dry an inch down, then it’s time to lightly water.
- Watch for “Canker” on the Base: Sometimes, especially with less-than-ideal sanitation or over-watering, you might see a dark, sunken area develop at the base of your cutting. This is a sign of rot and is usually fatal. If you spot it, sadly, it’s best to discard that cutting and examine your sanitation practices and watering habits.
Aftercare & Troubleshooting
Once your cuttings have taken root, you’ll see new growth emerging, which is such a joyful sight!
- Rooted Cuttings: When you gently tug on a cutting and feel resistance (or see roots peeking out of the drainage holes), it’s time to acclimate them to less humid conditions. Gradually open the plastic bag or propagator over a few days. Once they are well-established and showing good top growth, you can transplant them into their own individual pots with a good quality potting mix.
- Common Signs of Failure: The most common issue is rot. This usually stems from overwatering and poor drainage. If your cuttings become limp, mushy, or develop black, sunken areas at the base, rot is likely the culprit. Another sign of failure is wilt without wilting leaves. This can happen if the cutting simply doesn’t have enough energy or hasn’t formed roots to support itself despite adequate moisture. Sometimes, they just don’t take – and that’s okay too! Gardening is a process of trial and error.
There you have it! Propagating Cordia boissieri is a rewarding journey. Don’t be discouraged if your first few attempts aren’t perfect. Keep experimenting, observe your plants, and most importantly, enjoy the process of nurturing new life. Happy gardening!
Resource:
https://identify.plantnet.org/k-world-flora/species/Cordia%20boissieri%20A.DC./data