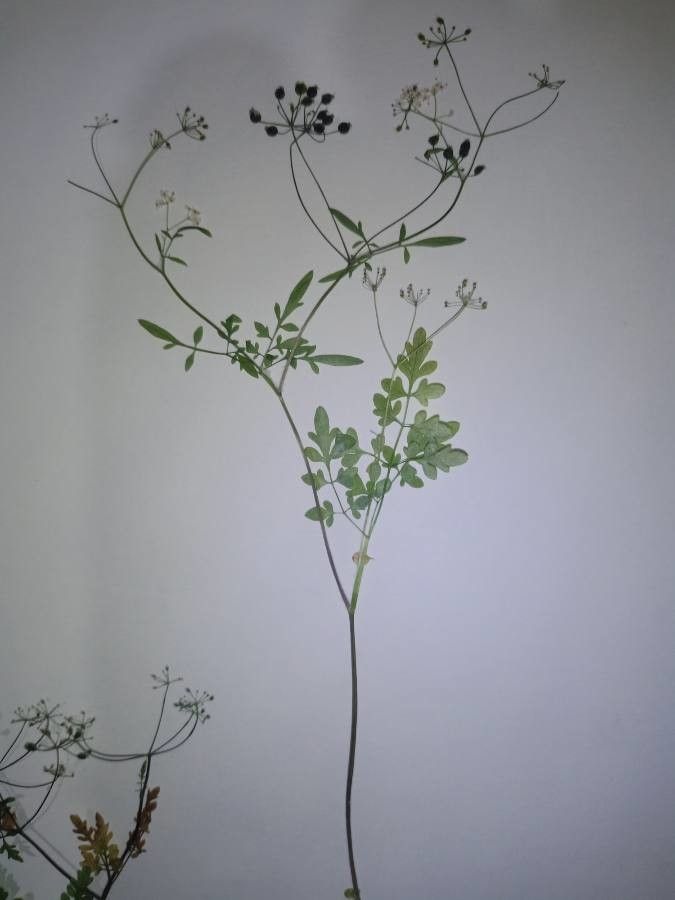
Hello fellow garden lovers! I’m so excited to chat with you today about a truly special plant: Conopodium bunioides. You might know it by its common name, the hairy stone parsley, and if you’ve ever seen it growing, you’ll understand why it captures hearts. Its delicate, fern-like foliage and charming white flowers add a touch of wild elegance to any garden. And the best part? You can easily multiply this beauty yourself!
Many people shy away from propagation, thinking it’s a tricky business. But honestly, Conopodium bunioides is quite forgiving. While it’s not quite as dead-simple as a spider plant, I’d say it’s a wonderful plant for those looking to dip their toes into propagation. The reward of watching a tiny cutting transform into a thriving plant is truly immense, and it saves you a few pennies too!
The Best Time to Start
For Conopodium bunioides, the absolute sweet spot for propagation is late spring to early summer. This is when the plant is actively growing and has plenty of energy to put into developing new roots. Aim for young, vigorous shoots that are soft and pliable, not woody or old. Think of it like this: you want to harvest bits of the plant that are full of life and ready to take off.
Supplies You’ll Need
Gathering your tools beforehand makes the whole process smoother. Here’s what I find essential:
- Sharp pruning shears or a clean knife: A clean cut is crucial to prevent disease.
- Potting mix: A well-draining, peat-free mix is ideal. I often use a blend of about 50% compost and 50% perlite or coarse sand.
- Small pots or trays: Clean containers for your cuttings.
- Rooting hormone (optional but recommended): This can give your cuttings a helpful boost. I prefer the powder form.
- Clear plastic bag or a propagator lid: To create a humid environment.
- Watering can with a fine rose or spray bottle: For gentle watering.
Propagation Methods
For Conopodium bunioides, stem cuttings are my go-to method. It’s straightforward and yields fantastic results.
- Select and Prepare Cuttings: Gently select healthy stems from your mature plant. Look for pieces that are about 4-6 inches long. Using your clean shears or knife, make a clean cut just below a leaf node. A leaf node is that little bump on the stem where a leaf grows out. This is where roots will likely form.
- Remove Lower Leaves: Carefully remove the lower leaves from the stem, leaving just a few at the top. This prevents them from rotting when buried in the soil and also reduces moisture loss.
- Apply Rooting Hormone (Optional): If you’re using rooting hormone, dip the cut end of the stem into the powder or gel, tapping off any excess.
- Plant Your Cuttings: Fill your pots with the prepared potting mix. Make a small hole in the center of the soil using a pencil or your finger. Gently insert the cut end of the stem into the hole, ensuring the leaf node is below the soil surface. Firm the soil gently around the stem.
- Water Gently: Water the soil thoroughly but gently, ensuring it’s moist but not waterlogged. A spray bottle is great for this initial watering.
- Create a Humid Environment: Cover the pots with a clear plastic bag, securing it with a rubber band, or place them under a propagator lid. This traps moisture and creates a mini-greenhouse.
The “Secret Sauce” (Pro Tips)
Over the years, I’ve picked up a few tricks that I think really make a difference.
- My first big tip is don’t let the leaves touch the soil. If any leaves are close to where you’re planting, trim them off. Leaves sitting directly on the damp soil are just asking for fungal trouble.
- Secondly, and this is a game-changer for many plants, bottom heat can work wonders. If you have a heated propagator or even a warm windowsill, placing your pots on it can significantly speed up root development. The warmth encourages those roots to form faster.
- Finally, be patient with watering. You want the soil to remain consistently moist, but never soggy. Overwatering is the fastest way to kill a cutting. I often find myself checking the soil moisture daily by gently poking my finger in.
Aftercare & Troubleshooting
Once your cuttings have been planted, place them in a bright spot with indirect sunlight. Avoid direct sun, which can scorch the delicate new growth. Keep that humidity high!
You’ll know your cuttings are taking root when you see new growth appearing at the top or when you gently tug on the cutting and feel a bit of resistance. This usually takes anywhere from 4-8 weeks, sometimes a bit longer. Once they are well-rooted, you can gradually acclimatize them to normal room humidity by slowly opening the plastic bag or lid over a few days. Then, you can transplant them into their own individual pots.
The most common issue you might encounter is rot. If you see your cuttings turning mushy or black, it’s almost always due to too much moisture combined with poor air circulation. This is why a well-draining soil and that humid environment are so important – you want to encourage roots, not fungi! If you spot rot early, you might be able to save the cutting by removing the affected part and replanting in fresh, drier soil.
A Encouraging Closing
I hope this guide has given you the confidence to give propagating Conopodium bunioides a try. Remember, gardening is all about learning as you go. Don’t be discouraged if every single cutting doesn’t make it. Each attempt is a learning opportunity. So, grab your shears, get your hands in the soil, and enjoy the incredibly rewarding journey of growing more of this beautiful plant. Happy propagating!
Resource:
https://identify.plantnet.org/k-world-flora/species/Conopodium%20bunioides%20(Boiss.)%20Calest./data