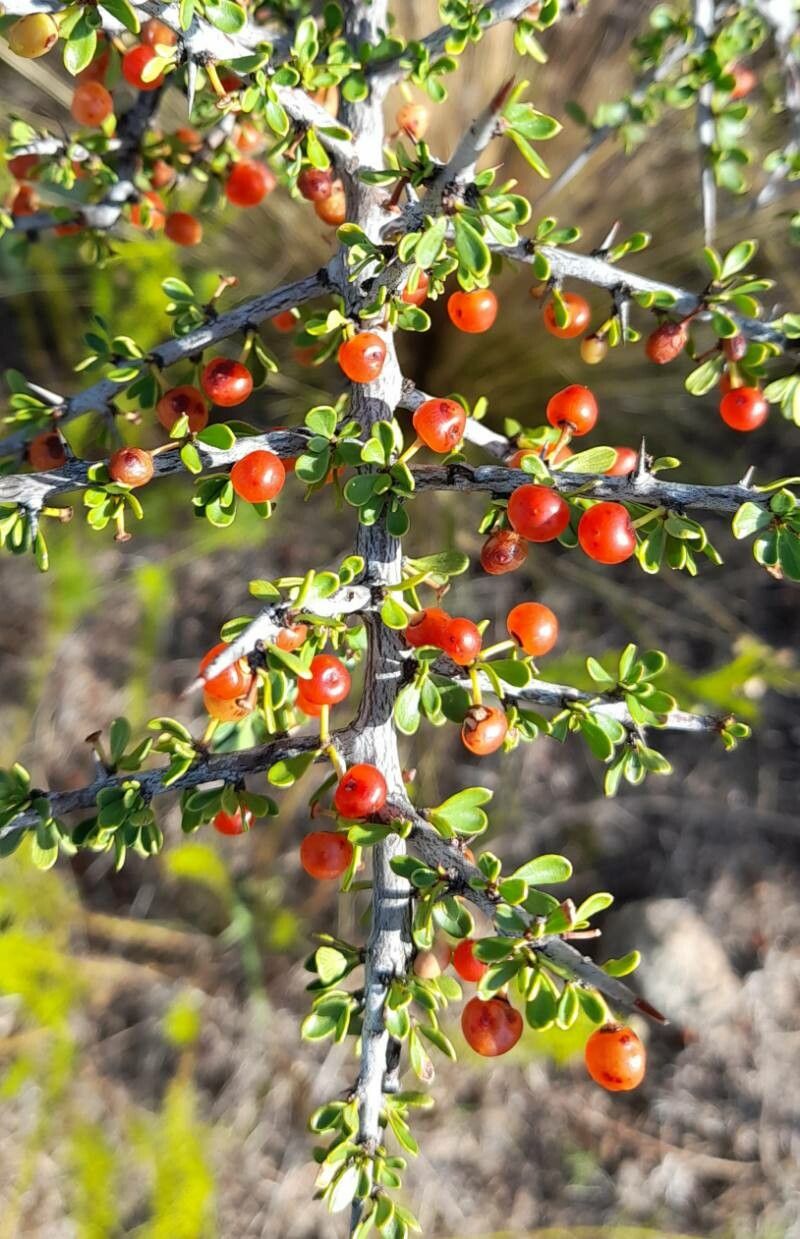
Oh, hello there! Grab a mug, settle in. I’m so glad you’re interested in propagating Condalia microphylla, or as many of us affectionately call it, Desert Currant. This little beauty is a native treasure, and coaxing new life from it is just incredibly satisfying. Think of those lovely, small leaves, the delicate flowers, and in the right season, those tiny, edible fruits! If you’re a beginner gardener, I’d say this one is moderately easy. It’s not as forgiving as, say, a Pothos, but with a little care and attention, you’ll be rewarded.
The Best Time to Start
For Condalia microphylla, my favorite time to tackle propagation is in late spring or early summer. This is when the plant is actively growing, pushing out new, tender shoots. These young, flexible stems are more receptive to rooting hormones and generally have a better chance of success than older, woodier material. You want to be looking for stems that are semi-hardwood – not brand new and fleshy, but not completely stiff and mature either. Snap one gently; it should break with a slight bend, not cleanly snap off.
Supplies You’ll Need
Here’s what I usually gather before I get started:
- Sharp, clean pruning shears or a razor blade: Cleanliness is paramount to avoid introducing diseases.
- Rooting hormone (powder or gel): This isn’t strictly essential but really gives your cuttings a boost. I find the powder works well for this plant.
- Potting mix: A well-draining mix is crucial. I often use a blend of peat moss, perlite, and coarse sand. About a 1:1:1 ratio is a good starting point. You can also find specialized cactus and succulent mixes that work beautifully.
- Small pots or trays: Ensure they have drainage holes.
- Plastic bags or humidity domes: To create a mini-greenhouse environment.
- Watering can with a fine rose or a spray bottle: For gentle watering.
- Labels: For marking your cuttings with the date and variety (if you have more than one!).
Propagation Methods
While some plants are finicky, Condalia microphylla is quite responsive to stem cuttings. This is my go-to method for this species.
- Taking the Cuttings: On a cool morning, select those vibrant, semi-hardwood stems. Cut lengths of about 4-6 inches. Make your cuts just below a leaf node, which is where the leaves attach to the stem.
- Preparing the Cuttings: Gently remove the lower leaves from the bottom half of each cutting. You want to expose the nodes; this is where the roots will emerge. Leave just a few leaves at the very top to help with photosynthesis. If the remaining leaves are very large, I sometimes halve them to reduce water loss.
- Applying Rooting Hormone: Lightly dip the cut end of the stem into the rooting hormone. Tap off any excess. You want a thin, even coating.
- Planting the Cuttings: Fill your small pots or trays with your prepared, moistened potting mix. Make a small hole with a pencil or your finger. Insert the prepared cutting into the hole, ensuring the treated nodes are buried. Gently firm the soil around the base of the cutting.
- Creating a Humid Environment: Water the soil lightly. Then, cover the pots with a clear plastic bag, securing it around the rim with a rubber band or tape, or place them under a humidity dome. This traps moisture and prevents the cuttings from drying out.
The “Secret Sauce” (Pro Tips)
Here are a few things I’ve learned over the years that make a real difference:
- Don’t drown your cuttings! While they love humidity, soggy soil is a fast track to rot. Make sure your mix is well-draining and water only when the top inch of soil feels dry. If you see water pooling, you’ve added too much.
- Bottom heat is your friend. If you have a seedling heat mat, placing your pots on it can significantly speed up the rooting process. It provides gentle warmth to the roots, encouraging them to develop faster. Just an hour or two of warmth is often enough.
- Keep them out of direct sun. While they need good light to photosynthesize, bright, direct sun can scorch those tender new cuttings and dry them out too quickly, even in their plastic tents. Bright, indirect light is perfect.
Aftercare & Troubleshooting
Once your cuttings are planted, patience is key! You should start to see signs of new growth – tiny leaves unfurling or tiny roots starting to poke out the drainage holes – within 4-8 weeks. Once they seem established and have a good root system, you can gradually acclimate them to less humid conditions by opening the plastic bag a little more each day. Water them as you would a mature plant, just be more gentle.
The most common problem you might encounter is rot. If your cutting starts to look mushy, turns black, or wilts completely despite being in a moist environment, that’s usually a sign of overwatering and fungal infection. Unfortunately, there’s not much you can do once rot sets in, but don’t get discouraged! It’s a learning curve.
A Encouraging Closing
Propagating plants is a wonderful way to connect with nature and multiply the things you love. Don’t be afraid to experiment and learn. Every gardener has had cuttings fail, it’s part of the journey. Keep trying, observe your plants, and enjoy the process of nurturing new life. Happy gardening!
Resource:
https://identify.plantnet.org/k-world-flora/species/Condalia%20microphylla%20Cav./data