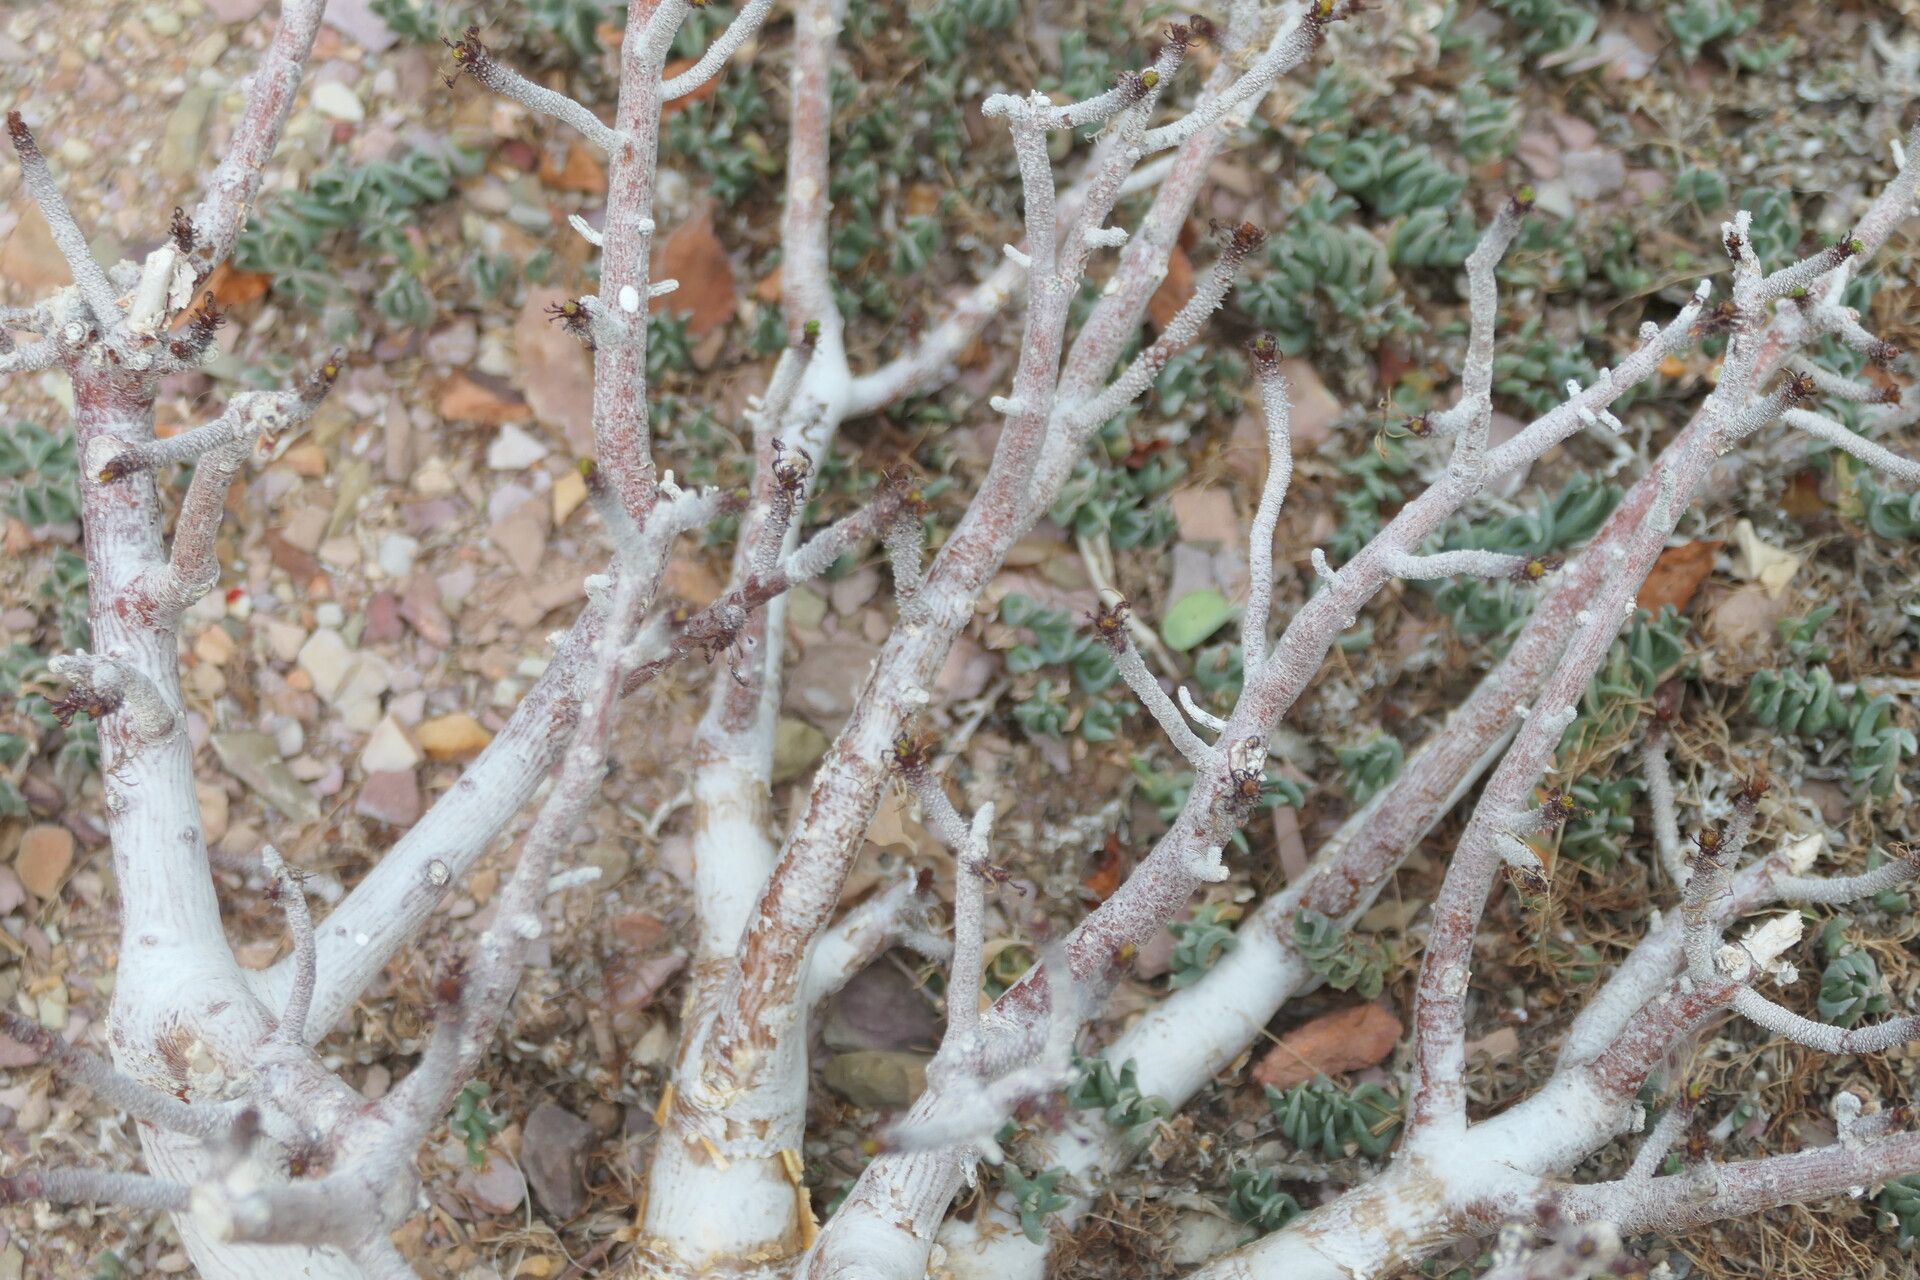
Oh, the beautiful Commiphora kraeuseliana! If you haven’t met this gem, picture this: a delightfully sculptural plant, often with a gnarled, bulbous base and delicate, aromatic foliage that can make a small garden feel like a desert oasis. It’s the kind of plant that stops people in their tracks. And the joy of coaxing a new one to life from a tiny cutting? Pure horticultural bliss. For beginners, I’d say Commiphora kraeuseliana sits in the “moderately challenging” category. It’s not as forgiving as a succulent or a pothos, but with a little attention to detail, you’ll be rewarded.
The Best Time to Start
The absolute sweet spot for propagating Commiphora kraeuseliana is during its active growing season. Think late spring through early summer. This is when the plant is brimming with energy and has the best chance of healing those cuts and pushing out roots. Starting too late in the year, when temperatures are dropping and growth is slowing, can lead to disappointment.
Supplies You’ll Need
Here’s what I usually have on hand when I’m getting ready to propagate:
- Well-draining potting mix: A cactus or succulent mix is usually perfect. I often add a bit of perlite or pumice to ensure even better aeration.
- Sharp, clean pruning shears or a knife: Cleanliness is key to preventing disease.
- Rooting hormone powder or gel (optional but recommended): This gives your cuttings a much-needed boost.
- Small pots or containers: Terra cotta pots are my preference as they allow the soil to breathe.
- Watering can with a fine rose: For gentle watering.
- Plastic bags or a propagation dome: To create a humid environment.
- Labels and a marker: To keep track of what you’ve potted!
Propagation Methods
The most reliable way I’ve found to propagate Commiphora kraeuseliana is through stem cuttings. Division can also work, but cuttings are generally more successful for this particular plant.
Stem Cuttings
- Select a healthy stem: Choose a piece of stem that looks vigorous and is at least 4-6 inches long. Avoid any woody or old growth. Look for a section that’s firm but not brittle.
- Make the cut: Using your sterilized pruning shears or knife, make a clean cut just below a leaf node. This is where roots are most likely to form.
- Remove lower leaves: Gently strip off the leaves from the bottom half of the cutting. This prevents them from rotting in the soil and also encourages root development.
- Apply rooting hormone (optional): Dip the cut end into rooting hormone powder or gel. Tap off any excess.
- Plant the cutting: Fill your clean pots with your well-draining potting mix. Make a small hole with your finger or a pencil, and insert the cut end of the stem. Gently firm the soil around it.
- Water lightly: Water your newly potted cuttings gently. You want the soil to be moist but not soggy.
- Create humidity: Cover the pot with a plastic bag (making sure the leaves don’t touch the soil) or place it under a propagation dome. This traps moisture and helps the cutting stay hydrated while it roots.
- Place in a bright spot: Position your cuttings in a location with bright, indirect light. Avoid direct sun, which can scorch the delicate cuttings.
The “Secret Sauce” (Pro Tips)
Here are a couple of things I’ve learned over the years that seem to make a big difference:
- Let the cutting callus: Before you dip it in rooting hormone and plant it, let the cut end air dry for a day or two in a bright spot. This helps it form a protective layer (a callus), which can prevent rot and encourage faster rooting. It sounds counterintuitive, I know!
- Bottom heat is your friend: If you have a seedling heat mat, using it is a game-changer. Placing your pots on a gentle heat source mimics the warmth of summer and significantly speeds up the rooting process. It’s like giving your cuttings a nice warm hug!
Aftercare & Troubleshooting
Once you’ve potted your cuttings, the wait begins. Be patient! You’ll want to keep the soil consistently lightly moist and maintain that humid environment. After a few weeks, you might start to see new growth, which is a great sign. You can also give your cutting a very gentle tug to feel for resistance – that’s usually an indication of roots.
The most common issue you’ll encounter is rot. If a cutting looks mushy, black, or wilts dramatically and doesn’t perk up after watering, it’s likely suffering from rot. This usually happens from overwatering or poor drainage. If you see this, try to isolate the affected cutting. If it’s a bad case, unfortunately, it might be lost. But don’t despair; just try again with fresh cuttings and a well-draining mix.
A Encouraging Closing
Propagating plants is such a rewarding journey. It’s a chance to learn, to experiment, and to fill your home and garden with more of the plants you adore. Be patient with your Commiphora kraeuseliana cuttings, and trust the process. Each new plant you grow is a testament to your dedication and a little piece of living art you’ve brought into the world. Happy propagating!
Resource:
https://identify.plantnet.org/k-world-flora/species/Commiphora%20kraeuseliana%20Heine/data