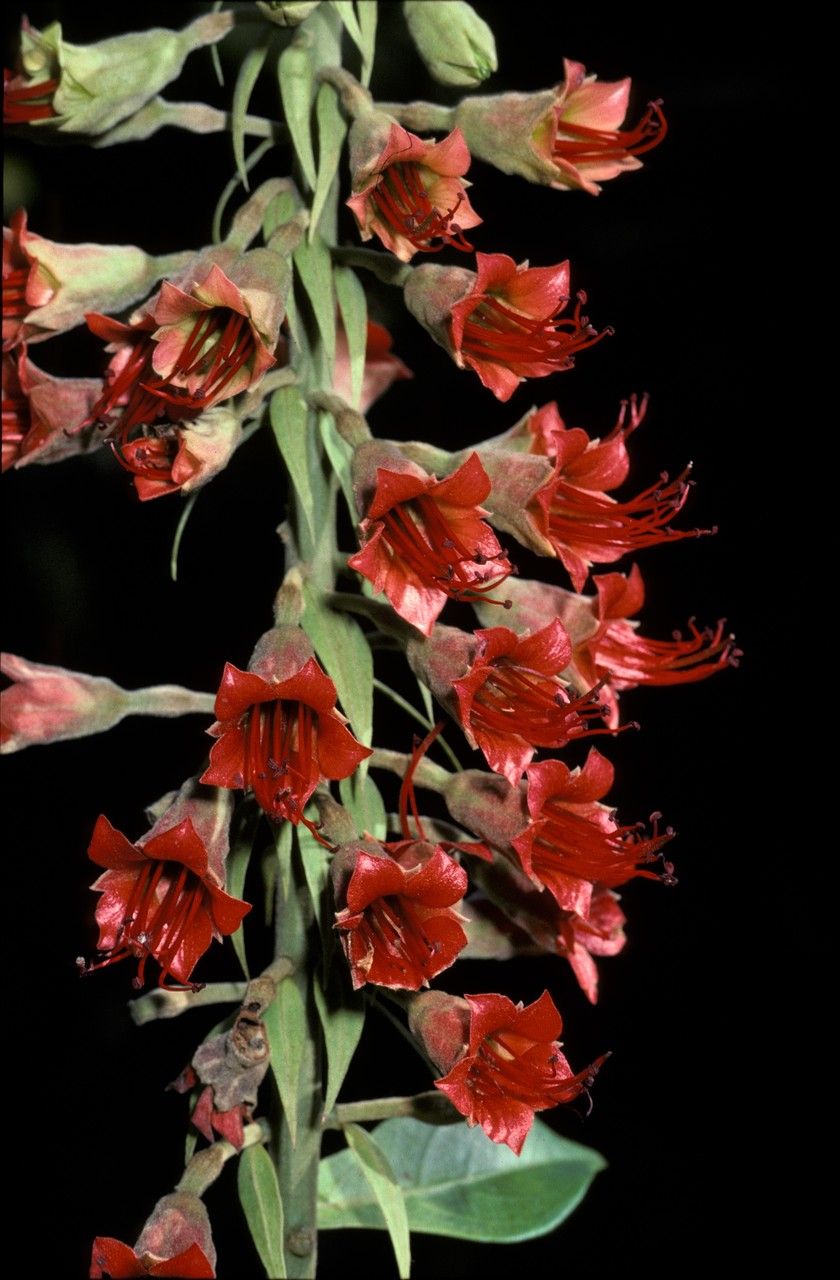
Hello fellow plant lovers! Today, we’re diving into the world of Combretum cacoucia, also known as the beautiful Scarlet Combretum. If you’ve ever admired its trailing branches adorned with vibrant crimson flowers, you know why it’s a showstopper. Recreating that magic with your own propagated plants is an incredibly satisfying journey, and I’m here to guide you every step of the way. Now, is Combretum cacoucia a breeze for complete beginners? Honestly, it can be a tad finicky. But don’t let that deter you! With a little patience and the right approach, you absolutely can succeed.
The Best Time to Start
For the highest success rates with Combretum cacoucia, my favorite time to propagate is when the plant is actively growing, typically in late spring or early summer. This is when the stems are full of vigor and ready to put energy into forming roots. You want to look for new, but not overly soft, growth. Think of it as taking cuttings from a healthy, well-established teenager ready to embark on an adventure!
Supplies You’ll Need
Gathering your tools before you begin makes the whole process smoother. Here’s what I usually have on hand:
- Sharp Pruning Shears or a Crisp Knife: Cleanliness is key to preventing disease.
- Rooting Hormone (Optional, but Recommended): This gives your cuttings a little extra encouragement.
- Small Pots or Seedling Trays: Make sure they have drainage holes!
- Potting Mix: A well-draining blend is essential. I prefer a mix of equal parts peat moss or coco coir and perlite or coarse sand.
- Plastic Bags or a Clear Propagation Dome: To maintain humidity.
- Trowel or Small Scoop: For filling pots.
- Watering Can with a Fine Rose: For gentle watering.
Propagation Methods: Stem Cuttings
Stem cuttings are my go-to for Combretum cacoucia. It’s straightforward and generally very effective if done at the right time.
- Select Your Cuttings: Choose healthy stems that are about 6-8 inches long. Look for semi-hardwood growth – not brand new, floppy shoots, but not old, woody stems either. Cut just below a leaf node (where a leaf attaches to the stem).
- Prepare the Cuttings: Gently remove the leaves from the bottom half of the cutting. You want to expose the nodes, as this is where roots will emerge. You can leave one or two sets of leaves at the top. If the remaining leaves are very large, you can even cut them in half horizontally to reduce water loss through transpiration.
- Apply Rooting Hormone (If Using): Dip the cut end of each cutting into rooting hormone, tapping off any excess powder.
- Plant Your Cuttings: Fill your small pots or trays with your prepared potting mix. Make a small hole in the center with your finger or a pencil. Insert the cutting into the hole, ensuring the nodes are buried, and gently firm the soil around it.
- Water Gently: Water thoroughly until the soil is evenly moist but not waterlogged.
- Create a Humid Environment: Cover the pots with a plastic bag or a propagation dome. Prop the bag up so it doesn’t touch the leaves, or ensure there’s plenty of airflow within the dome.
- Place in Bright, Indirect Light: Find a warm spot that receives plenty of bright, indirect sunlight. Avoid direct sun, which can scorch your cuttings.
The “Secret Sauce” (Pro Tips)
Here are a couple of my little tricks that often make the difference:
- Bottom Heat is Your Friend: If you can, place your pots on a heating mat designed for seedlings. This little bit of warmth from below encourages root development like magic! It’s not strictly necessary, but it can significantly speed things up.
- Don’t Drown Your Dreams: While humidity is crucial, avoid letting the leaves sit in water. If you’re using a tray to catch drainage, empty it out after about 30 minutes. Soggy conditions are an invitation for rot, and we definitely don’t want that.
Aftercare & Troubleshooting
Once your cuttings are potted, the care is all about maintaining that humid, warm environment and being patient. Check the soil moisture regularly and water as needed, but always let the top layer of soil begin to dry out before watering again.
Signs of success usually appear after 4-8 weeks. You’ll notice new leaf growth at the top of the cutting. The ultimate test is a gentle tug on the cutting – if there’s resistance, you’ve got roots!
What if things go wrong? The most common issue is rot. If you see your cuttings turning mushy, black, or developing a foul smell, it’s usually a sign of overwatering or poor drainage. Sadly, at that point, they’re usually beyond saving. It’s a tough lesson, but one we all learn. Just clean up, adjust your watering (or soil mix), and try again.
Your Green Thumb Awaits!
Propagating Combretum cacoucia is a wonderfully rewarding experience. It’s a chance to learn, observe, and multiply the beauty in your garden. Don’t be discouraged if your first attempt isn’t a roaring success. Gardening is a journey of continuous learning. Embrace the process, celebrate your wins, and remember, even the most seasoned gardeners have plants that don’t make the cut sometimes. Happy propagating!
Resource: