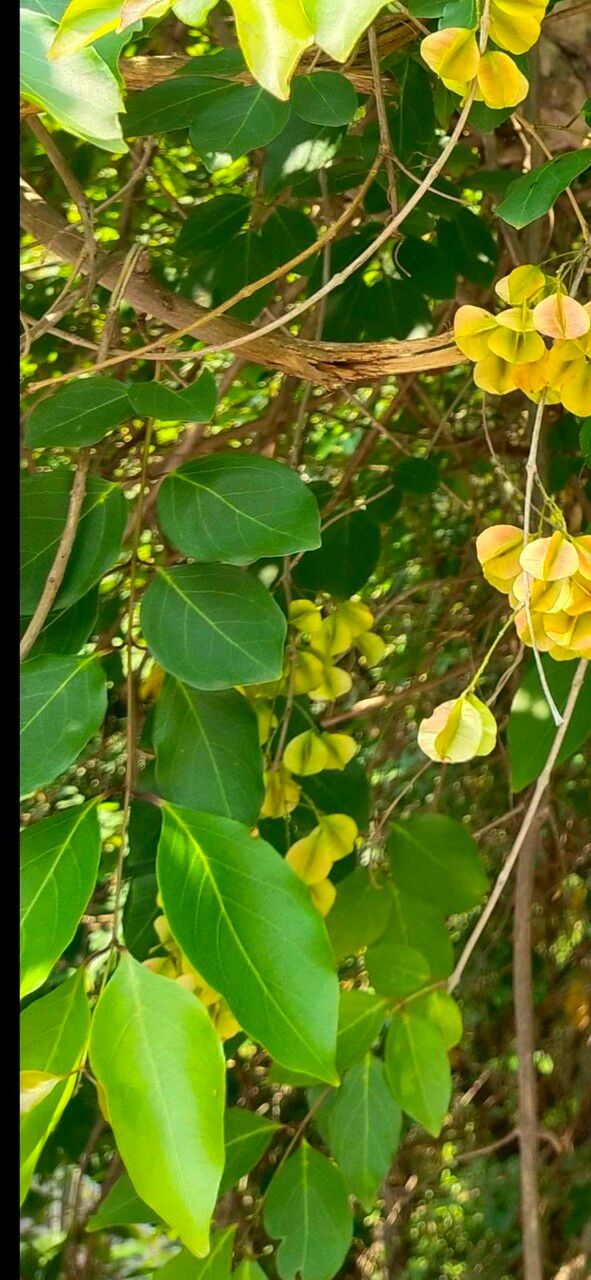
Oh, hello there! It’s so lovely to have you join me today. We’re going to dive into something truly special: propagating Combretum acuminatum. This beautiful vine, with its clusters of vibrant flowers, is an absolute stunner in any garden. Getting more of these beauties to grow from your existing plant is incredibly satisfying, and honestly, it’s not as daunting as you might think. While some plants throw a hissy fit when you try to propagate them, Combretum acuminatum is generally quite forgiving, which makes it a wonderful project for even newer gardeners.
The Best Time to Start
For the highest success rate with Combretum acuminatum, I always recommend starting in the late spring or early summer. This is when the plant is actively growing, full of energy, and much more receptive to taking root. You want to look for stems that are semi-ripe – they should be firm but still a little flexible. Avoid very soft, sappy new growth or woody, old stems.
Supplies You’ll Need
Here’s a little toolkit to get you started:
- Sharp pruning shears or a clean, sharp knife: For making clean cuts.
- Rooting hormone (optional but recommended): A powder or gel will encourage faster root development.
- A well-draining potting mix: I like a blend of peat moss, perlite, and a little bit of compost.
- Small pots or propagation trays: Clean ones are key to preventing disease.
- A plastic bag or propagation dome: To create a humid environment.
- Water mister: For keeping things moist.
- Labels and a pen: Don’t forget to label your cuttings!
Propagation Methods
Let’s get our hands dirty! We’ll focus on the most reliable method for Combretum acuminatum: stem cuttings.
- Take Your Cuttings: Using your clean shears, select a healthy stem that’s about 4-6 inches long. Make a clean cut just below a leaf node (where a leaf attaches to the stem). Remove the lower leaves, leaving just a couple at the top. You can also take a cutting that includes a small section of the older woody stem below the leaf node, which sometimes has a higher success rate.
- Prepare the Cutting: Dip the cut end of the stem into water, and then into your rooting hormone. Tap off any excess.
- Plant the Cutting: Fill your small pot with your well-draining potting mix. Make a hole in the center with your finger or a pencil and insert the cut end of the stem, ensuring the nodes where you removed the leaves are buried. Gently firm the soil around it.
- Create Humidity: Water the soil lightly, and then cover the pot with a plastic bag or place it under a propagation dome. Make sure the leaves don’t touch the plastic – if they do, you can support the bag with an old wire coat hanger.
- Placement: Place the pot in a warm, bright spot but out of direct sunlight. Consistent warmth is really beneficial, so consider placing it on a heat mat if you have one.
The “Secret Sauce” (Pro Tips)
Now for a couple of my tried-and-true tricks:
- Bottom Heat is Your Friend: I can’t stress this enough for many woody cuttings. Providing gentle bottom heat from a propagation mat actually stimulates root growth from the bottom of the stem, even if the top still looks a little sleepy. It makes a world of difference!
- The “Heel” Trick: Sometimes, taking a cutting that includes a small sliver of the older, slightly woody stem attached to the new growth – sort of like a “heel” – can provide extra energy and support for root formation. It’s like giving the cutting a little head start.
Aftercare & Troubleshooting
Once your cuttings are planted and settled, give them a gentle misting. The goal is to keep the soil consistently moist but not waterlogged. Check the soil moisture every few days – if the top feels dry, mist gently or water from the bottom by placing the pot in a tray of water for a short while.
You’ll know your cutting is taking root when you see new leaves starting to emerge or feel a gentle resistance when you lightly tug on it. This can take anywhere from 4 weeks to a couple of months. Once roots have formed and you see good new growth, you can gradually acclimate it to normal conditions by opening the plastic bag a little more each day.
The most common issue is rot. If your cutting turns mushy, black, or smells off, it’s a sign of too much moisture and poor air circulation. If you catch it early, you might be able to save a healthier section, but often, that cutting is a goner. This is why good drainage and not overwatering are so crucial.
A Encouraging Closing
Growing new plants from cuttings is such a rewarding journey. Enjoy the process, garden friends! Be patient with your little Combretum acuminatum cuttings. It’s a lesson in nurturing and observation, and soon enough, you’ll have a whole collection of these gorgeous vines to share. Happy gardening!
Resource:
https://identify.plantnet.org/k-world-flora/species/Combretum%20acuminatum%20Roxb./data