Hey there, fellow plant lovers!
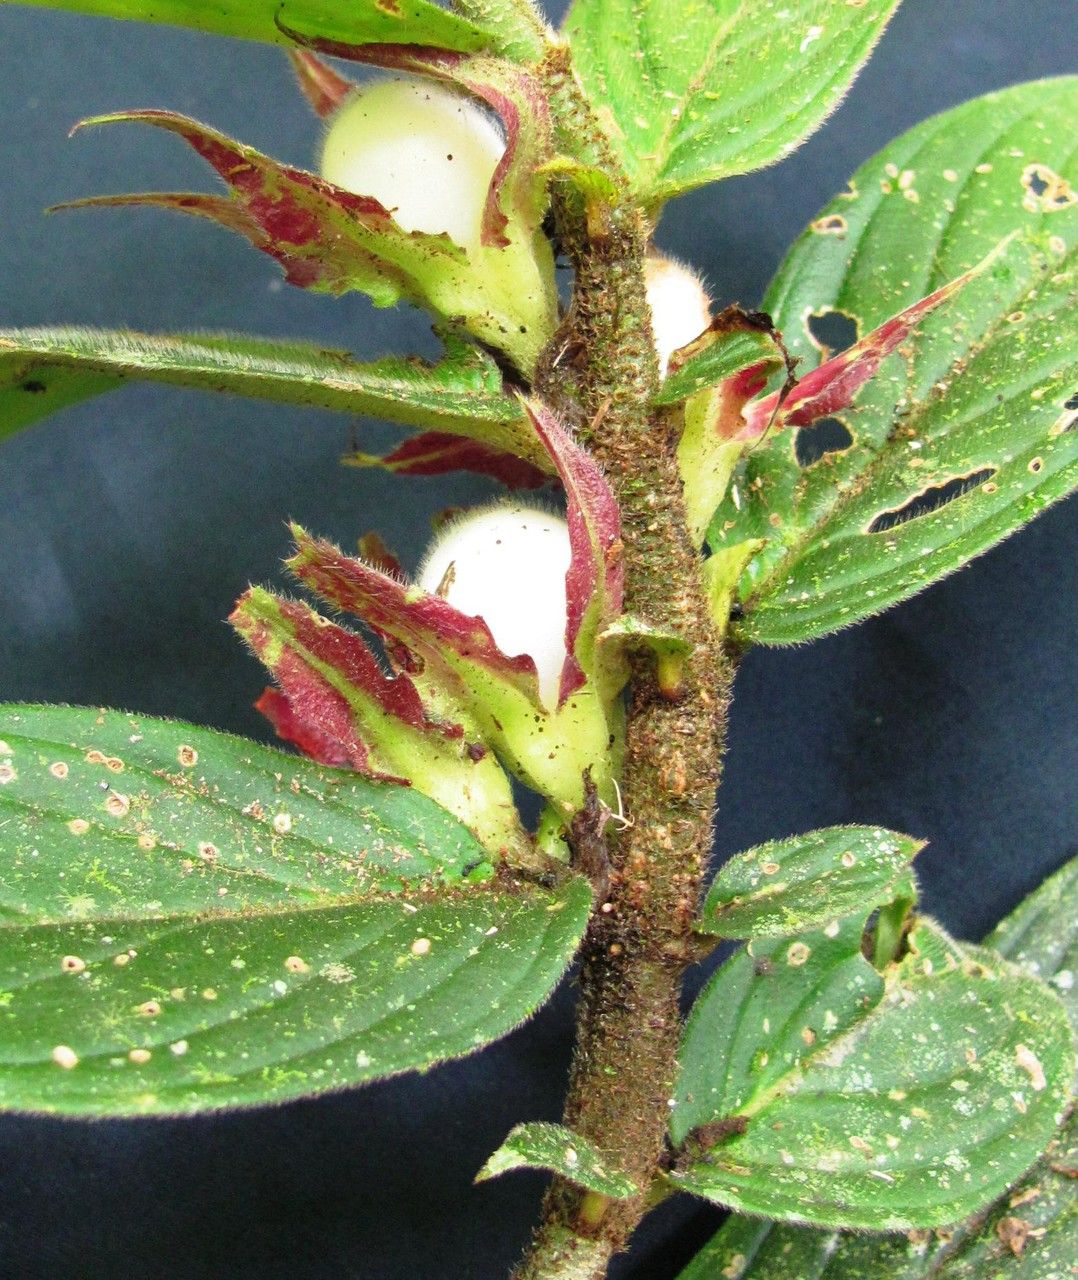
If you’ve ever admired the cascading beauty of a Columnea praetexta, with its vibrant, lipstick-red flowers peeking out from emerald foliage, you know why it’s such a showstopper. These “goldfish plants” are a joy to grow, and honestly, one of the most rewarding parts of gardening is nurturing something new from a tiny piece of a beloved plant. The great news? Propagating Columnea praetexta is generally quite straightforward. I’d say it’s a fantastic plant for both seasoned growers and those just dipping their toes into the world of propagation.
The Best Time to Start
For the happiest results, I like to start my Columnea praetexta propagations in late spring or early summer. This is when the plant is actively growing and has the most energy to put into developing new roots. Aim to take your cuttings from healthy, non-flowering stems if possible.
Supplies You’ll Need
Here’s what you’ll want to have on hand before you dive in:
- Sharp pruning shears or a clean knife: For making neat cuts.
- Rooting hormone (optional but helpful): A powder or gel formulation.
- Well-draining potting mix: A good peat-based mix amended with perlite or coarse sand works wonders. You can also use a dedicated orchid or African violet mix.
- Small pots or trays: Clean containers with drainage holes are essential.
- Clear plastic bags or a humidity dome: To keep the cuttings humid.
- Water: For watering and for water propagation.
- A clean workspace: Always good practice to prevent disease.
Propagation Methods
There are a couple of effective ways to multiply your Columnea praetexta. Let’s walk through them.
Stem Cuttings
This is my go-to method for Columnea.
- Select a healthy stem: Look for a stem that’s about 4-6 inches long.
- Make the cut: Just below a leaf node (where the leaf attaches to the stem), make a clean cut with your sharp shears.
- Remove lower leaves: Gently strip off the leaves from the bottom half to two-thirds of the cutting. This prevents them from rotting in the soil or water.
- Dip in rooting hormone (optional): If you’re using rooting hormone, dip the cut end into it, tapping off any excess.
- Insert into potting mix: Lightly moisten your well-draining potting mix. Make a small hole with your finger or a pencil and insert the cutting, ensuring the nodes are buried. Gently firm the soil around it.
- Water and cover: Water gently to settle the soil. Then, cover the pot with a clear plastic bag or place it under a humidity dome to create a mini-greenhouse effect. Poke a few holes in the bag for ventilation.
Water Propagation
If you prefer, you can try rooting them in water.
- Prepare the cuttings: Follow steps 1-3 from the stem cutting method.
- Place in water: Put the cuttings in a clean jar or glass of water. Make sure only the leafless part of the stem is submerged.
- Change water regularly: Refresh the water every few days to keep it clean and oxygenated.
- Place in bright, indirect light: Keep the jar in a warm spot with plenty of light.
The “Secret Sauce” (Pro Tips)
Here are a few things I’ve learned over the years that can really give your cuttings a boost:
- Don’t overcrowd: Whether in soil or water, give your cuttings a little breathing room. Overcrowding can lead to poor air circulation and encourage rot.
- Bottom warmth is magic: If you have a seedling heat mat, placing your pots on it can significantly speed up root formation. The consistent gentle warmth mimics ideal growing conditions.
- Patience with water propagation: When rooting in water, I find it helps to ensure that no leaves are touching the water at all. Even one submerged leaf can quickly turn slimy and cause the whole cutting to fail. Use a narrower-mouthed container if needed.
Aftercare & Troubleshooting
Once you see new roots emerging (this can take anywhere from a few weeks to a couple of months), it’s time to give your little ones a bit more attention.
- For soil cuttings: Gradually introduce them to more regular air by opening the plastic bag or humidity dome for longer periods each day. Keep the soil consistently moist but not soggy. Once they seem to be growing new leaves, you can transplant them into their own small pots.
- For water cuttings: When the roots are about an inch long, carefully transplant them into your well-draining potting mix. Water them in gently and keep them in a humid environment for the first week or two.
Signs of trouble usually involve mushy, black stems or leaves, which indicates rot. This is often due to too much moisture and not enough air circulation. If you see this, sadly, that cutting is likely lost. It’s better to remove it immediately to prevent the rot from spreading. Sometimes, cuttings just fail to root – don’t get discouraged! Sometimes they just aren’t healthy enough or the conditions aren’t quite right. That’s part of the learning process.
Keep Growing!
Propagating Columnea praetexta is a wonderful way to share the beauty of these plants or simply to expand your own collection. Be patient, observe your cuttings, and enjoy the process of coaxing new life into existence. Happy growing, everyone!
Resource:
https://identify.plantnet.org/k-world-flora/species/Columnea%20praetexta%20Hanst./data