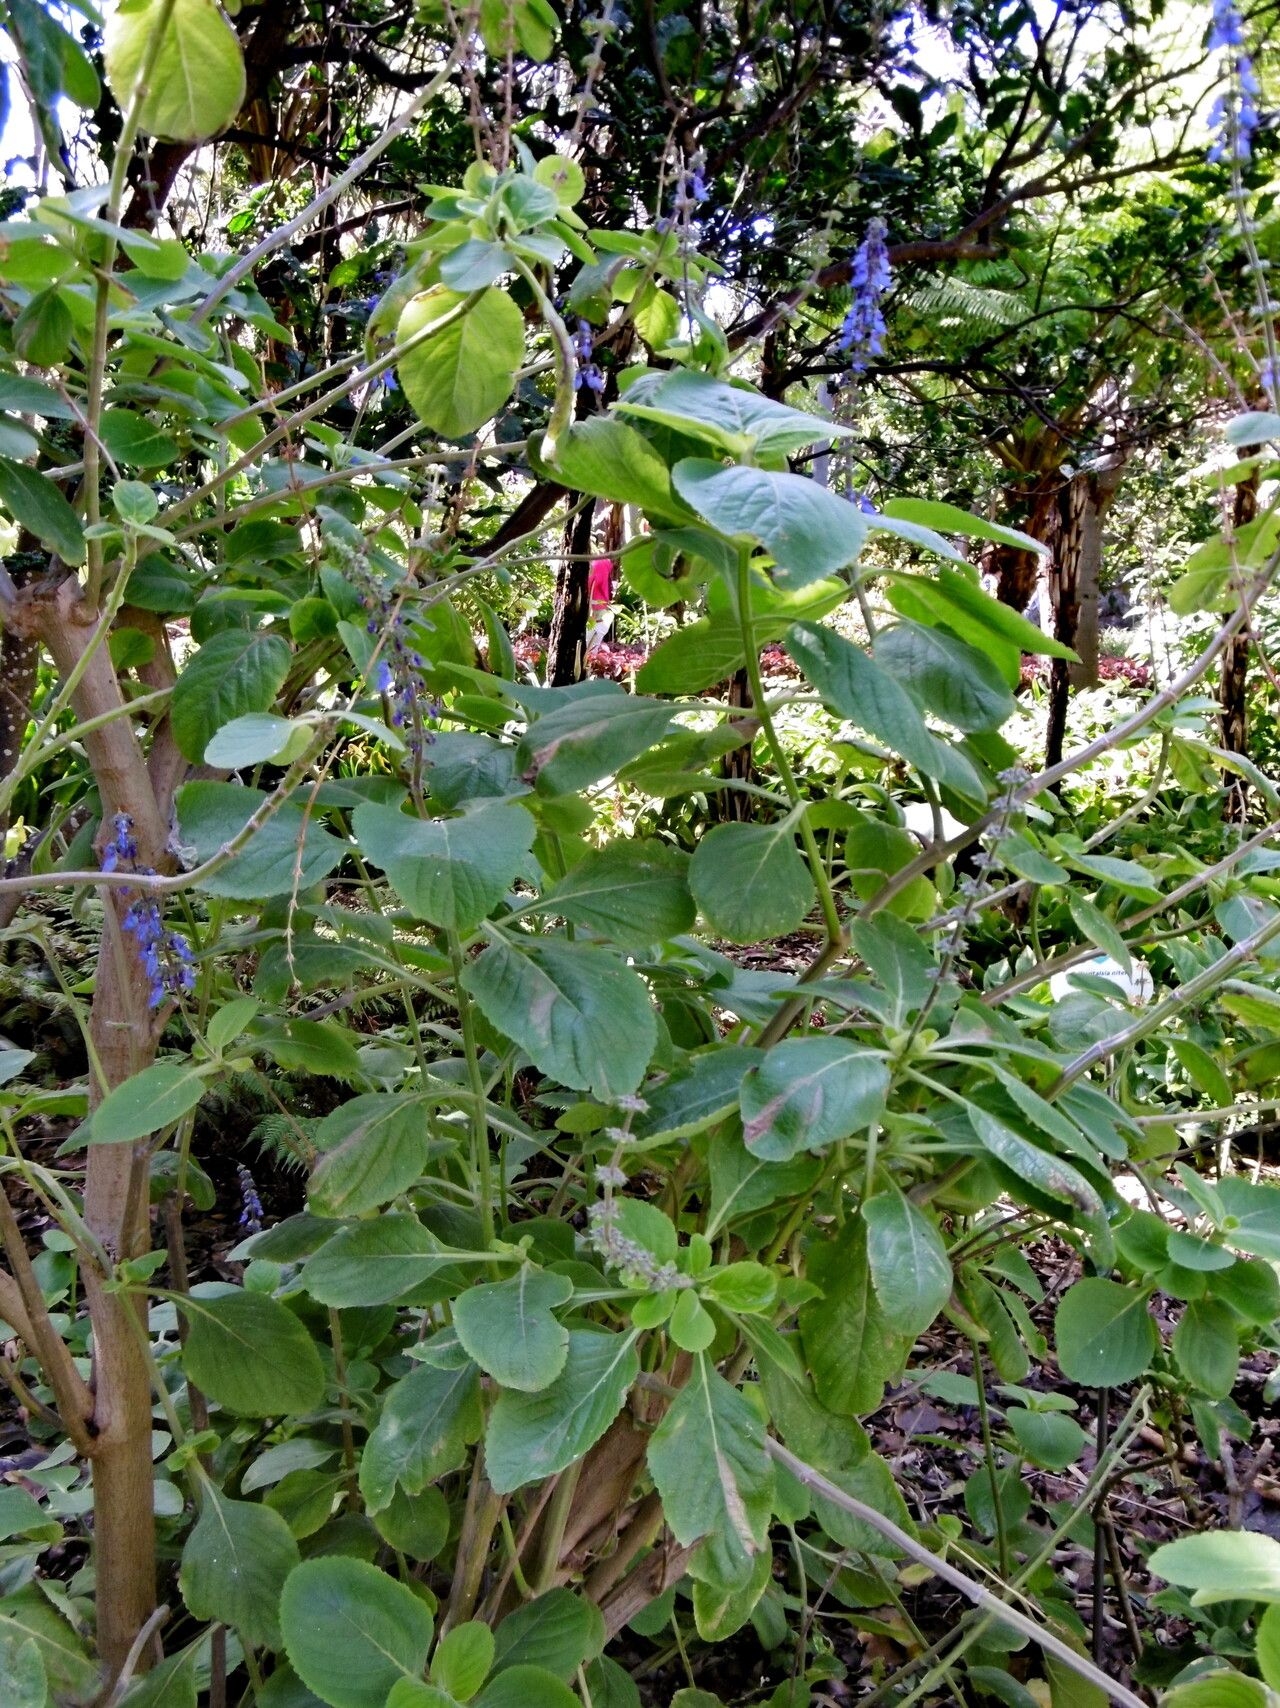
Oh, hello there! If you’re anything like me, you adore Coleus barbatus. That vibrant foliage, often a shocking blue-green with beautiful purple undersides, is just such a showstopper. And the best part? This beauty is surprisingly easy to bring more of into your life. I’ve been playing with coleus for two decades, and I can tell you, propagating them is one of my favorite little garden pleasures. If you’re new to the plant world, you’ll be delighted to know that coleus, including this particular variety, are wonderfully forgiving. You’re in for a treat!
The Best Time to Start
For the absolute best success, I find that late spring to early summer is the golden window. The plant is actively growing by then, meaning those stem cuttings are full of life and eager to root. You can certainly try in other seasons, but this period just seems to give them an extra boost. Look for healthy, vigorous stems that haven’t flowered yet – that’s your prime material.
Supplies You’ll Need
Gathering your supplies beforehand makes the whole process feel so much smoother. Here’s what I always have on hand:
- Sharp Pruning Shears or Scissors: Clean cuts are crucial.
- Rooting Hormone (Optional but Recommended): This little boost can really speed things up.
- Small Pots or Seedling Trays: Even 3-4 inch pots work well.
- Well-Draining Potting Mix: I like a blend of regular potting soil with perlite. A seed starting mix is also fantastic.
- Clear Plastic Bags or Humidity Domes: To create that humid environment cuttings love.
- Watering Can with a Gentle Rose: To avoid disturbing your new little plantlets.
- A Small Knife or Dibber: For making holes in the soil.
Propagation Methods: Stem Cuttings
This is by far my go-to method for Coleus barbatus. It’s straightforward and yields fantastic results.
- Take Your Cuttings: Find a healthy, non-flowering stem. Using your sharp shears, take a cutting that’s about 4-6 inches long. Make the cut just below a leaf node (where the leaves attach to the stem).
- Prepare the Cuttings: Gently remove the lower leaves from the bottom two-thirds of the cutting. This prevents them from rotting in the soil. You want at least a couple of leaf nodes exposed.
- Apply Rooting Hormone (Optional): Dip the cut end into your rooting hormone, tapping off any excess.
- Plant Your Cuttings: Fill your small pots with the well-draining potting mix. Use your knife or dibber to make an initial hole in the soil. This way, you won’t rub off the rooting hormone. Insert the cutting into the hole, ensuring at least one leaf node is below the soil surface. Gently firm the soil around the base.
- Water Gently: Water thoroughly but gently, ensuring the soil is moist but not waterlogged.
- Create a Humid Environment: Cover the pot with a clear plastic bag or a humidity dome. You can prop up the bag with a few stakes if needed to keep it from touching the leaves. Place the pot in a bright spot that receives indirect sunlight. Direct sun will scorch those delicate cuttings.
Propagation Methods: Water Propagation
Some folks swear by water propagation, and it’s a visual treat to watch those roots emerge!
- Take and Prepare Cuttings: Follow steps 1 and 2 from the stem cutting method, removing those lower leaves.
- Place in Water: Fill a clean jar or glass with fresh water. Place the cuttings in the water, ensuring that no leaves are submerged. The leaf nodes are what will sprout roots.
- Change Water Regularly: Change the water every few days to keep it fresh and oxygenated.
- Location is Key: Just like with soil propagation, place these in a bright location with indirect light.
- Plant When Rooted: Once you see substantial root growth (about an inch or so), you can carefully transplant them into pots filled with your potting mix. Handle those new roots with care!
The “Secret Sauce” (Pro Tips)
Here are a few little tricks that I’ve learned over the years that seem to make a real difference:
- Don’t Let Leaves Touch the Water (Water Propagation): I cannot stress this enough for water propagation! Any leaves dipping into the water will likely rot, which can then affect the entire cutting. Pinch off those lower leaves religiously.
- Bottom Heat is Your Friend: If you happen to have a propagation mat or can place your pots on top of a gently warm appliance (like a computer tower that’s on), this can significantly speed up root development. Those roots love a little cozy warmth from below.
- Mist Regularly (Initially): Even with a plastic cover, if your environment is particularly dry, a light misting of water over the leaves a couple of times a day for the first week can give them an extra confidence boost.
Aftercare & Troubleshooting
Once you see those little roots peeking out the bottom of the pot or new growth appearing on the top, it’s time to transition your new plant babies.
- Acclimate Gradually: If you’ve been using a plastic bag, slowly start to introduce them to drier air. Lift the bag for a few hours each day, gradually increasing the time it’s off.
- Watering: Keep the soil consistently moist but never soggy. Water when the top inch of soil feels dry.
- Light: Continue to provide bright, indirect light. As the plant grows stronger, you can gradually introduce it to a little more direct morning sun.
- Troubleshooting: The most common issue is rot. This usually happens due to overwatering or poor drainage. If a cutting looks mushy or black at the base, it’s likely a goner. Don’t be discouraged – just try again! Sometimes, a cutting might just fail to root. This can happen for various reasons, but often it’s just a matter of trying a few more.
Get Planting!
See? It’s not complicated at all. The joy of growing new plants from cuttings is truly rewarding. Seeing those first tiny roots emerge, then that first new leaf unfurl – it’s a special kind of magic. Be patient, enjoy the process, and soon you’ll have a whole collection of your beloved Coleus barbatus to brighten every corner of your garden and home. Happy propagating!
Resource: