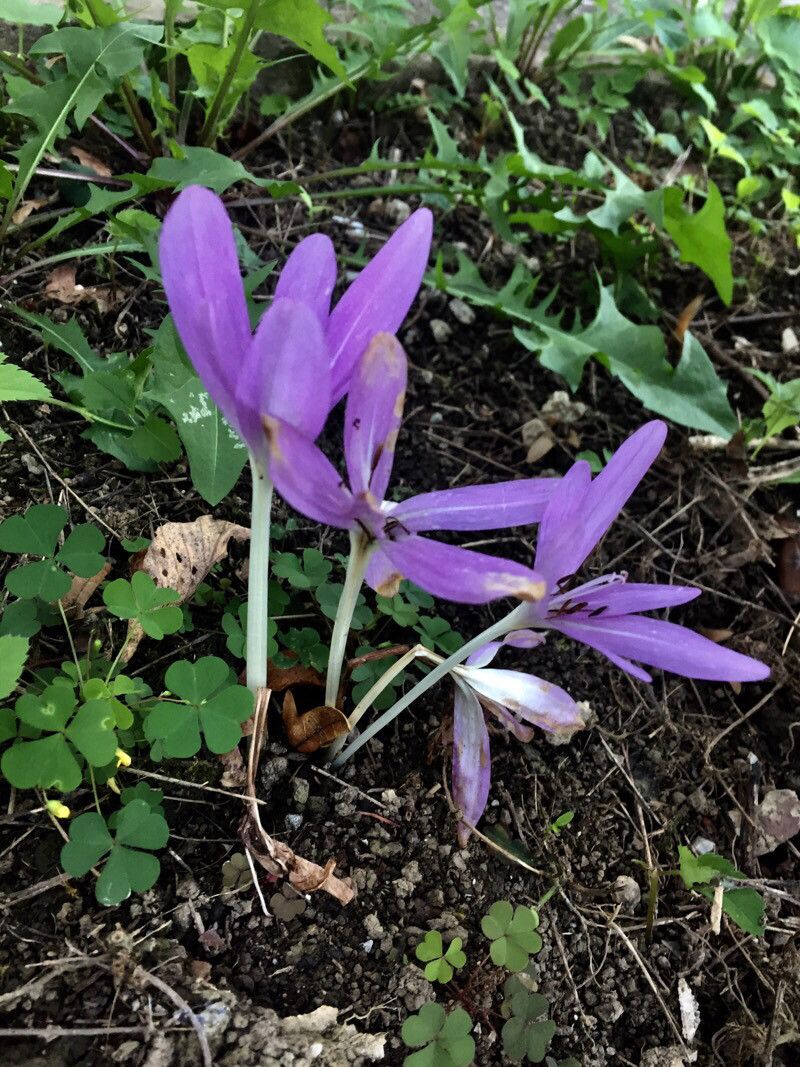
Hello there, fellow plant lovers! I’m so glad you’ve stopped by. Today, we’re going to dive into the delightful world of propagating Colchicum montanum, or as many of us affectionately call them, autumn crocuses. These little gems are just magical, popping up in late summer and fall with their vibrant blooms when so many other plants are winding down. There’s a special kind of joy in coaxing new life from an existing plant, and with Colchichums, propagation is a wonderfully rewarding journey, though I’d say it’s best suited for those with a little garden experience under their belt – a tad on the nuanced side, but entirely achievable!
The Best Time to Start
Now, when it comes to getting your propagation efforts off to a flying start, timing is everything. For Colchicum montanum, the absolute sweet spot is in late summer, right after the foliage has completely died back. This is when the corms (which look a bit like bulbs but are technically different) are dormant and at their most receptive for division. Trying to propagate when the plant is actively growing or flowering can really stress it out, so patience here really pays off.
Supplies You’ll Need
Before we get our hands dirty, let’s gather our essential tools:
- A sharp, clean trowel or small spade
- Gloves (the sap can be a bit irritating for some)
- A well-draining potting mix – I like a blend of equal parts potting soil, perlite, and coarse sand.
- Small pots or trays for your new divisions.
- A soft brush for cleaning off soil from the corms.
- Optional: A rooting hormone powder, though Colchichums are often quite happy without it.
Propagation Methods
The primary way we propagate Colchicum montanum is through corm division. It’s straightforward once you know the drill!
- Gently Excavate: With your trowel, carefully dig around the parent plant. You want to lift the entire clump of corms. Be gentle, as the corms can be a bit brittle.
- Clean Them Up: Once you’ve lifted the clump, gently brush off as much of the old soil as you can. You should be able to see the individual corms, and you might even spot little offsets already forming.
- Separate with Care: Look for natural separation points between the corms. You can often gently pull them apart by hand. If a division is stubborn, use your clean trowel or a sharp knife to make a clean cut. Each division should have at least one healthy-looking eye or growth point.
- Planting Your New Treasures: Fill your small pots or trays with your prepared potting mix. Make a little hole in the center and place your Colchicum division in it, ensuring the top of the corm is just at or slightly below the soil surface.
- Water Lightly: Give them a gentle watering to help settle the soil.
The “Secret Sauce” (Pro Tips)
Now, for a couple of little tricks I’ve learned over the years that can really help your Colchichums thrive after propagation:
- Think Dry Dormancy: After planting, keep the soil only slightly moist until you see signs of growth. Colchicum corms appreciate a period of dryness during their dormancy. Overwatering at this stage is a surefire way to invite rot.
- Don’t Rush the Leaves: If you’re dividing after the foliage has browned but before the blooms appear, avoid disturbing the plant too much. Let it focus its energy on flowering and then on developing those cormlets for next year.
Aftercare & Troubleshooting
Once your newly divided Colchichums start to show signs of life – usually a small sprout emerging from the soil – you can water them a bit more regularly, but always allow the soil to dry out between waterings. Aim for bright, indirect light if they’re indoors.
The most common issue you’ll encounter is rot. This is almost always due to overwatering, especially during their dormant phase. If you notice a corm looking mushy, dark, or smelling off, it’s best to discard it to prevent it from affecting others. Another sign they might not be happy is if they fail to sprout. This could be because the division was too small, didn’t have a viable eye, or was damaged during the process.
A Warm Closing
So there you have it! Propagating Colchicum montanum is a rewarding endeavor that brings a splash of unexpected color to your garden. Remember to be patient with your new charges. Nature has its own rhythm, and as long as you provide them with the right conditions – good drainage and the right timing – they’ll reward you with their unique beauty year after year. Happy propagating!
Resource:
https://identify.plantnet.org/k-world-flora/species/Colchicum%20montanum%20L./data