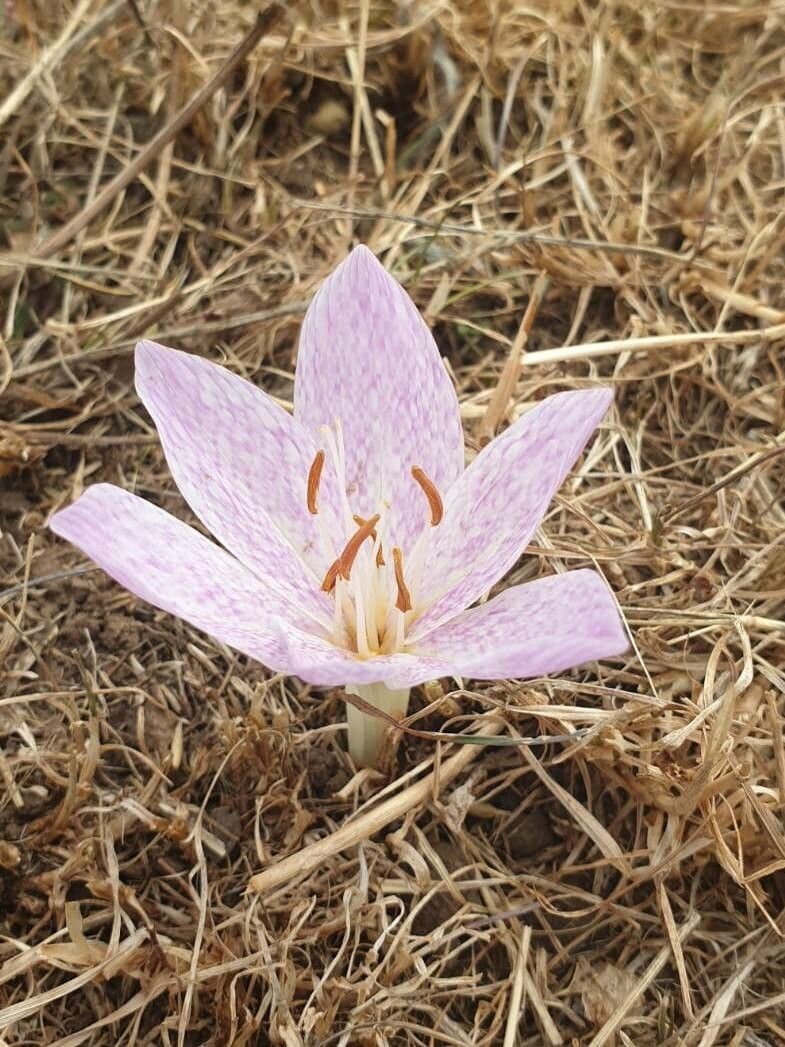
Hello, fellow plant enthusiasts! Today, we’re diving into the fascinating world of Colchicum bivonae, often lovingly called Naked Ladies or Autumn Crocus. These late bloomers are pure magic, gracing our gardens with stunning blossoms when many other plants have already tucked themselves in for the winter. There’s something truly special about seeing those vibrant flowers emerge seemingly out of nowhere, followed by lush foliage in spring. Propagating them myself has always been a source of deep satisfaction, a way to multiply that autumn joy. Now, I’ll be honest, Colchicum bivonae isn’t the absolute easiest plant for a brand-new propagator, but with a little patience and careful attention, it’s absolutely achievable and incredibly rewarding.
The Best Time to Start
The ideal window for propagating Colchicum bivonae is after the foliage has died back completely in late spring or early summer. This is when the corms (which look like bulbs but are actually swollen underground stems) are dormant and holding onto their energy reserves. Trying to divide or move them when they are actively growing or flowering can shock the plant and significantly reduce your success rate. So, keep an eye on those lovely green leaves – when they turn yellow and start to wither, you know it’s prime time.
Supplies You’ll Need
To get started with your Colchicum bivonae propagation, gather these trusty tools:
- Sharp trowel or small spade for gently lifting the corms.
- Pruning shears or a sharp knife for separating corms if needed.
- Well-draining potting mix. A good blend of potting soil, perlite, and coarse sand is perfect. Think about what works for succulents – that’s the kind of drainage we’re aiming for.
- Small pots or seed trays to house your new divisions.
- Labels and a permanent marker to keep track of what’s what. Trust me on this; it’s easy to forget!
- Possibly fungicide (optional, but a good insurance policy) for dusting cuts if you’re concerned about rot.
Propagation Methods
The primary and most successful method for propagating Colchicum bivonae is by corm division. It’s quite straightforward once you get the hang of it!
- Gently Excavate: With your trowel, carefully dig around the established Colchicum bivonae clump. You want to get underneath the corms without damaging them. Lift the entire clump out of the soil.
- Clean Them Up: Gently brush off as much of the old soil as you can. You’ll see the main corm, and often, smaller offset corms attached.
- Divide the Corms: This is where your sharp knife or shears come in. You’re looking for naturally occurring divisions, where smaller corms are attached to the mother corm. Carefully cut or pull apart these offsets. Each viable offset should have a bit of its own basal plate (the bottom where roots emerge) and a dormant bud at the top. If you’re feeling a bit nervous about disease, you can lightly dust any cut surfaces with fungicide.
- Inspect Your Divisions: Look for firm, healthy-looking corms. Avoid any that are soft, mushy, or show signs of rot.
- Plant Them Up: Fill your new pots with your well-draining soil mix. Plant each corm division so that the top of the corm is just at or slightly below the soil surface. Make sure they have a little room to grow.
- Water Lightly: Give them a light watering to settle the soil around the corms. Don’t drench them; we want moist, not waterlogged, conditions.
- Label and Wait: Label each pot with the plant name and the date. Place them in a bright spot but out of direct, intense sunlight for their initial period.
The “Secret Sauce” (Pro Tips)
Here are a few little tricks I’ve learned over the years that can really boost your corm propagation success:
- The Dormancy Dance is Key: I cannot stress enough how crucial it is to wait until the foliage has completely died back. It’s tempting to peek, but resist! Working with dormant corms is like working with a full battery – they have everything they need to establish themselves.
- Air Circulation is Your Friend: When planting your divisions, ensure there’s plenty of space between pots. Good airflow helps prevent fungal issues, especially if you live in a humid climate. Don’t overcrowd them in propagation trays if you can help it.
- Think “Dryish” Over “Wet” After that initial light watering, hold back on watering until you see the first signs of new growth. Colchicum corms store water and nutrients. Overwatering at this stage is the fastest way to encourage rot. Let them experience a bit of dryness to encourage root development.
Aftercare & Troubleshooting
Once your Colchicum bivonae divisions are planted, patience is your best companion. You might not see much happening for a while, and that’s perfectly normal. They are still settling in and developing their root systems underground.
- Watering: Water sparingly during their dormant period. You want the soil to be barely moist. As new shoots emerge (usually in late summer or early autumn), you can gradually increase watering, mimicking their natural growing conditions.
- Sunlight: Place them in a location that receives bright, indirect light during their initial settling-in phase. Once they start showing vigorous growth in autumn, they’ll enjoy full sun to partial shade.
- Signs of Failure: The most common culprit is rot. If you notice a corm becoming soft, mushy, or developing dark, spotty lesions, it’s likely rotting. This often stems from overwatering or poor drainage. Unfortunately, once rot sets in, it’s usually difficult to save the corm. You might also see a lack of growth or shriveled corms, which can indicate they were too dry for too long or weren’t healthy to begin with.
A Little Encouragement to Grow On
Propagating Colchicum bivonae is a journey of observation and patience. It’s a wonderful way to connect with the natural cycles of your garden and to multiply those spectacular autumn blooms. Don’t be discouraged if your first attempt isn’t perfect. Each season is a learning opportunity, and the satisfaction of seeing those new corms flourish is truly unmatched. So, get your hands a little dirty, embrace the process, and enjoy the anticipation of a beautiful autumn display courtesy of your own propagated treasures!
Resource:
https://identify.plantnet.org/k-world-flora/species/Colchicum%20bivonae%20Guss./data