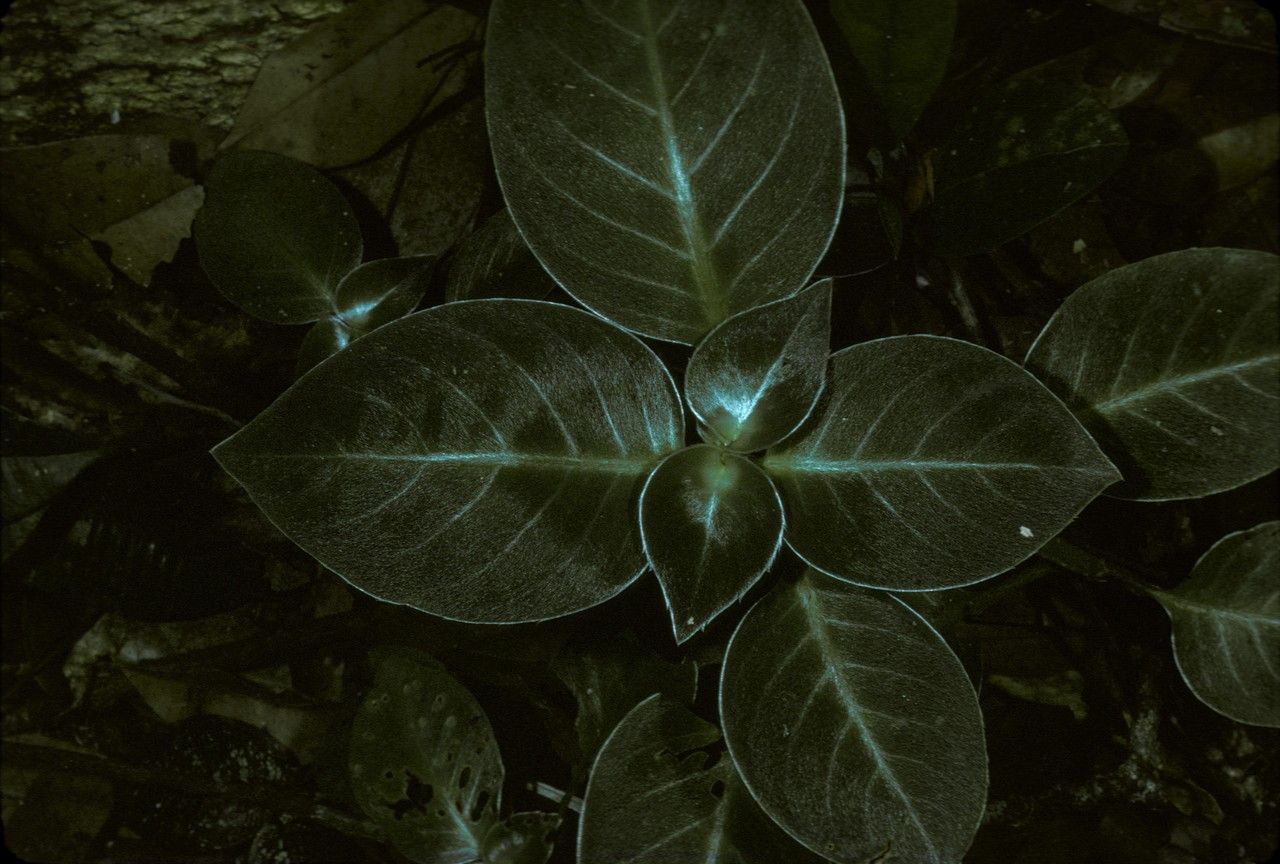
Oh, hello there, fellow plant lovers! It’s so lovely to have you join me. Today, we’re diving into the delightful world of Codonoboea malayana, often affectionately called the “Malayan Bellflower” or sometimes just “Malayan Jewel.” If you’re looking for a plant that brings a touch of the tropics into your space with those charming, bell-shaped blooms and lush foliage, this is it!
Propagating Codonoboea malayana is a truly rewarding endeavor. It’s like creating little miracles right in your own home. While it might seem a tad exotic, I’ve found it’s surprisingly accessible, even for those just starting out on their propagation journey. There’s a real sense of accomplishment when you nurture a tiny cutting into a blooming plant.
The Best Time to Start
For the highest success rate with Codonoboea malayana, you’ll want to start in the spring or early summer. This is when the plant is actively growing, meaning it has plenty of energy to dedicate to developing new roots. Look for healthy, vigorous stems that are neither brand new and soft, nor old and woody.
Supplies You’ll Need
Gathering your supplies beforehand makes the whole process smoother. Here’s what I usually have on hand:
- Sharp, clean pruning shears or a craft knife: Essential for making clean cuts to prevent disease.
- Rooting hormone powder or gel: This isn’t strictly necessary for Codonoboea malayana, but it can give your cuttings a significant boost.
- Well-draining potting mix: I like a mix of equal parts peat moss, perlite, and a bit of good quality potting soil. A pre-made succulent or cactus mix can also work well.
- Small pots or propagation trays: Clean containers are a must to avoid introducing any nasties.
- Plastic bags or a small propagation dome: To create a humid environment for your cuttings.
- A spray bottle: For gently misting your cuttings.
- Optional: A heat mat: This can speed up root development, especially if your potting area is cooler.
Propagation Methods
Codonoboea malayana is quite amenable to stem cuttings, which is my go-to method.
1. Taking Stem Cuttings:
First, select a healthy, non-flowering stem from your mature plant. You want a piece that’s about 4-6 inches long. Using your clean shears or knife, make a clean cut just below a leaf node (where a leaf attaches to the stem). Remove the lower leaves, leaving just a couple of sets at the top. This prevents them from rotting in the medium.
Next, dip the cut end into rooting hormone, if you’re using it. Gently tap off any excess.
Now, create a hole in your potting mix with a pencil or your finger, and insert the cutting. Gently firm the soil around it to ensure good contact. You want the nodes to be at least partially buried.
2. Creating a Humid Environment:
This is where the magic happens. Water the soil gently until it’s evenly moist but not soggy. Then, cover the pot with a clear plastic bag or place it under a propagation dome. Make sure the leaves don’t touch the sides of the bag if possible, as this can encourage rot.
3. Water Propagation (An Alternative):
While I prefer soil, water propagation can also work for Codonoboea malayana. Take your cuttings as described above, but place them in a clean glass of water. Make sure the leaf nodes are submerged, but the leaves themselves are not. Keep the water clean by changing it every few days. You should start to see roots forming in a few weeks. Once the roots are about an inch long, you can carefully pot them into your well-draining mix.
The “Secret Sauce” (Pro Tips)
Here are a couple of things I’ve learned over the years that really make a difference.
- Don’t Overwater! I cannot stress this enough. It’s the most common mistake. The soil should be consistently moist, not soggy. Too much water is a fast track to rot for any new cutting. Let the very top layer of soil dry out slightly between waterings.
- Bottom Heat is Your Friend: If you can, place your pots on a seedling heat mat. This gently warms the soil, encouraging root development from below. It’s like giving your cuttings a cozy warm bed to grow in. You’ll be amazed at how much faster they root.
- Patience with the Leaves: If you’re water propagating, resist the urge to let the leaves touch the water. They’ll start to break down and can take energy away from root formation, or worse, introduce rot to the cutting.
Aftercare & Troubleshooting
Once you see new growth emerging from the tip, or feel a slight resistance when gently tugging the cutting, congratulations! This is a good sign that roots have formed. Gradually increase your watering and remove the plastic cover or dome over a few days to acclimate the new plant to normal humidity. Keep the soil consistently moist.
The main culprit when things go wrong is rot. You’ll notice the stem turning mushy and black, or the leaves wilting and becoming translucent. This is usually due to overwatering and poor air circulation. If you spot this, unfortunately, that cutting is likely lost. It’s best to discard it and start again.
A Warm Encouragement
So there you have it – your guide to propagating the lovely Codonoboea malayana. Remember, gardening is a journey, and every gardener, myself included, has had cuttings that didn’t make it. Don’t be discouraged! Be patient, keep an eye on your little ones, and most importantly, enjoy the process of nurturing new life. Happy propagating!
Resource:
https://identify.plantnet.org/k-world-flora/species/Codonoboea%20malayana%20(Hook.f.)%20Kiew/data