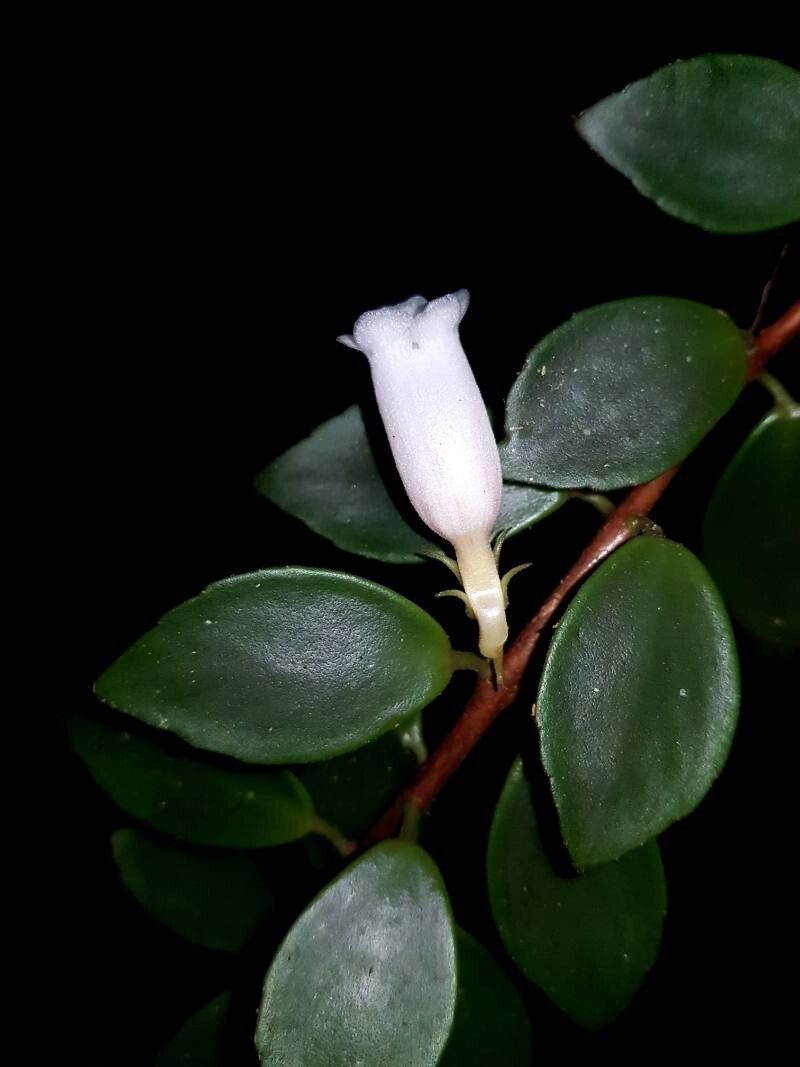
Oh, Codonanthopsis macradenia! If you’re looking for a plant that brings a touch of the wonderfully weird to your home, this is it. Its trailing vines, adorned with those charming, lantern-like flowers, are just delightful. And the best part? It’s surprisingly rewarding to propagate, which means you can soon have little bits of this beauty to share with friends or fill up every sunny spot you have.
Now, for the beginners out there, I wouldn’t say it’s an absolute walk in the park like some common pothos. It takes a little focused attention, but with this guide, you’ll find it’s definitely achievable. Think of it as moving up to the next level in your plant journey!
The Best Time to Start
For the highest chance of success, I find that late spring or early summer is simply the best time to propagate Codonanthopsis macradenia. The plant is usually in a robust growth phase then, ready to put out new shoots. This means more material for cuttings and a faster rooting process. Avoid propagating when the plant is dormant in winter. We want active growth!
Supplies You’ll Need
Gathering your tools beforehand makes the whole process so much smoother. Here’s what you’ll want on hand:
- Clean, sharp pruning shears or scissors: Essential for making clean cuts that heal well.
- Rooting hormone powder (optional but recommended): This can give your cuttings a real boost by encouraging root development.
- Well-draining potting mix: A good base would be about 50% peat or coco coir mixed with 50% perlite or coarse sand.
- Small pots or propagation trays: Those little 2-3 inch pots are perfect for starting out.
- Clear plastic bag or propagation dome: To create a humid environment for your cuttings.
- Watering can or spray bottle: For gentle watering.
- A small knife or dibber: For making holes in the soil.
Propagation Methods
I’ve found two methods work particularly well for Codonanthopsis macradenia, and you can choose the one that feels right for you.
Stem Cuttings
This is my go-to method, and it’s generally the most successful.
- Take your cuttings: Using your clean shears, select a healthy stem that has at least 2-3 sets of leaves. Cut about an inch below a leaf node. A leaf node is where a leaf attaches to the stem; this is where roots will emerge. Each cutting should be 4-6 inches long.
- Prepare the cuttings: Gently remove the lower leaves from your cuttings, leaving just the top 1-2 sets. This prevents them from rotting in the soil. If you’re using rooting hormone, dip the cut end into the powder, tapping off any excess.
- Plant the cuttings: Fill your small pots with your prepared potting mix. Make a hole in the center with your knife or dibber. Gently insert the cutting into the hole, ensuring the leaf nodes are below the surface of the soil. Firm the soil around the cutting.
- Water and cover: Water the soil gently until it’s evenly moist but not soggy. Pop the pot into a clear plastic bag or cover it with a propagation dome to maintain high humidity.
Water Propagation
Sometimes, seeing those roots emerge is half the fun!
- Prepare the cuttings: Follow steps 1 and 2 from the stem cutting method above.
- Place in water: Get a clean jar or glass and fill it with fresh water. Place your cuttings in the water, ensuring the leaf nodes are submerged. Like with soil propagation, make sure no leaves are touching the water’s surface.
- Find a good spot: Place the container in bright, indirect light. Change the water every few days to keep it fresh and prevent bacterial growth.
The “Secret Sauce” (Pro Tips)
Here are a couple of things I’ve learned over the years that really make a difference:
- The Humidity Hug: That plastic bag or dome around your cuttings? It’s not just for show! It creates a mini-greenhouse effect, keeping the humidity high. This is crucial because cuttings don’t have roots yet to absorb moisture, so they’re prone to drying out. If you’re using a plastic bag, open it for a few minutes each day to allow for fresh air circulation.
- Bottom Heat Magic: While not strictly essential, providing a little bottom heat can significantly speed up root formation. You can achieve this by placing your pots on a heat mat designed for plants. It mimics the warmth of spring soil and gives those roots a gentle nudge to grow.
Aftercare & Troubleshooting
Once you see new leaf growth or feel some resistance when gently tugging on a cutting (a good sign of roots!), it’s time for a bit of adjustment.
- Acclimatize slowly: If you used a plastic bag, gradually open the bag more each day over a week to let the cutting adjust to lower humidity.
- Regular watering: Continue to water your new plants when the top inch of soil feels dry. They’re still establishing their root systems, so consistent moisture is key.
- Bright, indirect light: Continue keeping them in a bright spot, but avoid direct, scorching sunlight as their new leaves can be sensitive.
Now, let’s talk about what might go wrong. The most common issue is rot. If your cutting turns mushy and black, it’s usually because it’s too wet and not getting enough air circulation. Ensure your soil drains exceptionally well, and don’t let your cuttings sit in soggy conditions. If you see signs of wilting that isn’t due to dryness, it might be overwatering or disease, and sadly, that cutting might not make it. Don’t get discouraged if a few don’t take; it’s all part of the learning process!
A Little Encouragement
Propagating plants is a journey, and watching those tiny roots emerge and new leaves unfurl is incredibly satisfying. Be patient with your Codonanthopsis macradenia cuttings. Nature works on its own schedule, and with a bit of care and attention, you’ll soon be rewarded with a whole new generation of these lovely plants. Happy propagating!
Resource: