Welcome, fellow plant lovers! Today, we’re diving into the wonderful world of propagating Codia nitida, also known as the Shiny Cassine or Cape Holly. I’ve been growing and sharing this gem for years, and let me tell you, there’s a special kind of joy in watching a tiny cutting transform into a thriving new plant.
The Appeal of Shiny Cassine
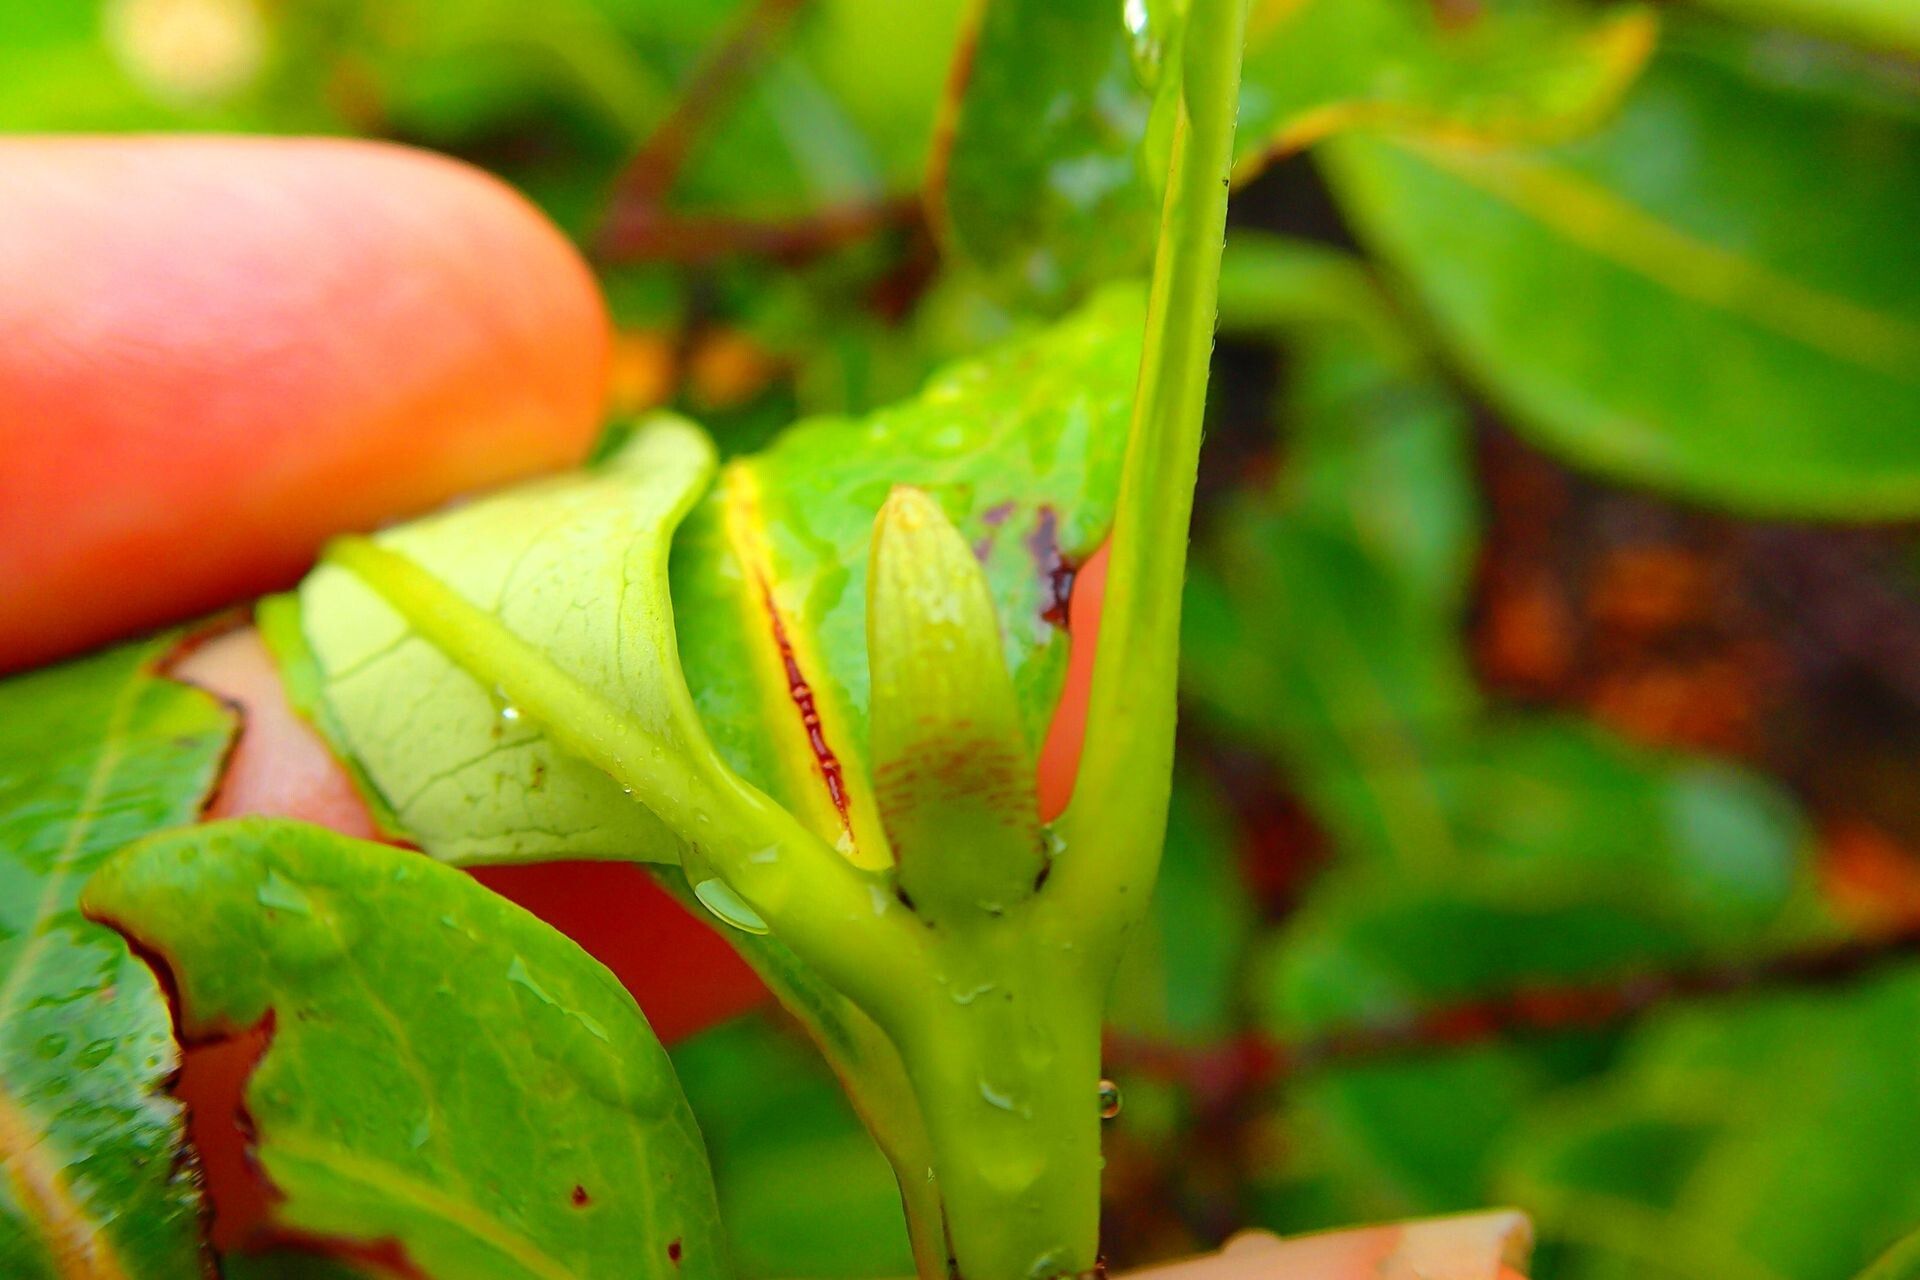
What makes Codia nitida so special? Well, for starters, its glossy, dark green leaves are simply stunning. They bring a touch of elegance to any space, indoors or out. Plus, it’s a tough cookie, adaptable to various conditions once it gets going. Propagating it is a fantastic way to fill your home with these beauties, share them with friends (we all know gardeners love to share!), or even start a little “green” business. For beginners? I’d say Codia nitida is moderately easy. It requires a little bit of attention, but with these tips, you’ll be well on your way.
When to Sow the Seeds of Success
The best time to take cuttings from your Codia nitida is when the plant is actively growing, usually during the late spring or early summer. This is when the stems have plenty of energy reserves. You want to look for new growth that is firm but still slightly flexible – we call this “semi-hardwood.” Avoid very soft, brand-new growth or old, woody stems.
What You’ll Need for Your Propagation Station
Gathering your supplies beforehand makes the process so much smoother. You don’t need a lot of fancy equipment, just the basics:
- Sharp Pruning Shears or a Knife: Clean is key!
- Rooting Hormone: A powder or gel that encourages root development.
- A Well-Draining Potting Mix: I like a blend of equal parts perlite and peat moss or a good quality seed-starting mix. Coconut coir also works wonderfully.
- Small Pots or Trays: Clean containers are essential.
- Plastic Bag or Cloche: To create a humid environment.
- Watering Can or Mister: For gentle watering.
- Labels: To keep track of your cuttings!
Bringing New Life: Propagation Methods
Let’s get our hands dirty! Here’s how I typically propagate Codia nitida:
Stem Cuttings: My Go-To Method
This is usually the most reliable way to get new Codia nitida plants.
- Take Your Cuttings: Using your clean pruning shears, snip off healthy stems that are about 4-6 inches long. Make your cut just below a leaf node (where a leaf emerges from the stem). This is where the magic of rooting happens.
- Prepare the Cuttings: Gently remove the lower leaves from the cutting, leaving just a few at the top. If the remaining leaves are quite large, you can carefully snip them in half to reduce water loss.
- Apply Rooting Hormone: Dip the cut end of the stem into your rooting hormone. Tap off any excess.
- Plant Your Cuttings: Fill your small pots with your prepared potting mix. Make a small hole in the center with your finger or a pencil. Insert the cutting into the hole, ensuring the leaf nodes are covered by the soil. Gently firm the soil around the stem.
- Water and Cover: Water lightly to settle the soil. Then, cover the pot loosely with a plastic bag or place it inside a propagator with a lid. This creates a mini-greenhouse effect, keeping humidity high.
Water Propagation: A Visual Treat
While I find stem cuttings more consistently successful for Codia nitida, water propagation can be a fun way to see roots develop.
- Select and Prepare: Take similar cuttings as described above. Remove all leaves that would sit below the water line.
- Place in Water: Put the cuttings in a clean jar or vase filled with fresh water. Make sure the leaf nodes are submerged.
- Change Water Regularly: Change the water every few days to prevent bacterial buildup.
- Transplant When Ready: Once you see a good network of roots – usually about an inch long – you can carefully transplant them into your potting mix, just like you would with stem cuttings. Be gentle; those new roots are delicate!
The “Secret Sauce”: My Insider Tips
After years of trial and error, I’ve picked up a few little tricks that really boost success.
First, for stem cuttings, don’t let the leaves touch the water if you’re propagating in a humid environment (like under a plastic bag). If leaves sit in moisture and don’t have good air circulation, they can easily rot, taking your cutting with them. Trim them so they’re clear of the soil surface.
Second, bottom heat is your friend. If you have a heat mat designed for propagators, using it can significantly speed up root formation. It mimics the warmth of spring soil and encourages those roots to sprout much faster. Just make sure it’s not too hot – think lukewarm, not scorching!
Aftercare and What to Watch For
Once you see new leaves emerging, that’s a great sign your cuttings are rooting!
- Gradually Acclimate: If your cuttings are under a plastic bag, start “hardening them off” by opening the bag for a few hours each day to reduce humidity.
- Watering: Water your new plants when the top inch of soil feels dry. Avoid overwatering, which can lead to root rot.
- Light: Place your new plants in a bright spot but out of direct, harsh sunlight. A little bit of gentle morning sun is usually perfect.
Troubleshooting: The most common issue is rot. If your cutting turns mushy and black, it’s likely rotted. This usually happens from too much moisture and poor air circulation. Another sign of failure is if the cutting wilts and never seems to perk up. This could be due to lack of moisture, insufficient light, or the cutting simply not being viable. Don’t be discouraged! It happens to all of us.
The Joy of Growing
Propagating Codia nitida is a rewarding journey. It teaches you patience and observation. Don’t get discouraged if your first attempts aren’t perfect. Every plant is a learning experience. I encourage you to get started, enjoy the process, and soon you’ll have a whole family of these beautiful, glossy plants to adorn your home and share with loved ones. Happy growing!
Resource:
https://identify.plantnet.org/k-world-flora/species/Codia%20nitida%20Schltr./data