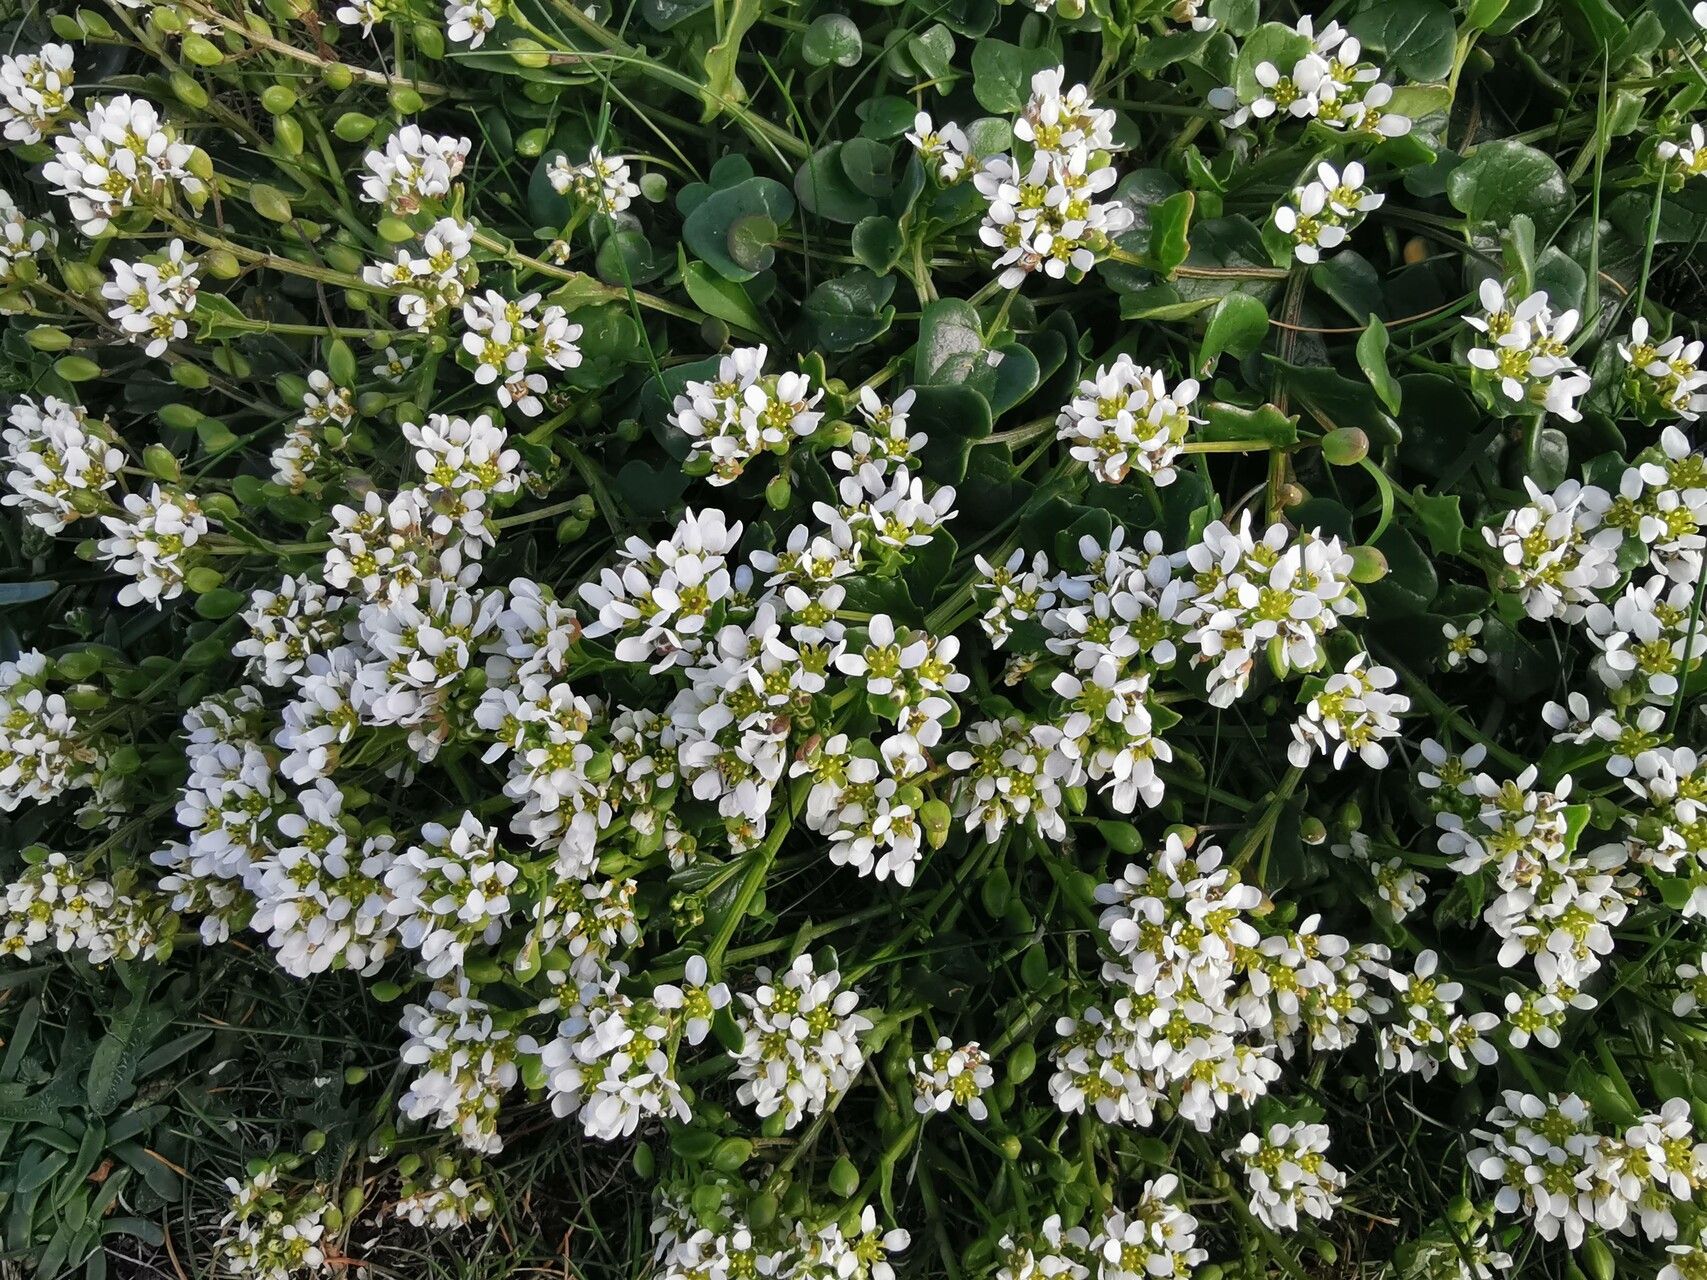
Hello, fellow garden enthusiasts! It’s so lovely to connect with you today. I want to talk about a plant that’s been quietly winning my heart: Cochlearia anglica, also known as English Scurvy-grass. This coastal native isn’t just pretty with its charming little white flowers and succulent leaves; it’s surprisingly useful too! Think a peppery, fresh addition to your salads. And the best part? It’s a joy to propagate. If you’re dipping your toes into plant propagation, I think you’ll find Cochlearia anglica to be quite forgiving.
The Best Time to Start
For the most success, I like to get my propagation efforts underway in late spring to early summer. The plant is usually bursting with new growth then, which means plenty of healthy stems to work with. You can also try in early autumn if you catch a bout of new growth before the cooler weather truly sets in. Just aim for when the plant is actively growing, not when it’s stressed or dormant.
Supplies You’ll Need
Gathering your supplies beforehand makes the whole process smoother. Here’s what I like to have on hand:
- Sharp pruning shears or a clean craft knife: For taking clean cuts.
- Rooting hormone (optional but helpful): A powder or gel can give your cuttings a boost.
- Well-draining potting mix: I often use a 50/50 blend of perlite and a good quality seed-starting mix. Your local garden center will have excellent options.
- Small pots or trays: With drainage holes, of course! Yogurt cups with holes poked in the bottom work in a pinch, believe me.
- Plastic bag or clear dome: To create a humid environment for cuttings.
- Spray bottle: For Misting.
- Water: Clean, room-temperature water.
Propagation Methods
Cochlearia anglica is wonderfully amenable to a few different propagation techniques. Here are my favorite tried-and-true methods:
Stem Cuttings
This is often my go-to for Cochlearia anglica.
- Select your stem: Look for healthy, non-flowering stems that are about 3-4 inches long.
- Make the cut: Using your sharp tool, make a clean cut just below a leaf node (where a leaf attaches to the stem). This is where new roots are most likely to form.
- Prepare the cutting: Gently remove the lower leaves. You want to leave just a few at the top to catch light for photosynthesis.
- (Optional) Apply rooting hormone: Dip the cut end of the stem into rooting hormone, tapping off any excess.
- Plant the cutting: Make a small hole in your potting mix and insert the prepared cutting, ensuring the leaf nodes are buried. Gently firm the soil around it.
- Water and cover: Water the soil lightly. Then, cover the pot loosely with a plastic bag or clear dome. This helps to keep the humidity high, which is crucial for cuttings to root.
Water Propagation
This is a fun one to watch!
- Take your cutting: Follow steps 1 and 2 from the stem cutting method.
- Remove lower leaves: Just like before, strip away the leaves that would be submerged in water.
- Place in water: Put the cutting in a clean jar or glass filled with room-temperature water. Make sure none of the remaining leaves touch the water. They’ll just rot and hinder the rooting process.
- Find a bright spot: Place your jar in a location that gets bright, indirect light.
- Change the water: Change the water every few days to keep it fresh and prevent bacterial growth.
The “Secret Sauce” (Pro Tips)
After many years of trial and error, I’ve picked up a few tricks that really seem to make a difference:
- Don’t let the leaves touch the water: I’ll say it again because it’s that important for water propagation! Any foliage submerged is a recipe for rot. Imagine a nice bath – you’d want your head above the water, right? Same idea for our plant cuttings.
- Bottom heat is your friend: If you’re using stem cuttings in soil, placing the pots on a seedling heat mat can significantly speed up root development. It mimics that cozy, warm soil environment the roots love. Just make sure the temperature isn’t too hot – warm to the touch is perfect.
- Give them a gentle mist: Once your cuttings are in their pot and covered, a light misting of water each day can help keep things humid without waterlogging the soil. Think of it as a gentle morning dew shower.
Aftercare & Troubleshooting
Once you start seeing little white root nubs peeking out from the drainage holes or a gentle tug on the cutting meets resistance, congratulations! You have roots!
- Acclimatize slowly: If your cuttings were under a plastic tent, gradually remove the cover over a few days. Start by removing it for a few hours, then longer, letting the young plant get used to the ambient air.
- Potting up: Once your cuttings have a good root system, you can transplant them into individual pots with well-draining soil.
- Watering: Water them as you would a mature plant, allowing the soil to dry out slightly between waterings.
- Watch for rot: The most common problem you’ll encounter is rot, often caused by too much moisture and poor drainage. If you see wilting, yellowing leaves, or a mushy stem, it’s usually a sign something is amiss with watering or air circulation. Sadly, a rotted cutting is usually too far gone, but don’t get discouraged! Try again, perhaps with a slightly different watering schedule or more perlite in your mix.
Happy Propagating!
Propagating Cochlearia anglica is a truly rewarding experience. It’s a wonderful way to fill your garden, share with friends, or even just marvel at the resilience of plant life. Be patient with yourself and with your little plant babies. Sometimes they take a little longer than you expect, but that’s all part of the gardening journey. Enjoy the process and celebrate every little green shoot!
Resource:
https://identify.plantnet.org/k-world-flora/species/Cochlearia%20anglica%20L./data