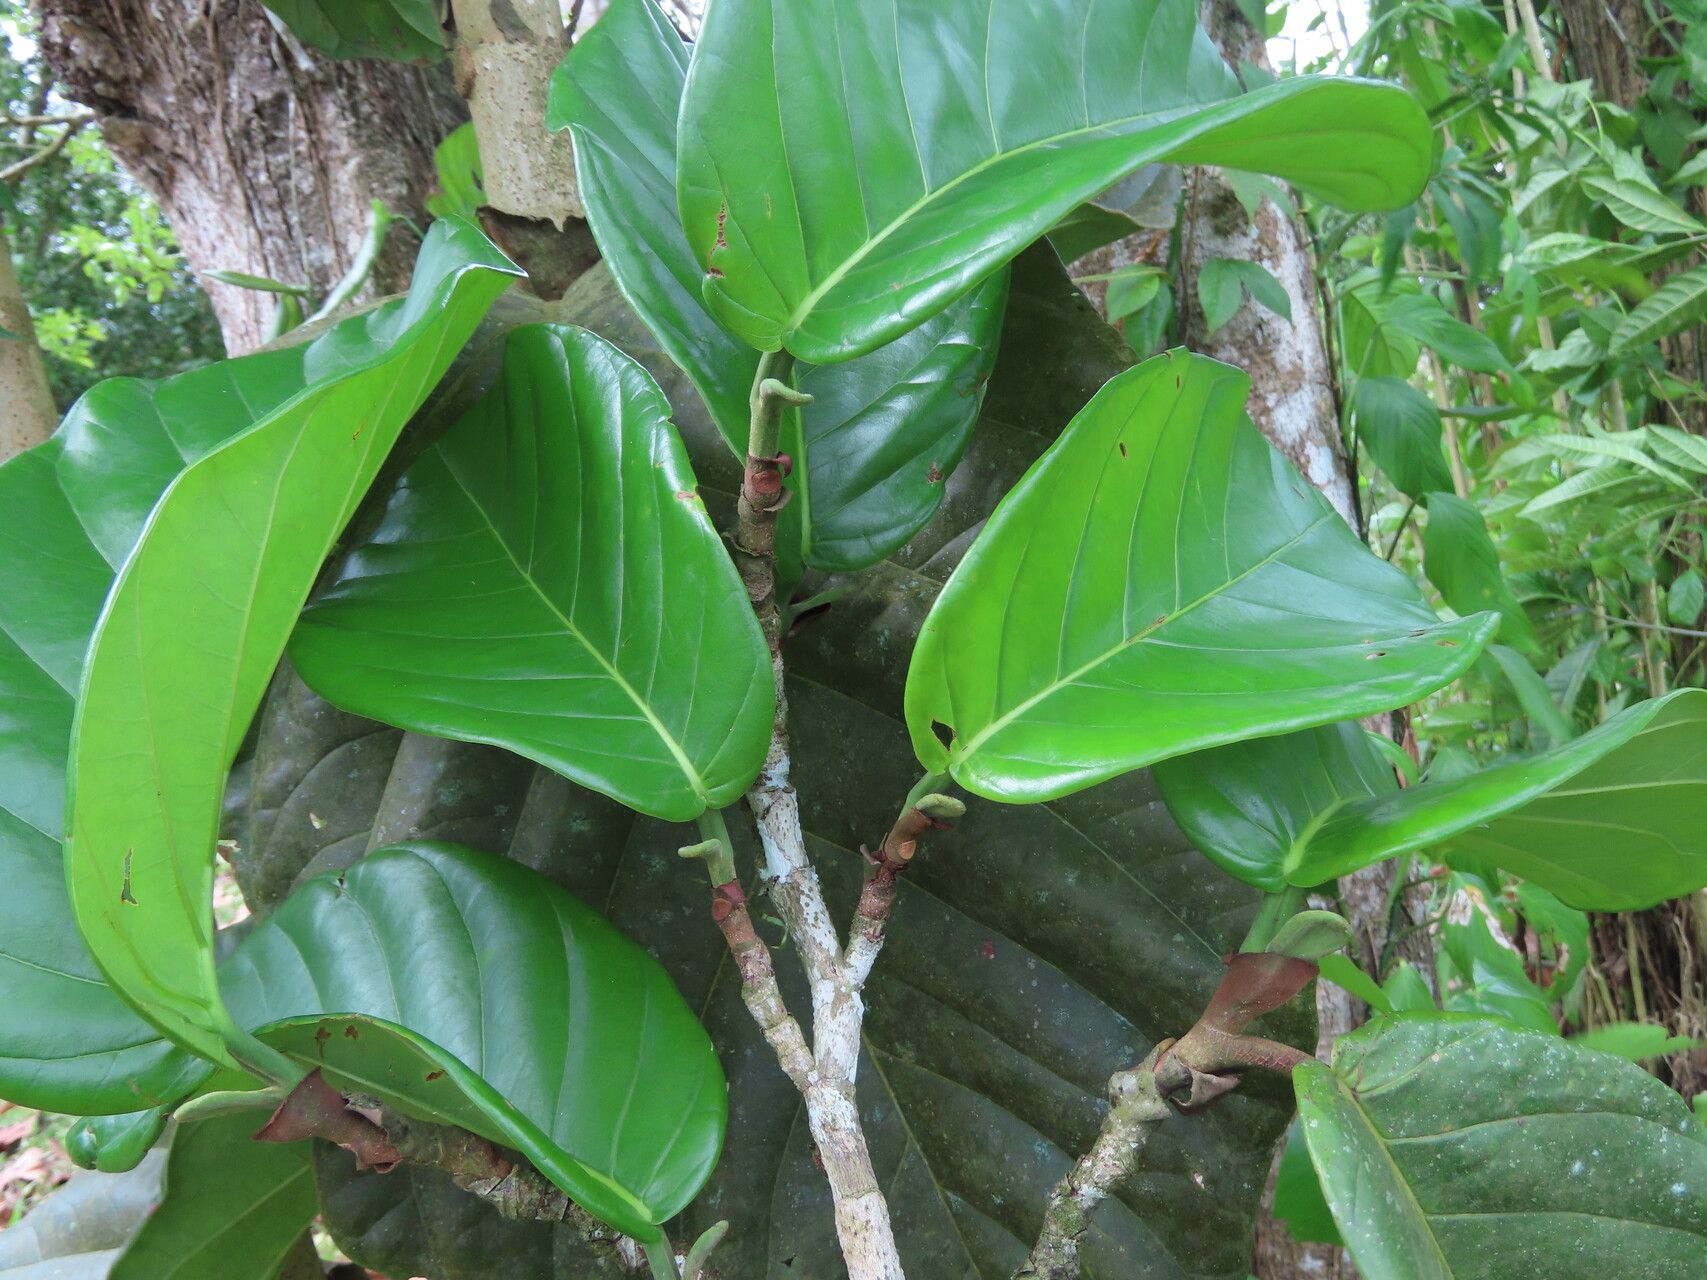
Hello fellow plant lovers! I’m thrilled to chat with you today about a truly special plant: Coccoloba padiformis, often called Pigeon Plum. If you’ve ever admired its glossy, shield-like leaves and the way it adds a touch of the tropics to a garden, you’re not alone. Growing new Pigeon Plums from cuttings is wonderfully rewarding. It’s a fantastic way to expand your collection, share with friends, or even start a new landscape feature.
Now, I won’t sugarcoat it – Coccoloba padiformis can be a tad fussy when it comes to propagation. It’s not quite a beginner’s “throw it in water and hope” plant. But with a little attention to detail and some patience, you can absolutely achieve success. I’ve coaxed many a new Pigeon Plum to life, and I’m eager to share what I’ve learned.
The Best Time to Start
For the highest chance of success with Coccoloba padiformis, I always recommend working with semi-hardwood cuttings. This means you’ll be looking to take cuttings from stems that are no longer brand new and green, but not yet old and woody. The late spring or early summer, as the plant is actively growing after its winter rest, is typically the sweet spot. You want cuttings that are firm but still have some flexibility.
Supplies You’ll Need
Gathering your tools beforehand makes the whole process smoother. Here’s what I usually have on hand:
- Clean, sharp pruning shears or a sharp knife: For making clean cuts.
- Rooting hormone powder or gel: This really gives your cuttings a boost.
- Well-draining potting mix: I like a blend of peat moss, perlite, and a bit of sand. It needs to dry out between waterings.
- Small pots or propagating trays: Clean ones are a must to prevent disease.
- Plastic bags or a clear propagator: To maintain high humidity around your cuttings.
- A watering can with a fine rose: For gentle watering.
- A small trowel or dibber: For making holes to insert the cuttings.
Propagation Methods: Taking Cuttings From Coccoloba Padiformis
The most reliable way I’ve found to propagate Coccoloba padiformis is through stem cuttings. Here’s how I do it, step-by-step:
- Choose Your Cuttings: Look for healthy, one-year-old stems that are semi-hardwood. You want stems that are about pencil-thick and have at least two or three sets of leaves.
- Take the Cuttings: Using your clean shears or knife, make a cut just below a leaf node. A leaf node is that little bump where a leaf emerges from the stem. This is where the magic of rooting happens. Aim for cuttings that are about 4-6 inches long.
- Prepare the Cuttings: Gently remove the lower leaves from the stem, leaving just two or three at the top. If the remaining leaves are very large, you can choose to cut them in half to reduce water loss through transpiration.
- Apply Rooting Hormone: Dip the cut end of each stem into your rooting hormone powder or gel. Make sure it’s coated evenly. Tap off any excess.
- Plant Your Cuttings: Fill your small pots with your well-draining potting mix. Use a trowel or dibber to make a hole in the center of the soil, deep enough to accommodate about a third of the cutting. Carefully insert the cutting into the hole and gently firm the soil around it.
- Water Gently: Water the soil thoroughly but gently, ensuring it’s evenly moist but not waterlogged.
The “Secret Sauce” (Pro Tips)
Here are a couple of my little tricks that I’ve found make a big difference:
- The Bottom Heat Advantage: Pigeon Plum cuttings love warmth. If you have a heated propagator mat, now’s the time to use it! Placing your pots on bottom heat will encourage root development much faster and more robustly. If you don’t have a mat, a warm windowsill that gets indirect light can work, but it will take longer.
- Humidity is Key: Once you’ve planted your cuttings, it’s crucial to create a humid environment. I either place my pots inside a clear plastic propagator with the lid on, or I cover each pot loosely with a clear plastic bag, making sure no soil or leaves are touching the bag’s interior. This humidity mimics the conditions of a greenhouse and prevents the cuttings from drying out before they can root.
Aftercare & Troubleshooting
Once your cuttings are planted and set up, the waiting game begins!
- Watering: Keep the soil consistently moist but not soggy. Check the surface of the soil daily. If it feels dry, water gently.
- Light: Place your propagating pots in a bright spot that receives indirect sunlight. Direct sun can scorch the tender cuttings.
- Rooting Time: Be patient! Coccoloba padiformis can take anywhere from 6 weeks to a few months to root. You’ll know they’re ready when you see new growth emerging and feel a gentle resistance when you try to tug them lightly.
- Common Issues:
- Rot: This is the most common problem, usually caused by overwatering and poor drainage. If you see the stem turning mushy or black at the soil line, it’s likely rot. Sadly, a rotted cutting is usually beyond saving. Prevention is key here – ensure that well-draining soil and avoid drowning your cuttings.
- Wilting: If cuttings are wilting, it could be a sign of insufficient humidity, too much direct sun, or the cutting is simply too old or damaged to survive. Check your humidity levels and move them to a shadier spot if they’re in direct light.
A Encouraging Closing
Propagating Coccoloba padiformis is a rewarding journey. Don’t be discouraged if your first attempt isn’t a runaway success! Every gardener has their share of failed experiments. The important thing is to learn from each one, try again, and remember to enjoy the process of nurturing new life. Happy planting!
Resource:
https://identify.plantnet.org/k-world-flora/species/Coccoloba%20padiformis%20Meisn./data