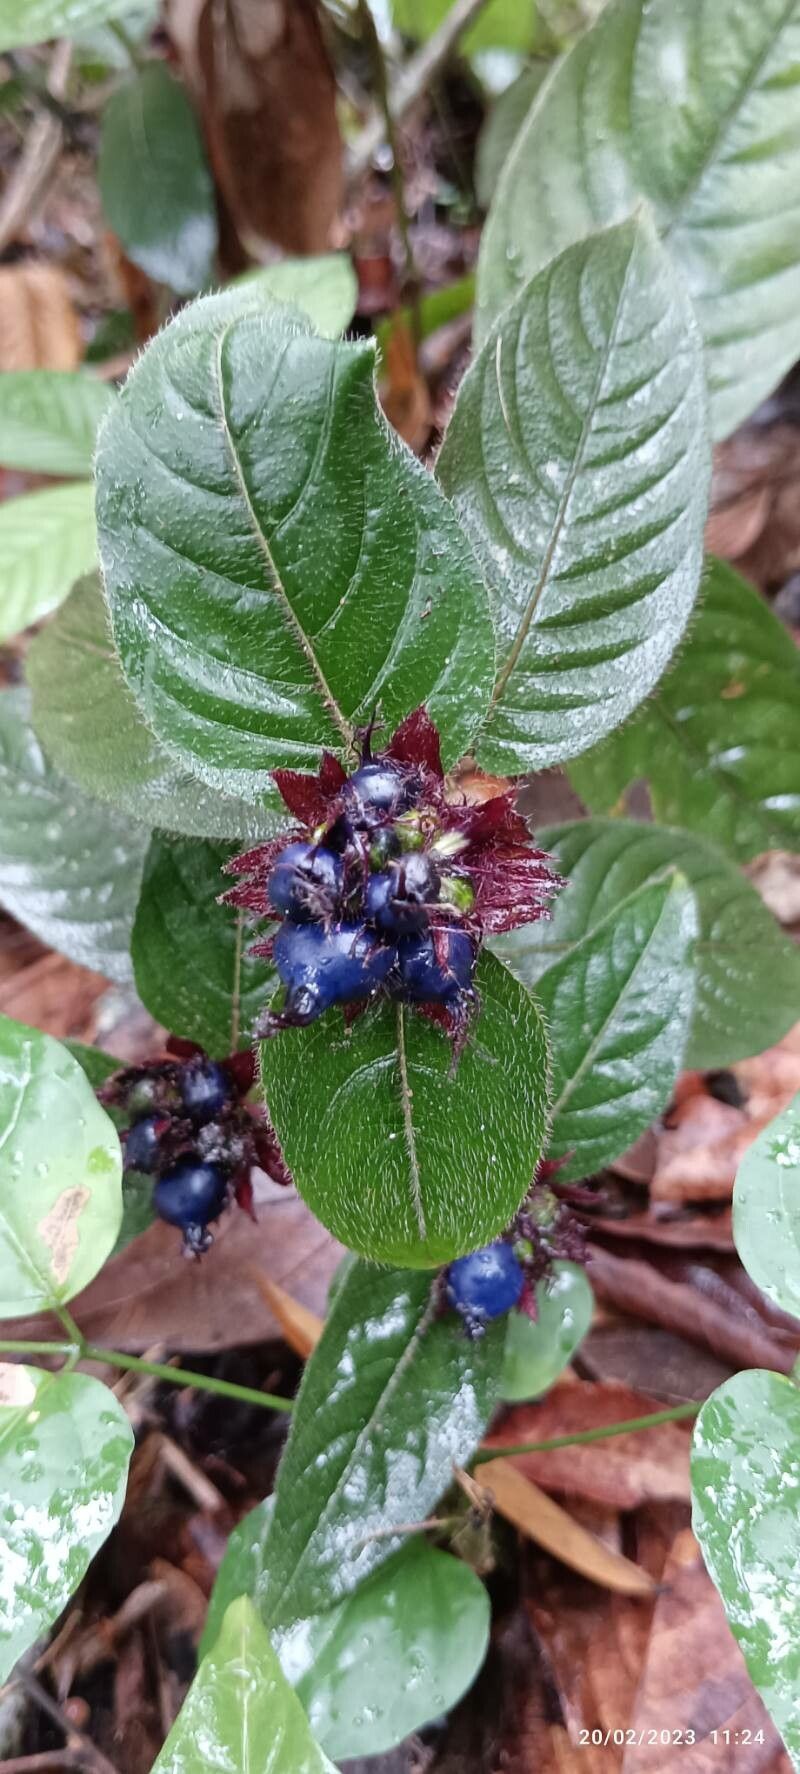
Hello there, fellow plant lovers! It’s so lovely to have you join me today. We’re going to dive into the delightful world of Coccocypselum hirsutum, or as I lovingly call it, the “Velvet Wonder.” This little plant is an absolute charmer with its fuzzy, heart-shaped leaves and delicate, tiny flowers. It brings such a sweet, understated beauty to any shelf or hanging basket. If you’ve ever admired its soft texture and thought, “I wish I had more of those!”, you’re in luck. Propagating this one is a wonderfully rewarding experience, and I’m happy to say it’s quite accessible for beginners. You’ll be sharing your “Velvet Wonders” in no time!
The Best Time to Start
Generally, the spring and early summer months are your golden ticket for propagating Coccocypselum hirsutum. This is when the plant is in its most vigorous growth phase, meaning it’s actively producing new stems and leaves. Taking cuttings during this period gives them the best energy reserves to establish roots quickly. If you miss this window, don’t fret too much – late summer can also work, but you might see slightly slower rooting. Avoid propagation during the plant’s dormant period in winter.
Supplies You’ll Need
Here’s a little toolkit to gather before we begin:
- Sharp Pruning Shears or a Clean Knife: For making clean cuts.
- Small Pots or Seedling Trays: Clean, with drainage holes.
- Well-Draining Potting Mix: A good blend is one part peat moss, one part perlite, and one part regular potting soil. Or, a specialized succulent/cactus mix works beautifully too.
- Rooting Hormone (Optional but Recommended): A powdered or liquid hormone can really boost your success rates.
- Clear Plastic Bag or Humidity Dome: To maintain moisture around your cuttings.
- Watering Can or Spray Bottle: For gentle watering.
- Small Stakes or Toothpicks (for water propagation): To suspend cuttings.
Propagation Methods
Let’s get our hands dirty! Coccocypselum hirsutum is quite agreeable and typically thrives with stem cuttings.
Method 1: Stem Cuttings
This is my go-to method for the Velvet Wonder.
- Select a Healthy Stem: Look for a mature, non-flowering stem that’s at least 3-4 inches long. You want something firm and green, not woody or leggy.
- Make the Cut: Using your clean shears or knife, make a clean cut just below a leaf node. A leaf node is that little bump where the leaves grow from the stem.
- Prepare the Cutting: Gently remove the lower leaves from the stem, leaving perhaps two to four leaves at the top. This prevents them from rotting once planted.
- Apply Rooting Hormone (Optional): If you’re using rooting hormone, dip the cut end into the powder or liquid. Tap off any excess.
- Pot it Up: Fill your small pots with your prepared potting mix. Make a small hole in the center with your finger or a pencil.
- Insert the Cutting: Gently place the cut end of the stem into the hole and firm the soil around it. Make sure the leaf nodes are buried, as this is where roots will form.
- Water Gently: Lightly water the soil until it’s evenly moist but not waterlogged.
- Create a Humid Environment: Place a clear plastic bag loosely over the pot, or enclose it with a humidity dome. You can also use toothpicks to prop up the bag so it doesn’t touch the leaves. This humidity is crucial for encouraging root development.
Method 2: Water Propagation
This method is visually exciting as you can see the roots grow!
- Prepare the Cutting: Follow steps 1-3 from the stem cutting method, ensuring you have a piece with a few leaf nodes.
- Place in Water: Fill a small jar or glass with fresh water. You can use a toothpick or two inserted into the stem to prevent the leaves from submerging.
- Submerge Leaf Nodes: Ensure that at least one or two leaf nodes are submerged in the water. This is where the magic happens.
- Positioning: Place the jar in a bright spot with indirect light.
- Change Water Regularly: Change the water every few days or whenever it starts to look cloudy. This prevents bacterial growth.
- Wait for Roots: You should start seeing tiny white roots emerge from the submerged leaf nodes within a few weeks. Once the roots are about an inch long, you can carefully transplant them into soil using the steps in Method 1.
The “Secret Sauce” (Pro Tips)
Here are a few little tricks I’ve learned over the years to give your cuttings an extra edge:
- Don’t Let the Leaves Touch the Water (for water propagation): This is super important! If the leaves sit in the water continuously, they’ll rot, and the cutting will fail. Those submerged leaf nodes are the key.
- Warmth Encourages Roots: If you have a heat mat for seedlings, popping your potted cuttings on it can significantly speed up the rooting process. A gentle warmth from below mimics ideal spring conditions.
- Patience with the Node: When preparing cuttings, aim to have at least one node (or ideally two) below where the soil line will be. This is the primary site for root initiation.
Aftercare & Troubleshooting
Once you see those lovely little roots peeking out or feel some resistance when gently tugging the cutting, congratulations! You’ve got a new plant in the making.
- Gradual Acclimatization: If you used a plastic bag or humidity dome, gradually introduce your new plant to normal room humidity. Start by removing the cover for an hour or two each day, then increase the time until it’s fully adjusted.
- Watering: Water when the top inch of soil feels dry. Avoid overwatering, as this is a common pitfall that can lead to root rot.
- Light: Continue to provide bright, indirect light.
- Troubleshooting:
- Yellowing Leaves: This can indicate overwatering or insufficient light. Check your watering schedule and move the plant to a brighter spot if needed.
- Wilting Cuttings: Usually a sign of dehydration or insufficient humidity. Ensure the soil is consistently moist (not soggy) and that you’re maintaining that humid environment initially.
- Rotting (Mushy Base): This is almost always due to overwatering and poor drainage. If you see this, it’s sadly usually too late to save the specific cutting, but you can learn from it and try again, adjusting your watering and soil.
Keep Growing!
Propagating your Coccocypselum hirsutum is such a satisfying journey. It’s a beautiful way to deepen your connection with your plants and to share their joy with others. Be patient with the process, celebrate each little sign of progress, and most importantly, enjoy the magic of bringing new life into the world. Happy propagating!
Resource: